 Save
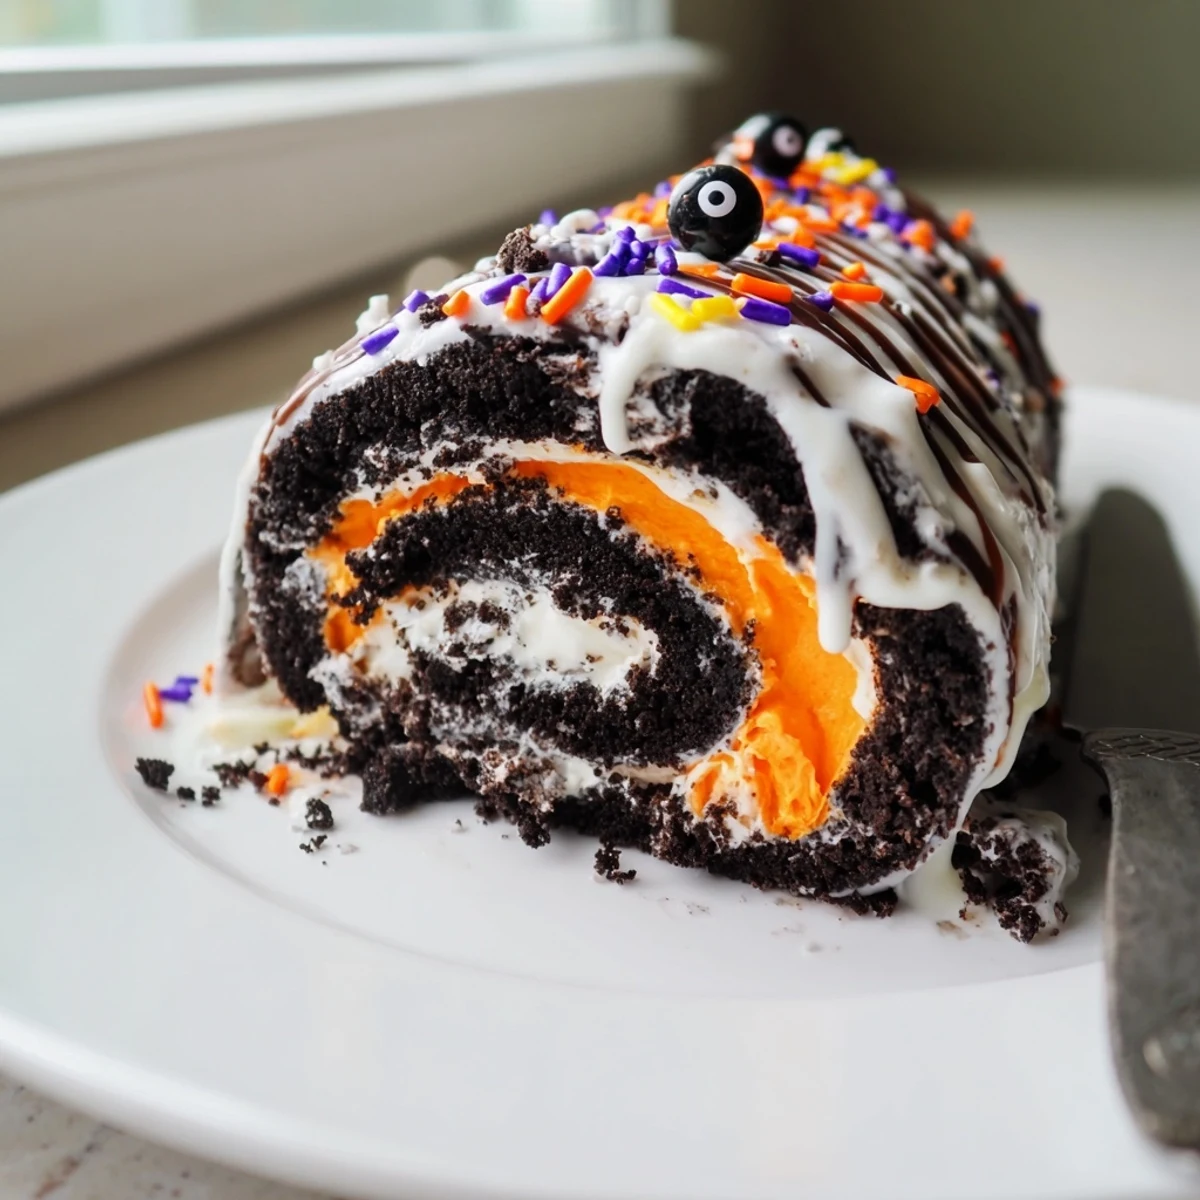
Save This stunning Halloween dessert combines crushed Oreos with cream cheese and butter for a rich, dark base. The filling features fluffy whipped cream tinted with orange food coloring for that perfect spooky vibe. Simply crush, mix, roll, and chill for an impressive centerpiece.
The technique is straightforward: blend cookies into a fine crumb mixture, form a pliable dough, roll it thin, then spread with stabilized whipped cream before rolling into a log shape. After chilling, slice to reveal beautiful spirals reminiscent of a pumpkin roll but with that beloved cookies and cream flavor profile everyone loves.
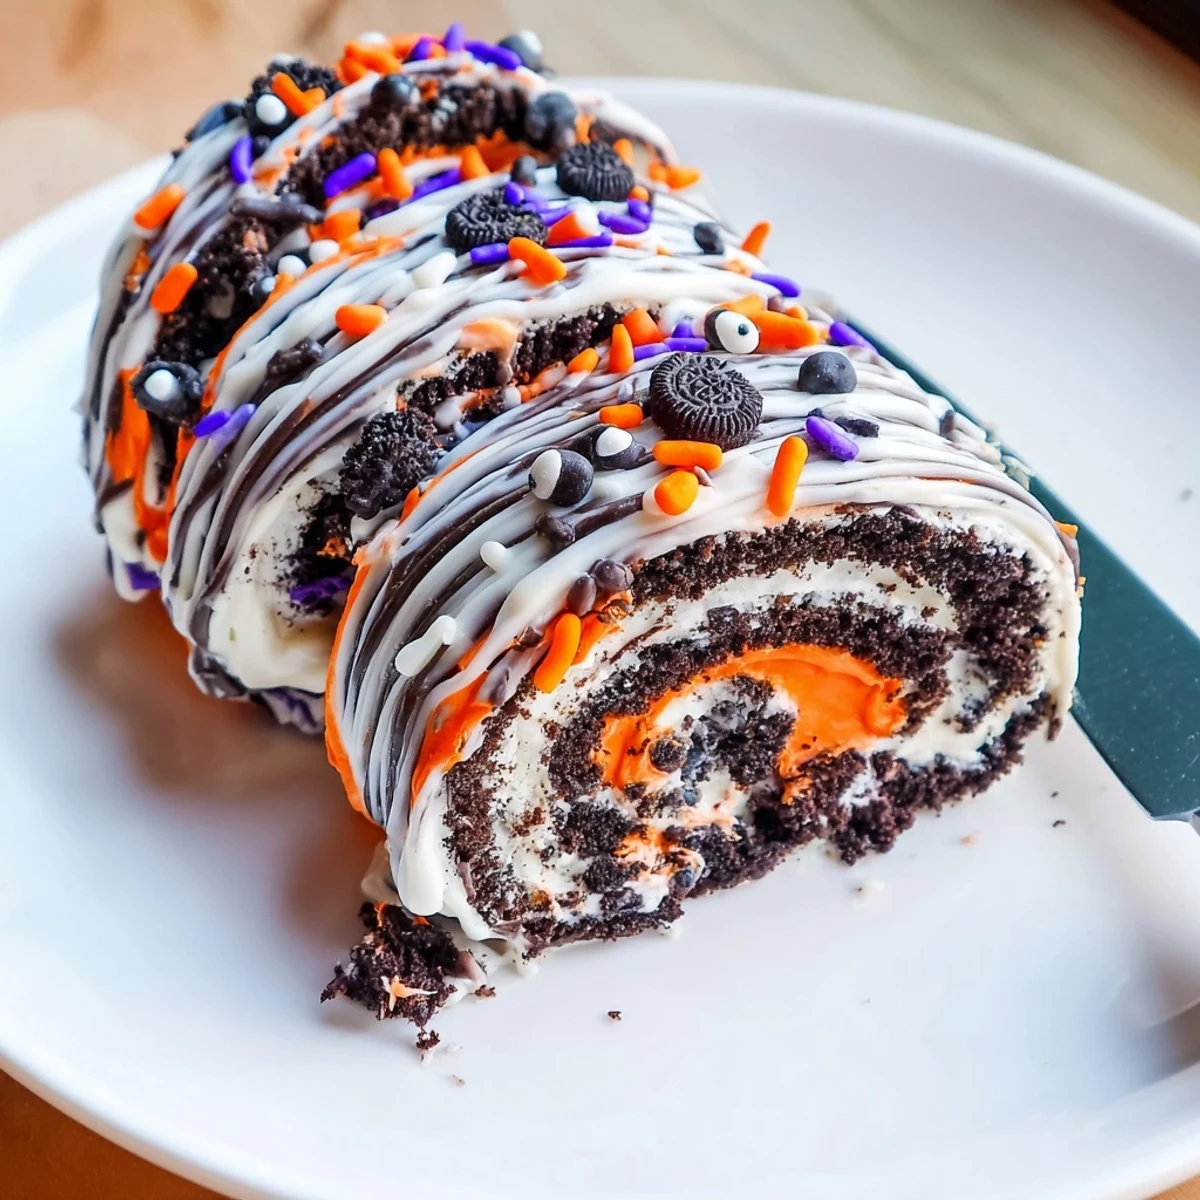
Customize with purple swirls, extra sprinkles, candy eyes, or chocolate drizzle. Make it gluten-free by swapping cookies. Prep is quick—just 25 minutes of active time before the refrigerator does the rest of the work.
Last October my daughter decided we needed something way more dramatic than regular cookies for her class party. The weather had turned crisp and she was already wearing her costume to dinner every night. I threw together this Oreo roll thinking it might fall apart in the fridge. The look on those kids faces when I sliced into that swirled log was absolutely worth the midnight prep time.
My friend Sarah brought something similar to a potluck once and I could not stop thinking about how clever it was. No oven needed and the flavor combination just works. Last weekend I made three of these for different events because everyone kept requesting it. The best part is watching people try to figure out how you got those perfect swirls.
Ingredients
- 36 Halloween Oreos: The cream filled centers in those Halloween colors make the dough naturally spooky but regular Oreos work fine too
- 1 cup powdered sugar: This sweetens the cookie base and helps bind everything together into a workable dough
- 6 tbsp unsalted butter melted: Warm melted butter combines better with the cookie crumbs than softened butter would
- 4 oz cream cheese softened: Room temperature cream cheese mixes smoothly without leaving lumps in your base
- 1 cup heavy whipping cream: Cold whips up faster and holds its shape better through the rolling process
- 1/4 cup powdered sugar: Sweetens the cream just enough without making it cloyingly sweet
- 1 tsp vanilla extract: Pure vanilla makes the cream filling taste homemade and rich
- Orange or purple food coloring: Gel coloring gives you vibrant color without adding liquid to your whipped cream
- Halloween themed sprinkles: These make the roll look festive and hide any imperfections in your rolling
- Candy eyes: Optional but absolutely hilarious scattered across the chocolate drizzle
- Melted white or dark chocolate: The drizzle adds that professional bakery finish people love
Instructions
- Prep your workspace:
- Line a large baking sheet with parchment paper making sure it extends over the edges.
- Make the cookie base:
- Pulse the Oreos in your food processor until they are fine crumbs then transfer to a mixing bowl.
- Combine the base ingredients:
- Pour in the melted butter and powdered sugar then add the softened cream cheese and mix until everything sticks together.
- Roll out the dough:
- Place the dough between two sheets of parchment and roll into a rectangle about half an inch thick.
- Whip the cream:
- Beat cold heavy cream with powdered sugar and vanilla until stiff peaks form then gently fold in food coloring.
- Spread the filling:
- Spread the colored cream over your cookie base leaving a one inch border along one long edge.
- Roll it up:
- Use the parchment paper to help lift and roll the dough starting from the edge without the border.
- Chill thoroughly:
- Refrigerate for at least one hour until the roll is firm enough to slice cleanly.
- Add the decorations:
- Drizzle melted chocolate over the top and immediately add sprinkles and candy eyes before it sets.
- Serve and enjoy:
- Use a sharp knife to cut one inch slices and serve cold for the best texture.
 Save
Save Last year I tried making this with orange cream filling and it turned out looking like a crazy science experiment. The kids loved it even more than the neat version. Sometimes the messy attempts become the ones everyone talks about.
Getting The Roll Right
The parchment paper trick makes all the difference when rolling this log. I learned the hard way that trying to roll without it ends in tears and broken cookie dough. Keep your hands gentle but firm and trust the paper to do the heavy lifting for you.
Make Ahead Magic
This roll actually tastes better after sitting in the fridge overnight. The cookie softens slightly and the flavors meld together beautifully. I often make it the day before Halloween just so I do not have to worry about dessert prep during all the costume chaos.
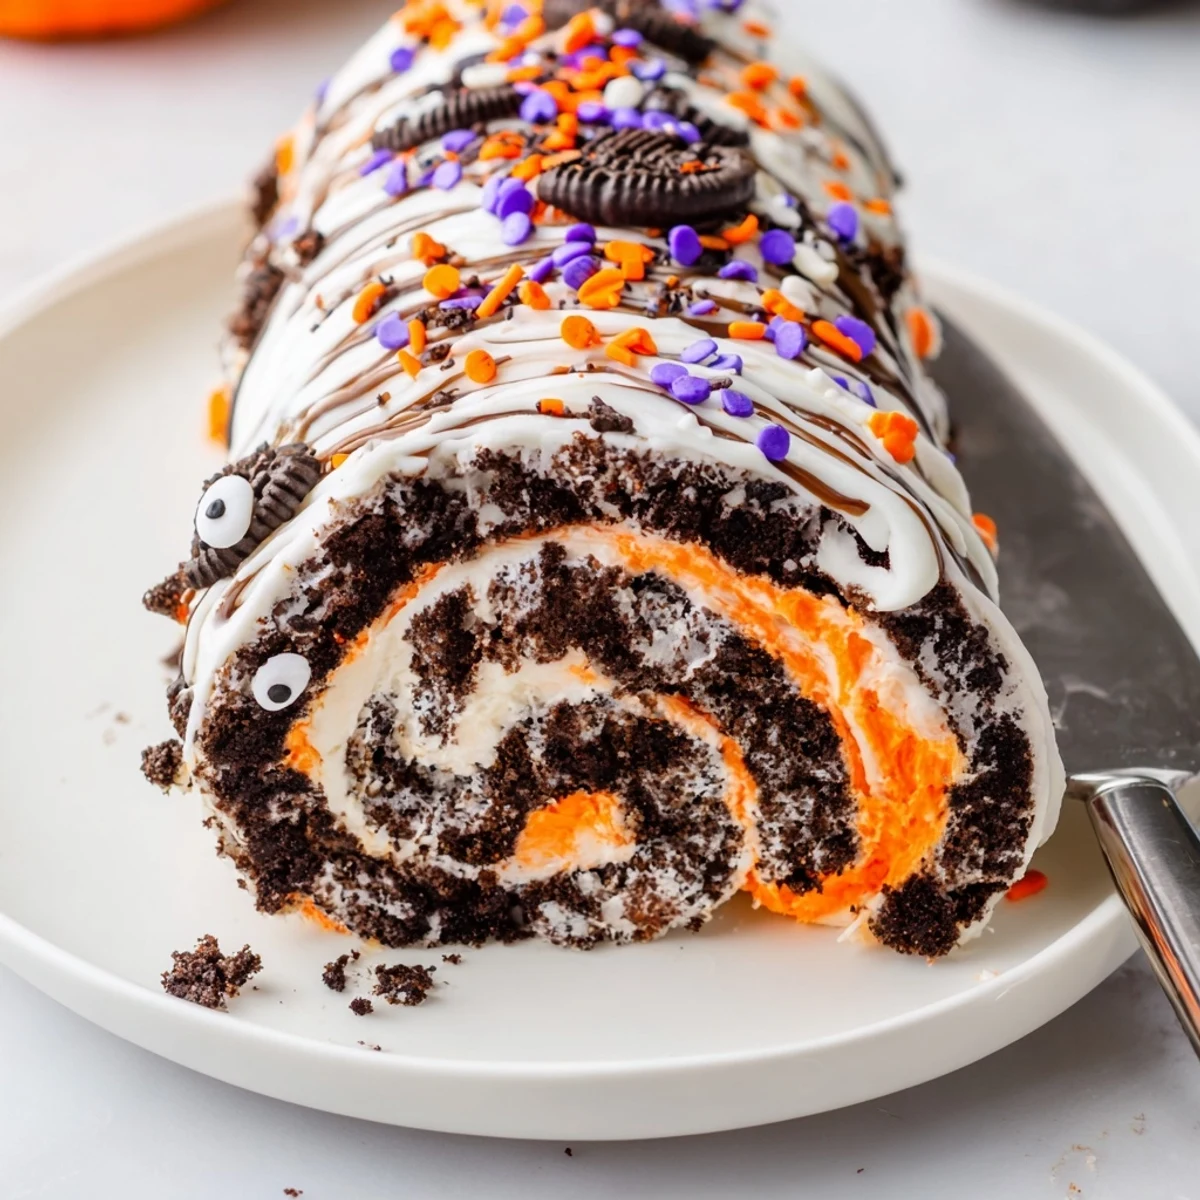
Decorating Ideas
The drizzle technique takes some practice but even imperfect chocolate looks festive once you add sprinkles on top. Think of it as adding spiderwebs or whatever Halloween vibe you want.
- White chocolate drizzled over purple cream looks especially dramatic
- Crushed Oreos on top hide any cracks in your chocolate drizzle
- Edible glitter makes this sparkle under party lights
 Save
Save Hope this becomes your new Halloween tradition. Happy haunting and happy baking.
Recipe FAQs
- → How long does the Oreo roll need to chill?
-
The roll requires at least 1 hour in the refrigerator to firm up properly. This allows the filling to set and the entire log to become stable enough to slice cleanly. For best results, you can chill it longer—even overnight works well.
- → Can I use regular Oreos instead of Halloween ones?
-
Absolutely. Regular Oreos work perfectly fine—just add orange food coloring to the cookie base mixture if you want that festive orange tint throughout. The flavor remains identical, and you can still decorate the outside with Halloween sprinkles.
- → How do I prevent the roll from cracking when slicing?
-
Use a sharp knife and wipe it clean between cuts. Chilling thoroughly is key—a firm roll slices much cleaner than a soft one. You can also run your knife under hot water and dry it before each slice for extra smooth cutting.
- → Can I make this ahead of time?
-
Yes, prepare it up to 24 hours in advance. Keep it well-wrapped in the refrigerator. Add decorations like chocolate drizzle and sprinkles shortly before serving for the freshest appearance, as sprinkles may bleed color if added too early.
- → What's the best way to crush the Oreos?
-
A food processor gives the most consistent fine crumbs in seconds. Alternatively, place cookies in a zip-top bag and crush with a rolling pin or heavy pan. For the smoothest base texture, aim for crumbs resembling wet sand rather than large chunks.
- → How should I store leftovers?
-
Wrap any remaining slices tightly in plastic wrap or store in an airtight container in the refrigerator. The roll will keep well for up to 3 days. The texture remains excellent, though decorations may soften slightly over time.
