 Save
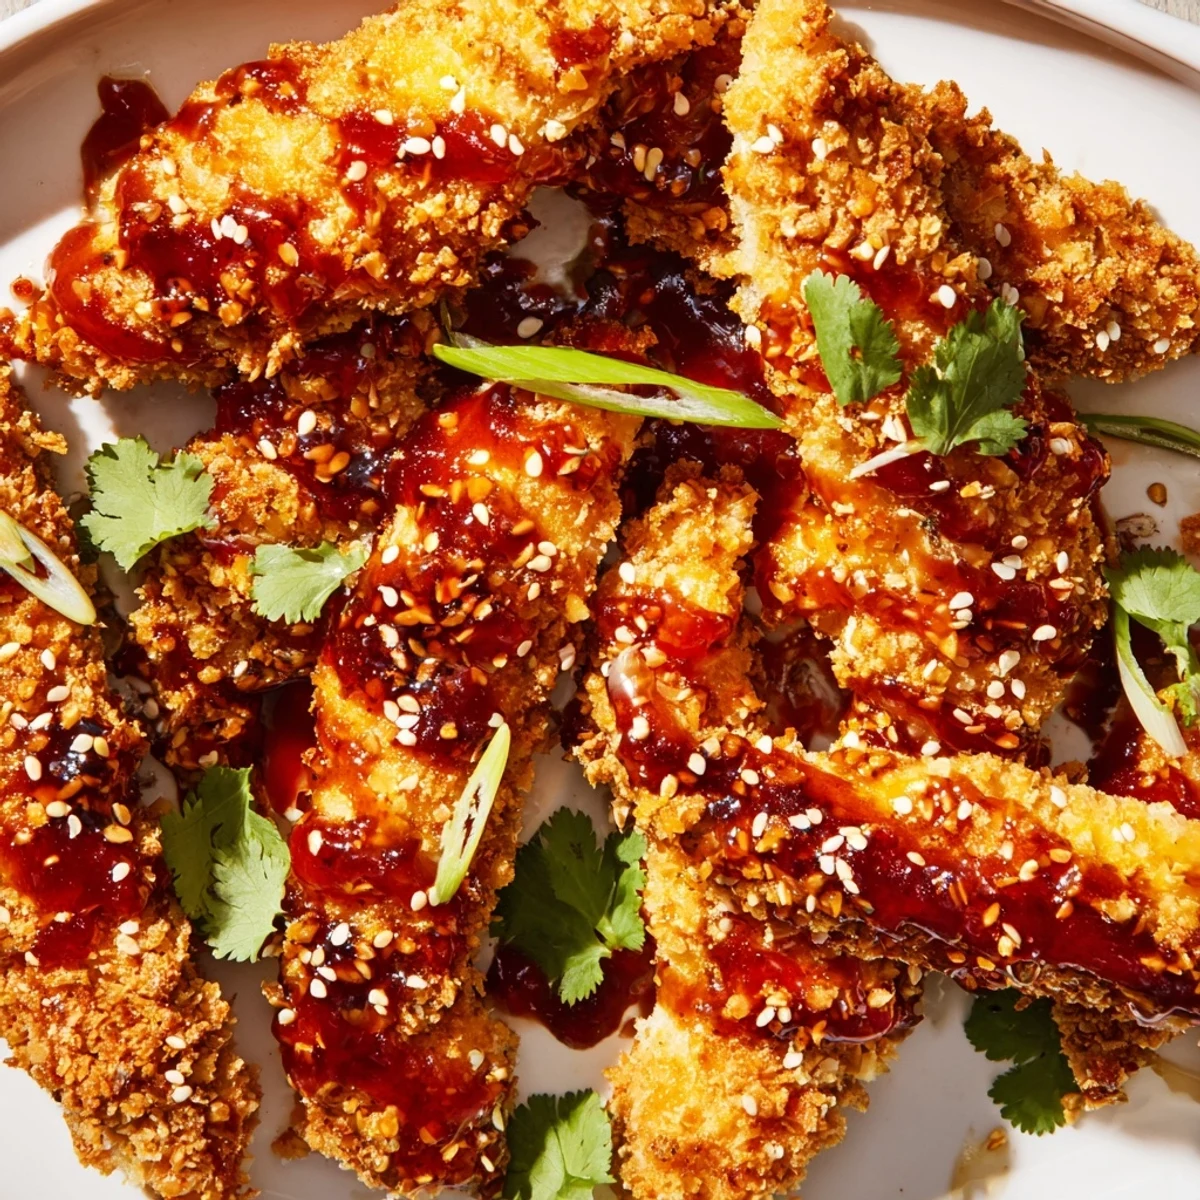
Save These crispy chicken fingers feature a crunchy panko coating and get tossed in a luscious sweet-spicy Thai glaze. The sauce combines sweet chili, soy, honey, and aromatic ginger garlic for that perfect balance of flavors. Bake until golden, then coat generously in the warm sticky sauce. Finish with toasted sesame seeds and fresh spring onions for restaurant-quality results at home.
My friend Ming brought these to a summer potluck last year and I spent the entire evening hovering near the platter, watching people's eyes widen after that first sticky-sweet bite. She'd doubled the recipe because she knows a crowd, and honestly, good thing she did. That sauce creates this moment where everyone goes quiet, then immediately reaches for seconds. Now they're the only appetizer my family specifically requests for game nights.
Last Friday I made a triple batch for my sister's birthday, partly because I wanted to test if they'd survive a 30-minute car ride. They did, and honestly, the sauce had somehow developed even more depth during the drive. My brother-in-law, who claims to hate appetizers that require two hands, ate six before dinner was even served. Sometimes the messiest food is the one that brings people together fastest.
Ingredients
- Chicken: Tenders stay juicier than breasts, but if you're using breasts, slice them against the grain and pound slightly for even thickness
- Salt and black pepper: Keep these nearby to season right before coating the seasoned flour needs something to grab onto
- All-purpose flour: The first defense in the coating trio, creating that dry base that makes everything else stick properly
- Large eggs: Beat them until totally uniform any streaks of white will show up in your final breading
- Panko breadcrumbs: These Japanese-style crumbs create that shattering crunch regular breadcrumbs just can't achieve
- Garlic powder and smoked paprika: Blooming these spices in the panko adds layers of flavor before the chicken even hits the heat
- Sweet chili sauce: The backbone of your glaze, look for one with real chili flecks, not just red dye
- Soy sauce: Adds that essential umami depth and balances the honey's sweetness
- Honey: Use local if you can find it the floral notes play beautifully against the chili heat
- Rice vinegar: Cuts through the sugar and adds brightness that keeps the sauce from becoming cloying
- Sesame oil: Toasted sesame oil is non-negotiable here, it's what makes the sauce taste restaurant-quality
- Sriracha: Start with one teaspoon and taste the heat builds as the sauce reduces
- Fresh garlic and ginger: Grate the ginger on a microplane to avoid any fibrous bits in your silky sauce
- Toasted sesame seeds: Toast them in a dry pan for 2 minutes first, the flavor difference is massive
- Spring onions and cilantro: Slice the onions paper-thin so they don't overwhelm each bite
Instructions
- Get your oven ready:
- Preheat to 220°C (425°F) and line your baking tray with parchment paper, trust me, cleanup is worth the extra step
- Season the chicken:
- Sprinkle salt and pepper over both sides of each strip, then let them sit while you set up your coating station
- Set up your breading line:
- Arrange three shallow bowls in order: flour first, then beaten eggs, then panko mixed with garlic powder and smoked paprika
- Coat each strip:
- Dredge in flour, shaking off excess, then egg, letting extra drip off, finally press into panko until thoroughly coated
- Arrange and oil:
- Place strips on your prepared tray, giving them space to breathe, then lightly spray or brush with oil for maximum crunch
- Bake to golden:
- Cook for 20-25 minutes, flipping halfway through, until they're deeply golden and cooked through
- Make the magic sauce:
- Combine all sauce ingredients in a small saucepan and simmer over medium heat for 2-3 minutes until slightly thickened
- The final toss:
- Transfer cooked chicken to a large bowl, pour over warm sauce, and fold gently until every piece is glossy and coated
- Garnish and serve:
- Scatter with sesame seeds, spring onions, and cilantro, then get them to the table while they're still hot and sticky
 Save
Save These became my go-to contribution to every gathering after my aunt asked for the recipe three times in one evening. There's something about that combination of crispy chicken and sticky sauce that makes people feel taken care of, like you put real thought into making something special for them. Food memories are weird like that sometimes the simplest dishes become the ones everyone talks about years later.
Making Them Extra Crispy
After baking, switch your oven to broil for 2 minutes watch them like a hawk though, panko can go from perfect to burned in seconds. That final blast of heat creates this exterior crunch that's almost deep-fried in texture. I learned this trick accidentally when I got distracted by a phone call and came back to the best chicken fingers I'd ever made.
Sauces That Work Alongside
The sticky glaze is rich enough that you don't really need dipping sauce, but sometimes people want options. A simple sriracha-mayo works beautifully, or just extra lime wedges on the side. My dad started serving these with a cool cucumber salad and the contrast is genius hot, sticky chicken against crisp, cool vegetables.
Perfect Pairing Ideas
A chilled Riesling cuts through the sweet glaze perfectly, or go with a light lager if beer's more your speed. For a full meal, jasmine rice absorbs any extra sauce, and steamed broccoli or sugar snap peas balance all that richness. Sometimes I make these as the main protein with a big vegetable-focused salad on the side.
- Jasmine rice cooks while the chicken bakes and soaks up that sauce beautifully
- Steamed vegetables with sesame oil mirror the flavors without competing
- A simple cucumber salad with rice vinegar refreshes the palate between bites
 Save
Save Hope these become your new crowd-pleaser too. There's something pretty wonderful about watching a room full of people fall silent over food you made.
Recipe FAQs
- → How do I make the chicken extra crispy?
-
Spray the coated strips lightly with oil before baking and broil for 2 minutes at the end. Ensure the panko mixture coats evenly and don't overcrowd the baking tray.
- → Can I make these ahead of time?
-
Prepare the chicken strips and refrigerate uncooked for up to 4 hours. The sauce can be made 2 days ahead and reheated gently when ready to serve.
- → What can I serve with these chicken fingers?
-
Pair with jasmine rice, fresh vegetable sticks, or a crisp Asian slaw. They also work well alongside spring rolls or dumplings for a spread.
- → Can I fry instead of bake?
-
Yes, fry in oil at 350°F (175°C) for 3-4 minutes until golden brown. Drain on paper towels before tossing with the sticky sauce.
- → How spicy is the sauce?
-
Mild to medium heat from the sweet chili sauce. Add sriracha for extra kick or omit for a family-friendly version everyone can enjoy.
- → Can I use chicken breast instead of tenders?
-
Absolutely. Cut chicken breasts into even strips, about 1-inch wide. Pound slightly to uniform thickness for even cooking.
