 Save
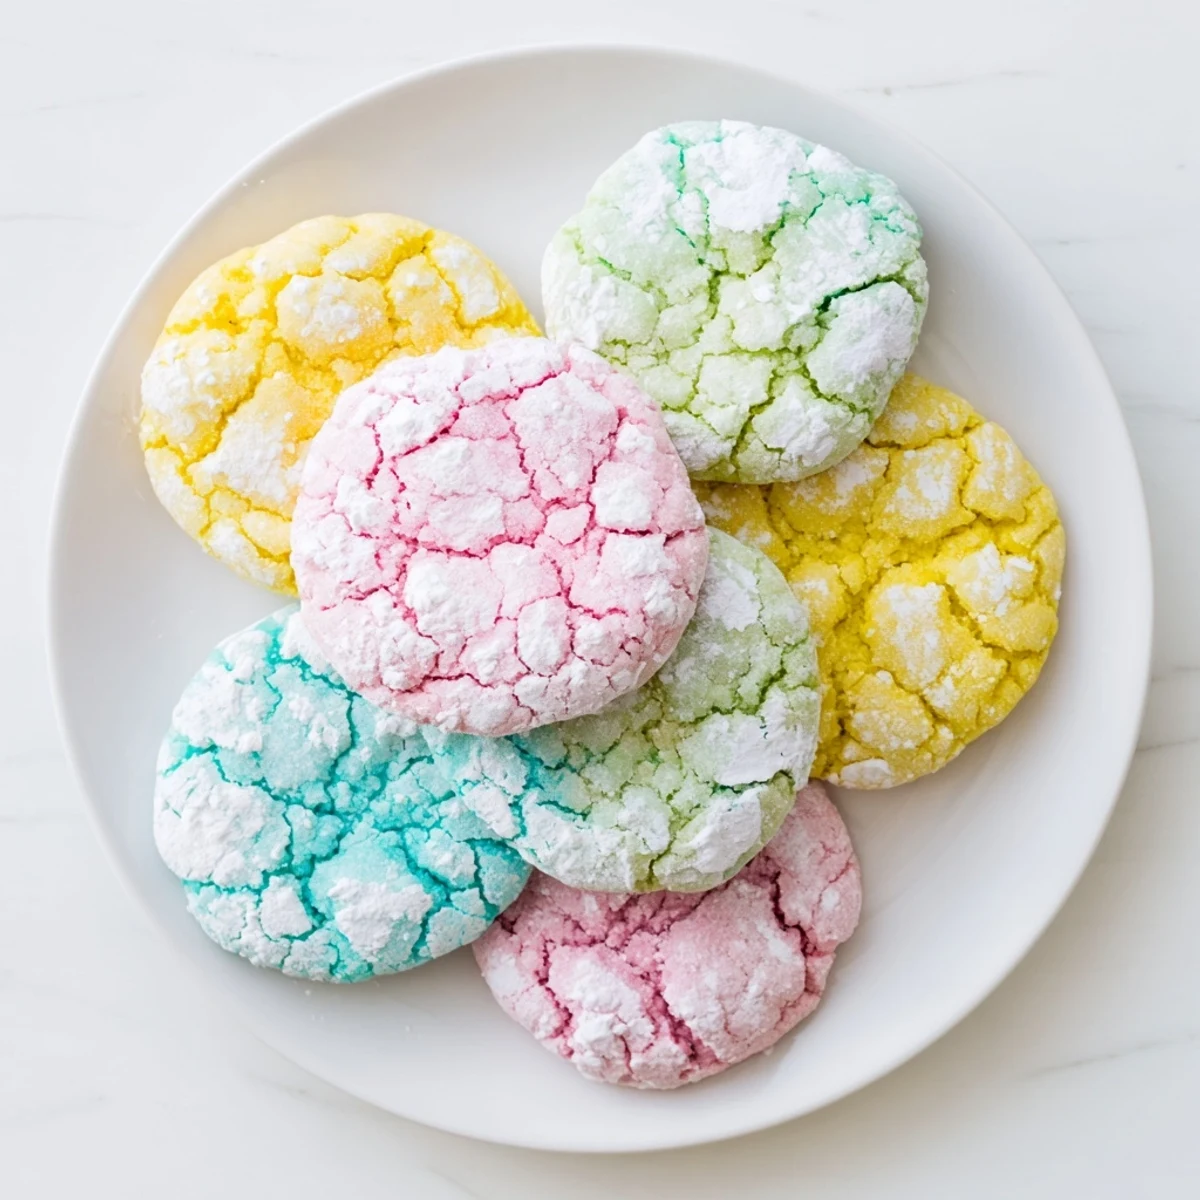
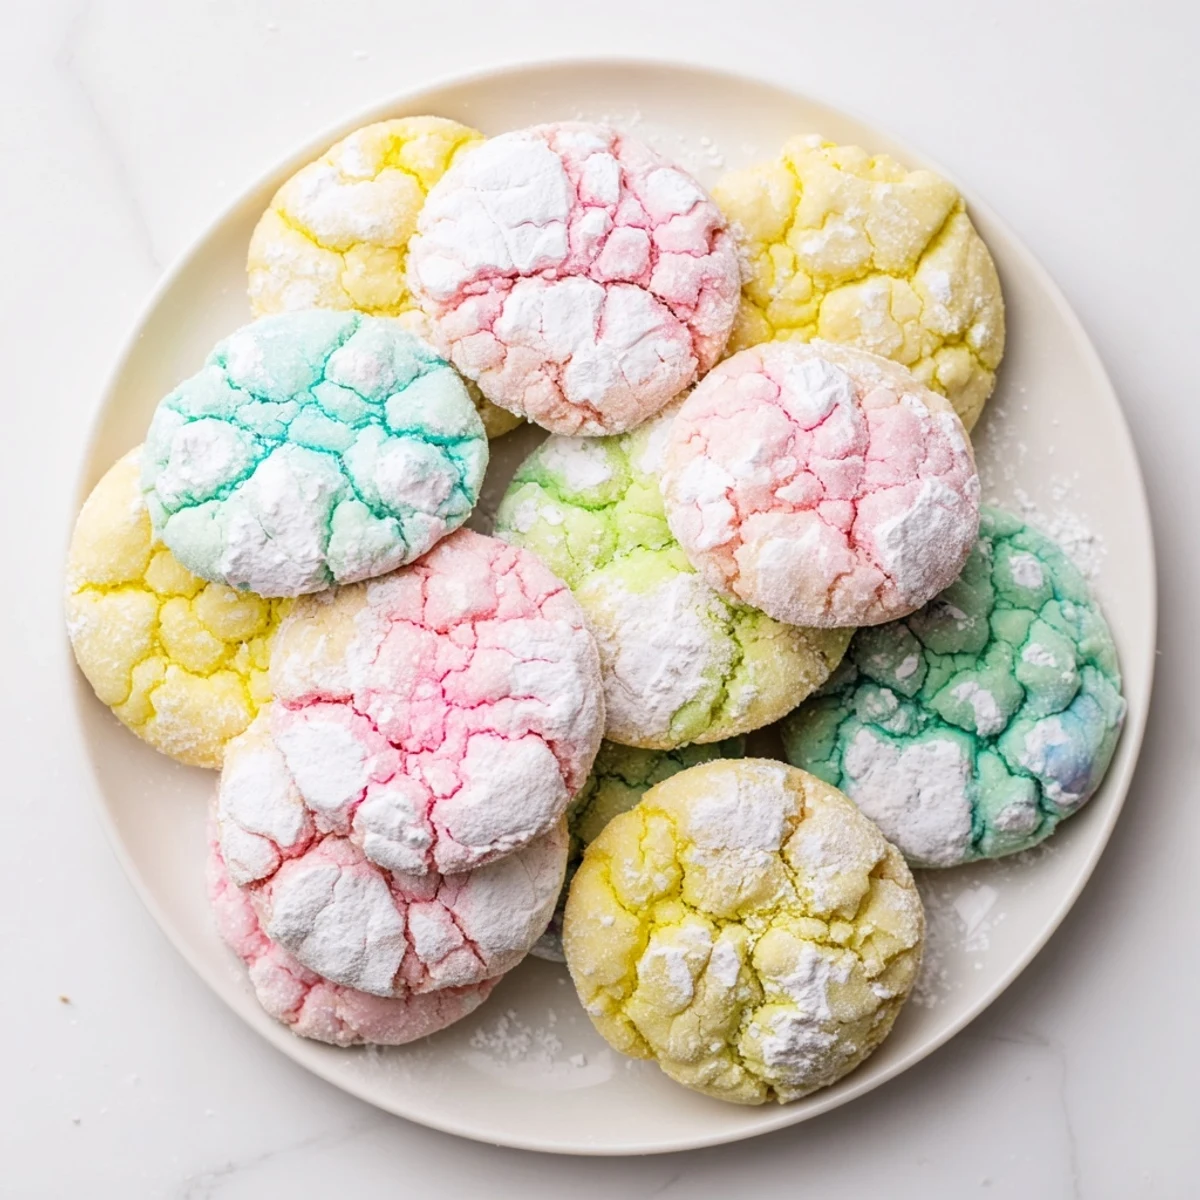
Save These soft, colorful cookies feature a signature crackled appearance from rolling the dough in powdered sugar before baking. The pastel pink, yellow, green, or blue hues make them perfect for spring gatherings, Easter celebrations, or bridal showers.
The dough comes together quickly with basic pantry ingredients, then gets divided and tinted with gel food coloring. After a brief chill in the refrigerator, the dough balls are coated generously in powdered sugar, which creates the beautiful crackled pattern as they bake.
Ready in just 32 minutes, these tender cookies remain soft in the center while developing a delicate, slightly crisp exterior. They pair wonderfully with cold milk or herbal tea.
Last March, I found myself elbow-deep in pastel food coloring, trying to chase away the lingering winter gray with something bright and cheerful. These crinkle cookies emerged from that afternoon of kitchen experimentation, turning my countertop into a confetti of pink, yellow, and green dough. The way they crackled in the oven felt like watching tiny edible flowers blooming on my baking sheet.
My daughter spotted the first batch cooling and immediately declared them fairy cookies, a name that stuck around our house. Now every spring request involves these cheerful treats, and Ive started making them for neighbors as an official welcome to the season. The best part is watching peoples faces when they bite through that snowy sugar layer into the colorful cookie beneath.
Ingredients
- All-purpose flour: The backbone of structure, keeping those cracks beautifully defined
- Baking powder: Essential for the puff that creates those signature crinkles
- Salt: Just a pinch to balance the sweetness
- Unsalted butter: Room temperature is crucial here for proper creaming
- Granulated sugar: Cream this thoroughly with butter for the best texture
- Eggs: Bind everything together while adding richness
- Pure vanilla extract: Warm, familiar comfort in every bite
- Gel food coloring: Pastels work beautifully, but any colors will create the magic
- Powdered sugar: The snowy coating that makes the cracks pop
Instructions
- Preheat and prep:
- Heat your oven to 350°F and line baking sheets with parchment paper so nothing sticks.
- Mix the dry ingredients:
- Whisk together flour, baking powder, and salt in a medium bowl until everything is evenly distributed.
- Cream butter and sugar:
- Beat the softened butter and granulated sugar until the mixture turns pale and fluffy, about 2 to 3 minutes.
- Add eggs and vanilla:
- Beat in the eggs one at a time, then stir in vanilla until the batter looks smooth and glossy.
- Combine doughs:
- Gradually mix in the dry ingredients just until combined, being careful not to overwork the dough.
- Color the dough:
- Divide dough evenly between 3 or 4 bowls, then tint each with a different gel food coloring until the color is uniform.
- Chill briefly:
- Refrigerate the colored doughs for 20 minutes to make them easier to handle and roll.
- Roll in sugar:
- Scoop tablespoon portions, roll into balls, and coat generously in powdered sugar until completely white.
- Space and bake:
- Place dough balls 2 inches apart on prepared sheets and bake for 10 to 12 minutes until puffed and crackled.
- Cool completely:
- Let cookies rest on baking sheets for 5 minutes, then transfer to a wire rack to finish cooling.
 Save
Save These cookies have become my go-to for spring birthdays and classroom treats. Last year my sons teacher asked for the recipe after seeing them in his lunchbox, and now theyre a requested staple at every class celebration.
Getting the Perfect Crackle
The key to those beautiful cracks is the contrast between the powdered sugar exterior and the moist cookie interior spreading in the oven. I learned that rolling the dough balls generously in powdered sugar creates thicker white lines when the cookie expands.
Color Combinations
Pastels feel most like spring, but bold red and green make stunning holiday cookies. You can also swirl two colors together before rolling for a marbled effect that looks like edible watercolor paintings.
Storage and Freezing
These cookies actually improve slightly on day two as flavors meld together. Store them in an airtight container at room temperature for up to a week.
- Freeze unbaked dough balls on a baking sheet before transferring to a freezer bag
- Bake frozen dough balls directly, adding 1 to 2 minutes to the baking time
- Fully baked cookies freeze well for up to 2 months if wrapped tightly
 Save
Save These little clouds of colored cookie joy never fail to make someone smile, whether theyre 5 or 85. Happy baking, and may your spring be sweet and colorful.
Recipe FAQs
- → Why do these cookies develop a crackled appearance?
-
The crackled pattern forms when the powdered sugar coating on the outside of the dough balls interacts with the spreading dough during baking. As the butter melts and the cookies expand, the sugar coating breaks apart, creating the signature crinkled look.
- → Can I use liquid food coloring instead of gel?
-
Gel food coloring works best because it adds vibrant color without thinning the dough. Liquid food coloring can make the dough too sticky, making it difficult to handle and shape. If you only have liquid coloring, add it drop by drop and refrigerate the dough longer until firm.
- → How do I prevent the cookies from spreading too much?
-
Chilling the colored dough for at least 20 minutes helps firm the butter, preventing excessive spreading. Also, avoid overmixing the dough once the dry ingredients are added, and measure your flour accurately by spooning it into the measuring cup rather than scooping directly.
- → Can I make the dough ahead of time?
-
Yes, the colored dough can be wrapped tightly in plastic wrap and refrigerated for up to 2 days before baking. You can also freeze the dough balls on a baking sheet, then transfer them to a freezer bag for up to 2 months. Bake from frozen, adding 1-2 minutes to the baking time.
- → What's the best way to coat the dough evenly in powdered sugar?
-
Drop a dough ball into a bowl of powdered sugar, then gently roll it around using a spoon or your fingers. Press lightly to help the sugar adhere, and ensure the entire surface is coated for the most dramatic crackled effect. Shake off excess sugar before placing on the baking sheet.
- → How do I know when the cookies are done baking?
-
The cookies are ready when they're puffed and the crackled surface has set, but the centers still feel slightly soft when gently touched. They should not be browned around the edges. Remember that they continue to firm up as they cool on the baking sheet.
