 Save
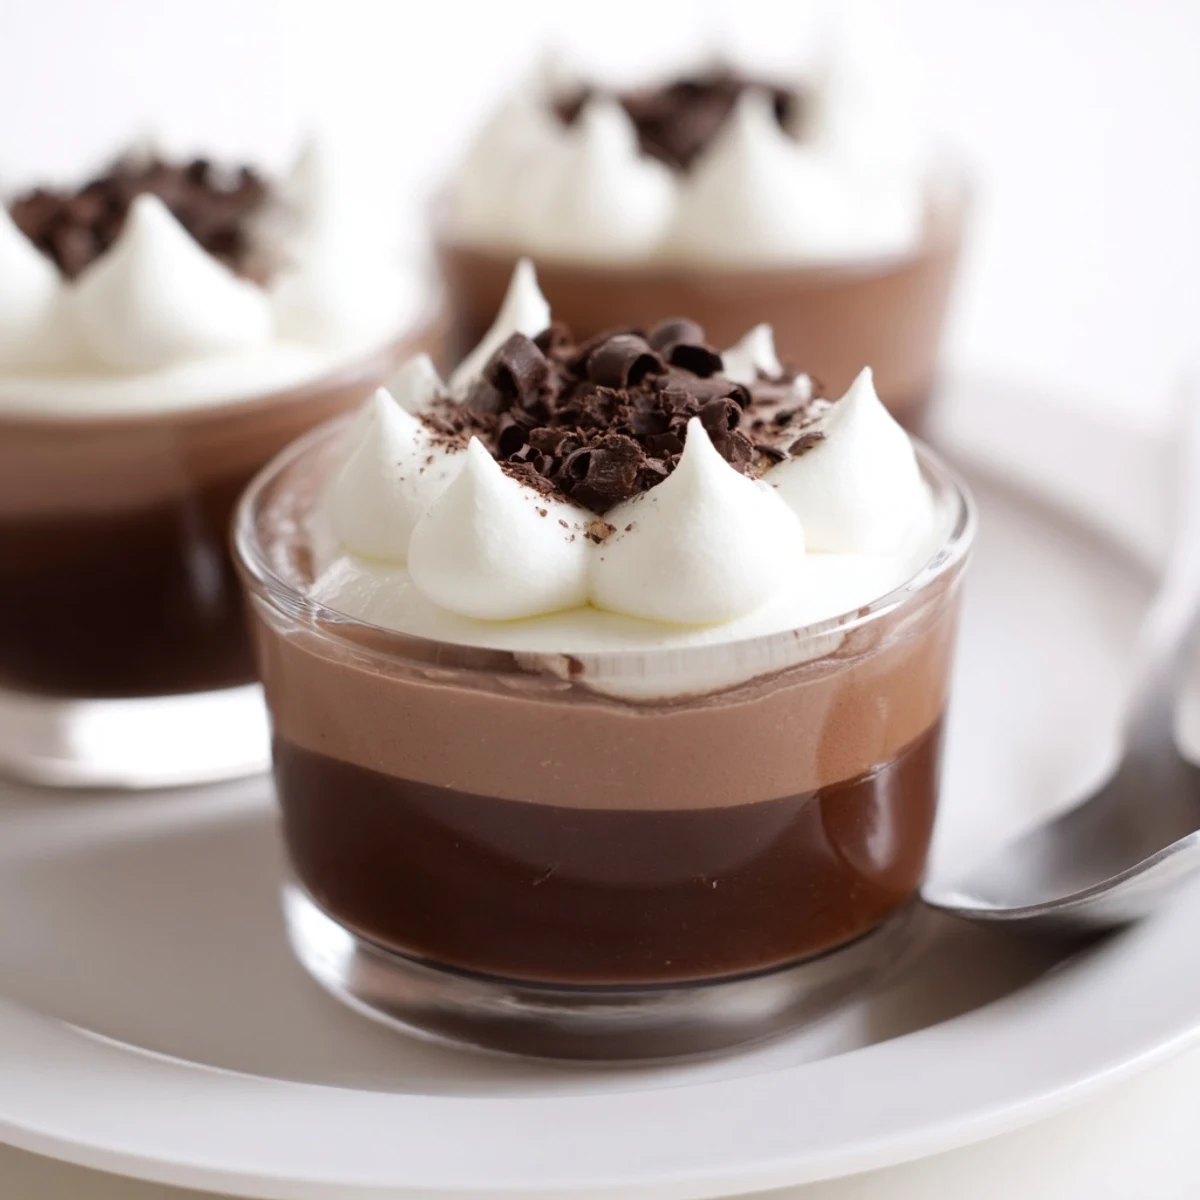
Save This elegant, no-bake dessert layers dark, milk and white chocolate mousses in six cups. Melt each chocolate, whisk an egg yolk with sugar until pale, fold in cooled chocolate, then gently fold in softly whipped cream. Spoon or pipe successive layers, chill until set (about 1 hour). Use quality chocolate, chill between layers for clean lines, and add a splash of coffee liqueur to the dark layer if desired.
The first time I assembled these Triple Chocolate Mousse Cups, the apartment was filled with the warm, bittersweet scent of melted chocolate and the hum of impatient laughter from friends peeking over my shoulder. There&aposs a playful rhythm to layering the three mousses—each one silkier than the last—while hoping no one swoops in for a rogue taste before they set. Watching the distinct hues stack up in delicate glasses is oddly satisfying, promising a luxurious treat for the eyes and palate. Sometimes dessert feels like an event, and this one truly delivers that moment.
One rainy weekend, I made these mousse cups for my family after a board game marathon—by the time we finished playing, the chocolate had set and the anticipation had built deliciously high. Breaking through the soft white mousse to the fudgy darkness below brought more smiles to the table than my hastily folded napkins ever could.
Ingredients
- Dark chocolate (100g, min. 60% cocoa): Essential for a deep cocoa backbone, I’ve learned that higher quality bars melt smoother and intensify the flavor.
- Milk chocolate (100g): This adds mellow, nostalgic creaminess, and a little patience goes a long way in melting it without seizing.
- White chocolate (100g): It turns velvety with gentle heat; choose real white chocolate with cocoa butter for the best texture.
- Egg yolks (3, separated per layer): They lend the structure and richness that turns simple chocolate into a proper mousse.
- Sugar (1 ½ tbsp per mousse): Even a touch is enough—taste after whisking, since each chocolate has its own sweetness.
- Heavy cream (100ml per mousse, cold): Whipped cream gives the mousse their dreamy, cloudlike finish—keep it from getting too stiff or the layers won&apost settle nicely.
- Shaved chocolate or cocoa powder, for garnish: Optional, but scattering a little on top always makes it feel finished and festive.
Instructions
- Layer One: Dark Chocolate Drama
- Melt the dark chocolate gently over simmering water until glossy, then let it cool so it doesn&apost scramble the yolk. Whip the yolk with sugar until it pales, fold in the chocolate, then delicately blend in billowy whipped cream before spooning the mix into six cups.
- Layer Two: Milky Middle
- Repeat the process with the milk chocolate, mixing in the yolk, sugar, and cream carefully, spooning gently atop the dark layer. Watch those lines for clean edges—it&aposs half the fun.
- Layer Three: White Chocolate Finale
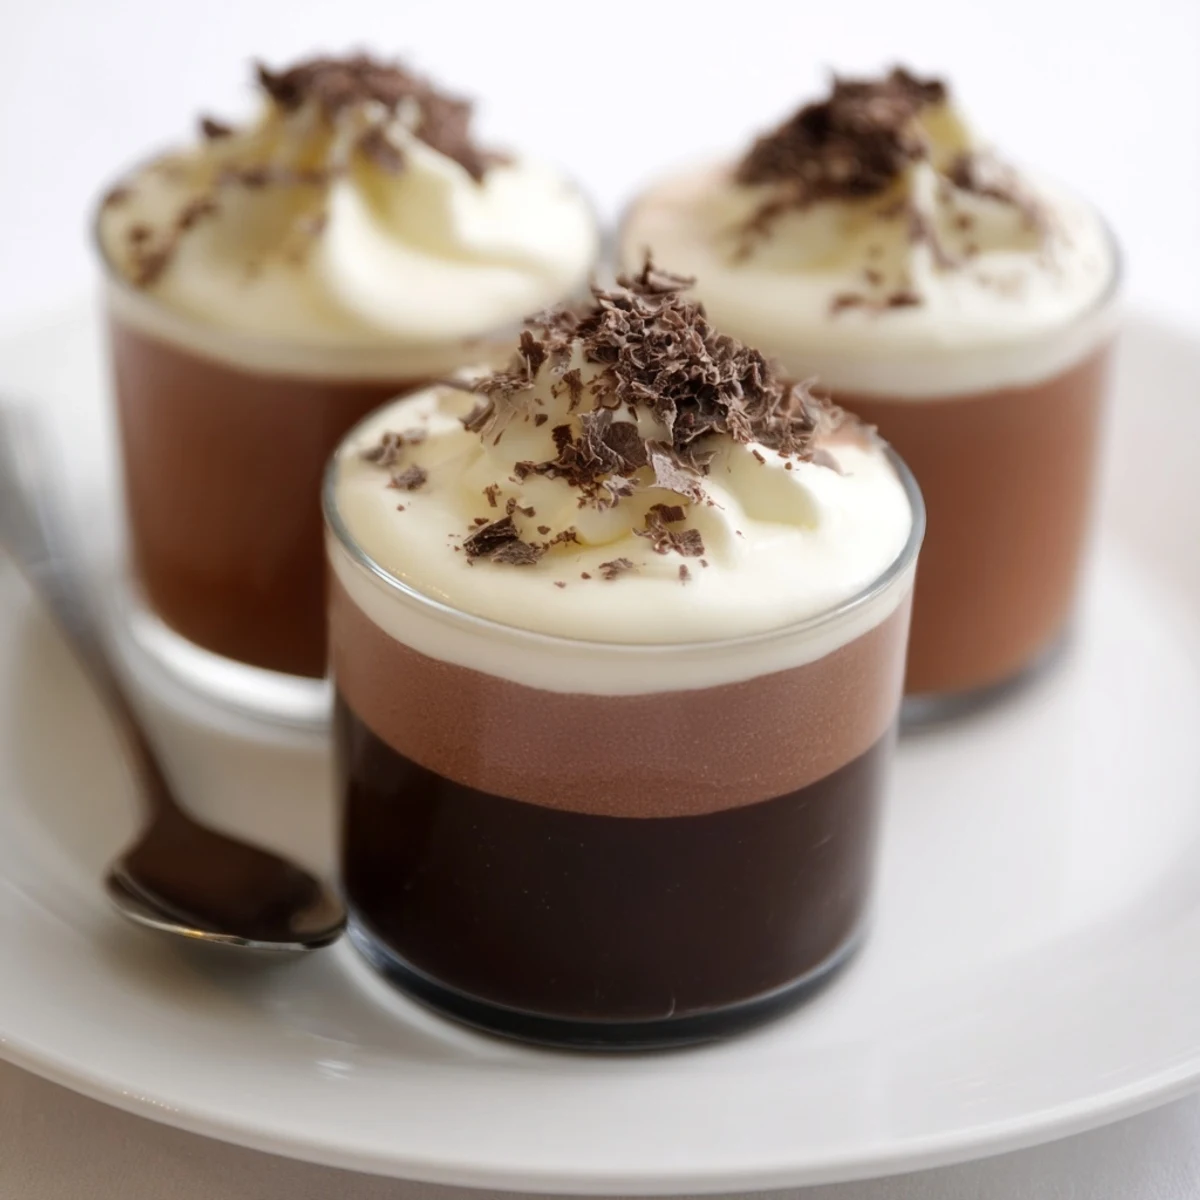
- Do the same dance with the white chocolate, folding in the last yolk, sugar, and whipped cream. Either pipe or spoon this final layer on, then tuck the cups in the fridge for at least an hour so all the layers set firm and fudge-like.
- Finishing Touch
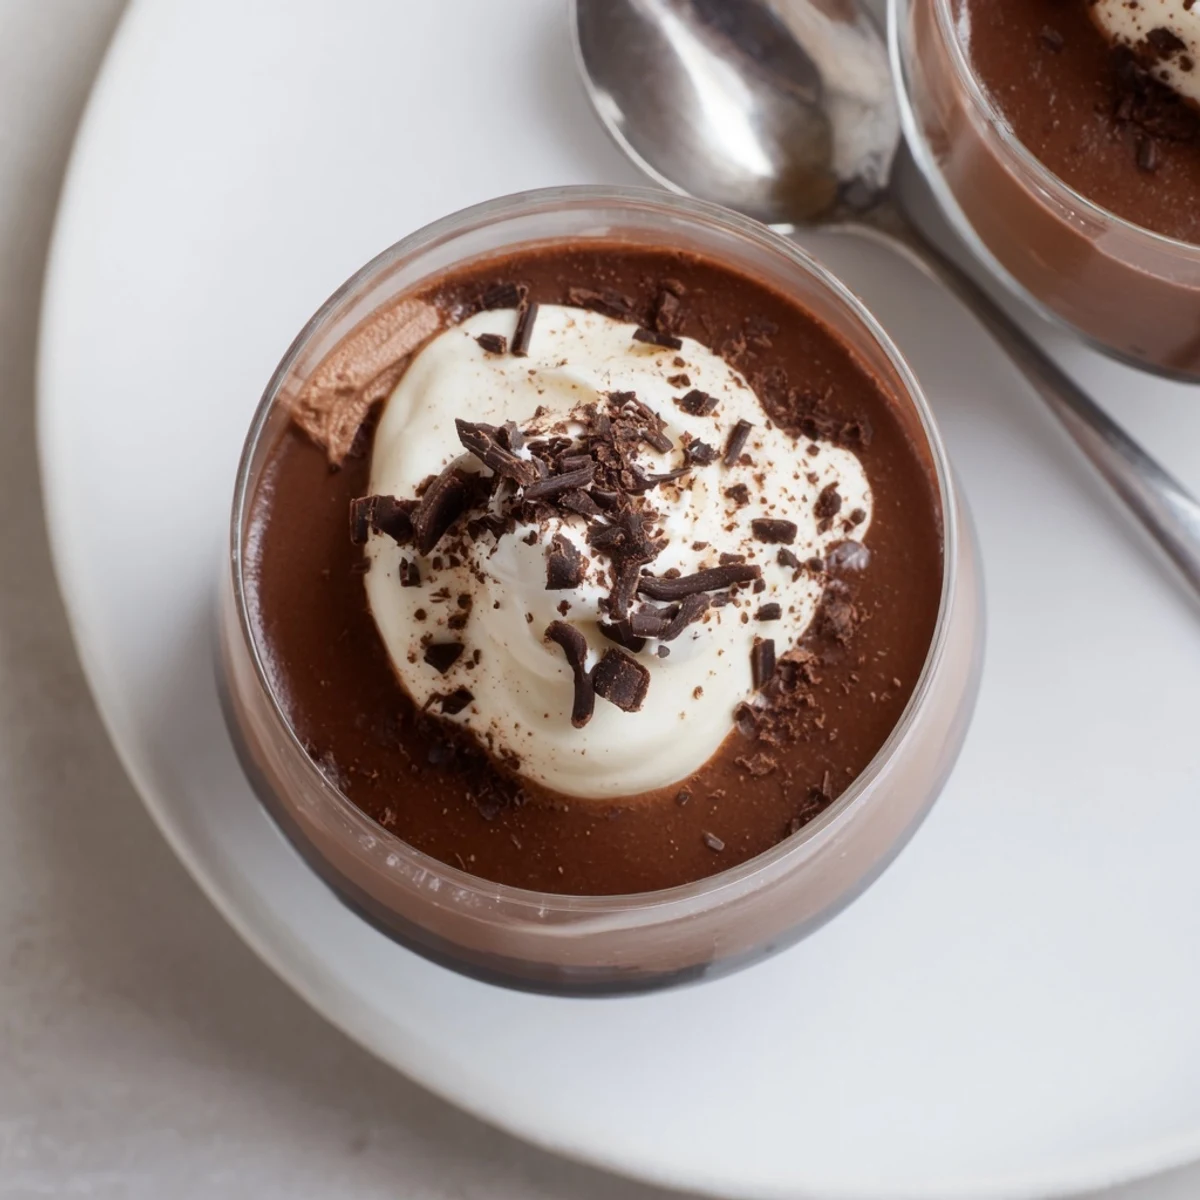
- When ready to serve, add a cloud of shaved chocolate or dusting of cocoa powder on top for an irresistible flourish.
 Save
Save One birthday, I watched my best friend&aposs eyes light up as she cracked through the trio of mousses—it was far better than any cake and became our annual dessert tradition in an instant.
Mastering Consistent Layers
Take your time with each layer and use a small spoon or piping bag to carefully add mousse without disturbing the previous one. Sometimes, sliding the glass around on the counter helps the mousse settle smoothly.
Choosing the Right Chocolate
Using quality chocolate for each layer isn&apost pretentious—it lifts the whole dessert, and you really can taste the difference. Don&apost be afraid to mix brands if that&aposs what you have on hand; it can make the layers more distinct.
Handling the Cream and Chilling
Whipping the cream to just-soft peaks means the mousse will stay airy instead of becoming dense. I keep everything extra cold and always start with a chilled bowl for the best volume.
- Chill each layer thoroughly before adding the next for sharp lines.
- If short on time, use the freezer briefly but not so long that the mousse hardens completely.
- Wipe the glass rims before the final chill to keep the presentation neat.
 Save
Save I hope these mousse cups become your next show-off dessert—they’re as fun to make as they are to eat, whether for a gathering or just to treat yourself.
Recipe FAQs
- → Can I make these ahead of time?
-
Yes. Prepare the cups up to a day in advance and keep covered in the refrigerator; flavours meld and textures remain creamy. For longer storage, freeze briefly and thaw in the fridge before serving.
- → How do I get clean, distinct layers?
-
Chill each layer until slightly set before adding the next. Use a chilled spoon or pipe the next layer gently to avoid breaking the layer below. A 25–30 minute chill in the freezer between layers speeds setting without freezing solid.
- → Are raw egg yolks safe to use?
-
These mousses use raw egg yolks tempered with warm chocolate. Use fresh, high-quality eggs or pasteurized yolks if concerned. Alternatively, use a light sabayon or stabilized whipped cream to reduce raw-egg exposure.
- → Can I vary the chocolates or add liqueur?
-
Yes. Swap bars for different cocoa percentages to adjust intensity. Add a splash of coffee liqueur to the dark chocolate layer or orange liqueur to the milk layer for extra depth—add sparingly to avoid thinning the mousse.
- → How do I achieve stable mousse texture?
-
Whip the cream to soft peaks and fold gently to preserve air. Ensure melted chocolate is cooled slightly before folding into yolks to prevent curdling. Keep proportions of chocolate to cream consistent for a smooth, stable set.
- → What garnishes work best?
-
Finish with shaved chocolate, a dusting of cocoa powder, or a few chocolate curls. Thinly sliced toasted nuts or a sprinkle of sea salt can add texture and contrast to the creamy layers.
