 Save
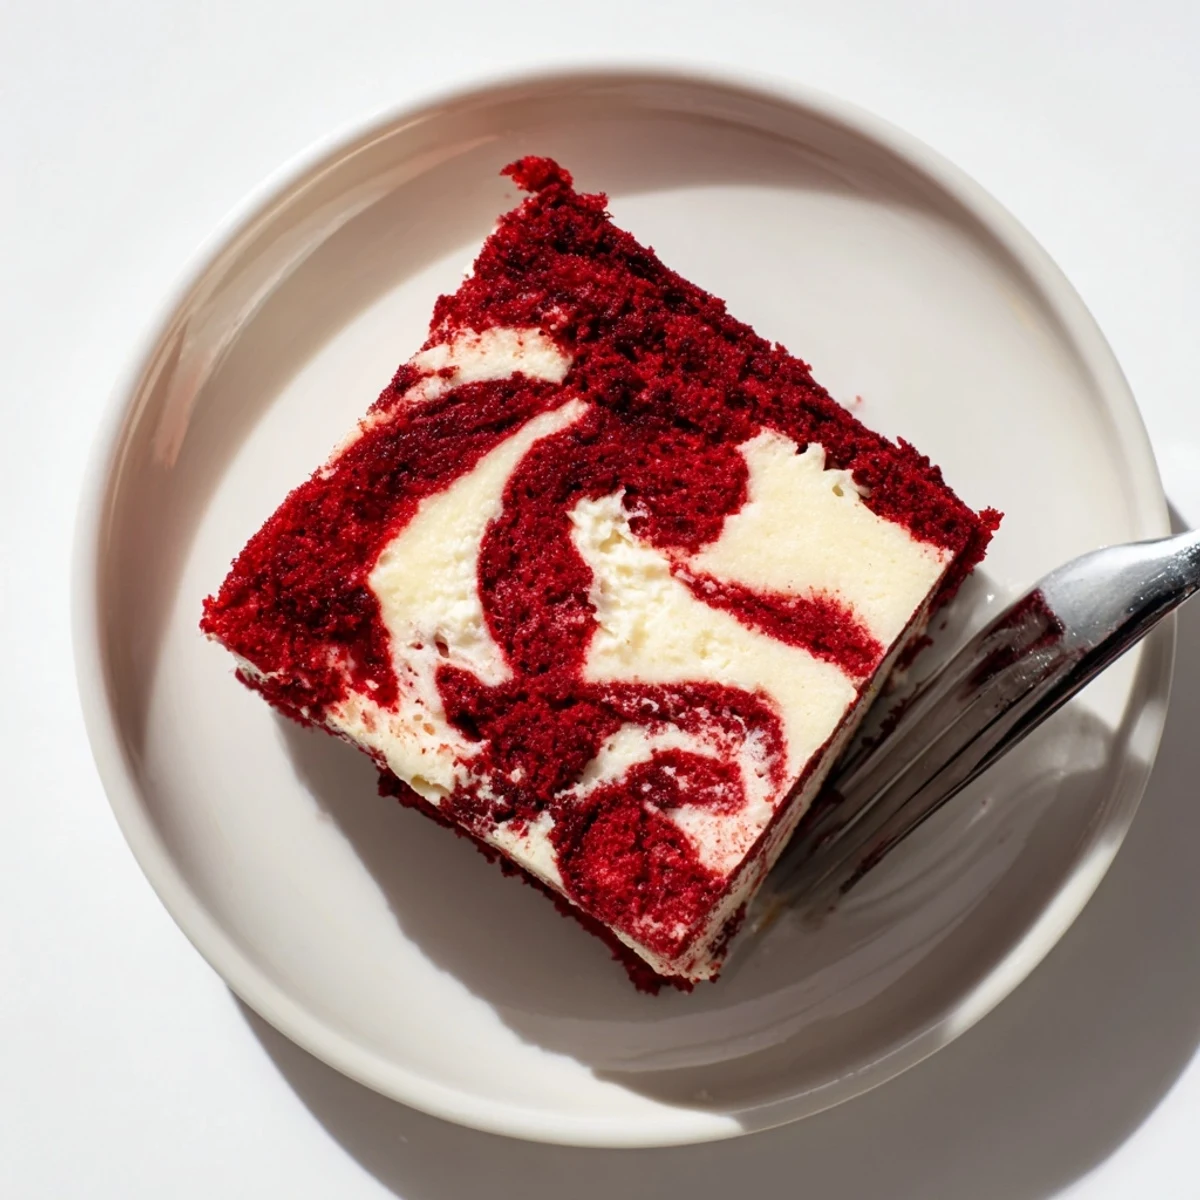
Save This stunning dessert combines the classic appeal of red velvet with the rich, tangy sweetness of cheesecake. The moist, vibrant red velvet batter pairs perfectly with creamy cheesecake swirls, creating a beautiful marbled effect that looks impressive on any table. Ready in just over an hour, this American-style dessert yields 12 generous servings, making it ideal for birthdays, holidays, or special occasions. The buttermilk keeps the velvet layers incredibly tender, while the cream cheese swirls add a luxurious creaminess that balances the subtle cocoa notes.
My neighbor Sarah brought this over after I helped her move apartments last spring. I took one bite and actually stopped conversation mid sentence to ask for the recipe. The way that tangy cheesecake ribbon cuts through the tender red velvet is absolute magic.
I made this for my sisters birthday instead of a traditional layer cake. Everyone stood around the kitchen island watching me cut the first slice just to see that marble pattern inside. Now its the only birthday cake she ever requests.
Ingredients
- 2 cups all purpose flour: Provides the structure for that velvety tender crumb we love
- 1 ½ cups granulated sugar: Sweetens both the cake and helps create that moist texture
- 1 tsp baking powder: Gives the red velvet lift without making it too airy
- ½ tsp baking soda: Works with the buttermilk for that classic velvet softness
- 1 tbsp unsweetened cocoa powder: Just enough for subtle chocolate depth without overpowering
- ½ tsp salt: Balances the sweetness and enhances all the flavors
- 1 cup buttermilk room temperature: The secret ingredient for tender moist cake every time
- ½ cup vegetable oil: Keeps the cake incredibly moist better than butter would here
- 2 large eggs room temperature: Bind everything together and add richness
- 2 tsp vanilla extract: Pure vanilla makes both layers taste homemade
- 1 tsp white vinegar: Reacts with baking soda for extra tenderness
- 2 tbsp red food coloring: Gel coloring gives the most vibrant red hue
- 8 oz cream cheese softened: Use full fat for the creamiest swirl texture
- ⅓ cup granulated sugar: Just enough sweetness to let the tangy cream cheese shine
- 1 large egg: Sets the cheesecake layer while keeping it creamy
- 1 tsp vanilla extract: Rounds out the cheesecake filling beautifully
Instructions
- Preheat your oven and prepare the pan:
- Heat oven to 350°F and line a 9x13 inch pan with parchment paper.
- Mix the dry ingredients:
- Whisk flour sugar baking powder baking soda cocoa and salt in a large bowl.
- Combine the wet ingredients:
- Whisk buttermilk oil eggs vanilla vinegar and food coloring until fully blended.
- Make the red velvet batter:
- Pour wet into dry and mix just until combined. Over mixing makes tough cake.
- Spread the batter:
- Pour into your prepared pan and smooth it evenly with a spatula.
- Prepare the cheesecake swirl:
- Beat cream cheese until smooth then add sugar egg and vanilla until creamy.
- Create the marble effect:
- Dollop cheesecake mixture over the batter. Swirl gently with a knife.
- Bake to perfection:
- Bake 45 to 50 minutes until a toothpick comes mostly clean.
- Cool completely:
- Let the cake cool completely in the pan before slicing.
 Save
Save My dad who claims to not like desserts went back for thirds at our last family gathering. Watching him sneak another slice from the kitchen when he thought no one was looking is now one of my favorite food memories.
Getting The Perfect Swirl
I learned the hard way that swirling too much blends the layers completely. Just four or five gentle figure eights gives you that beautiful marble pattern. Less is definitely more here.
Serving Suggestions
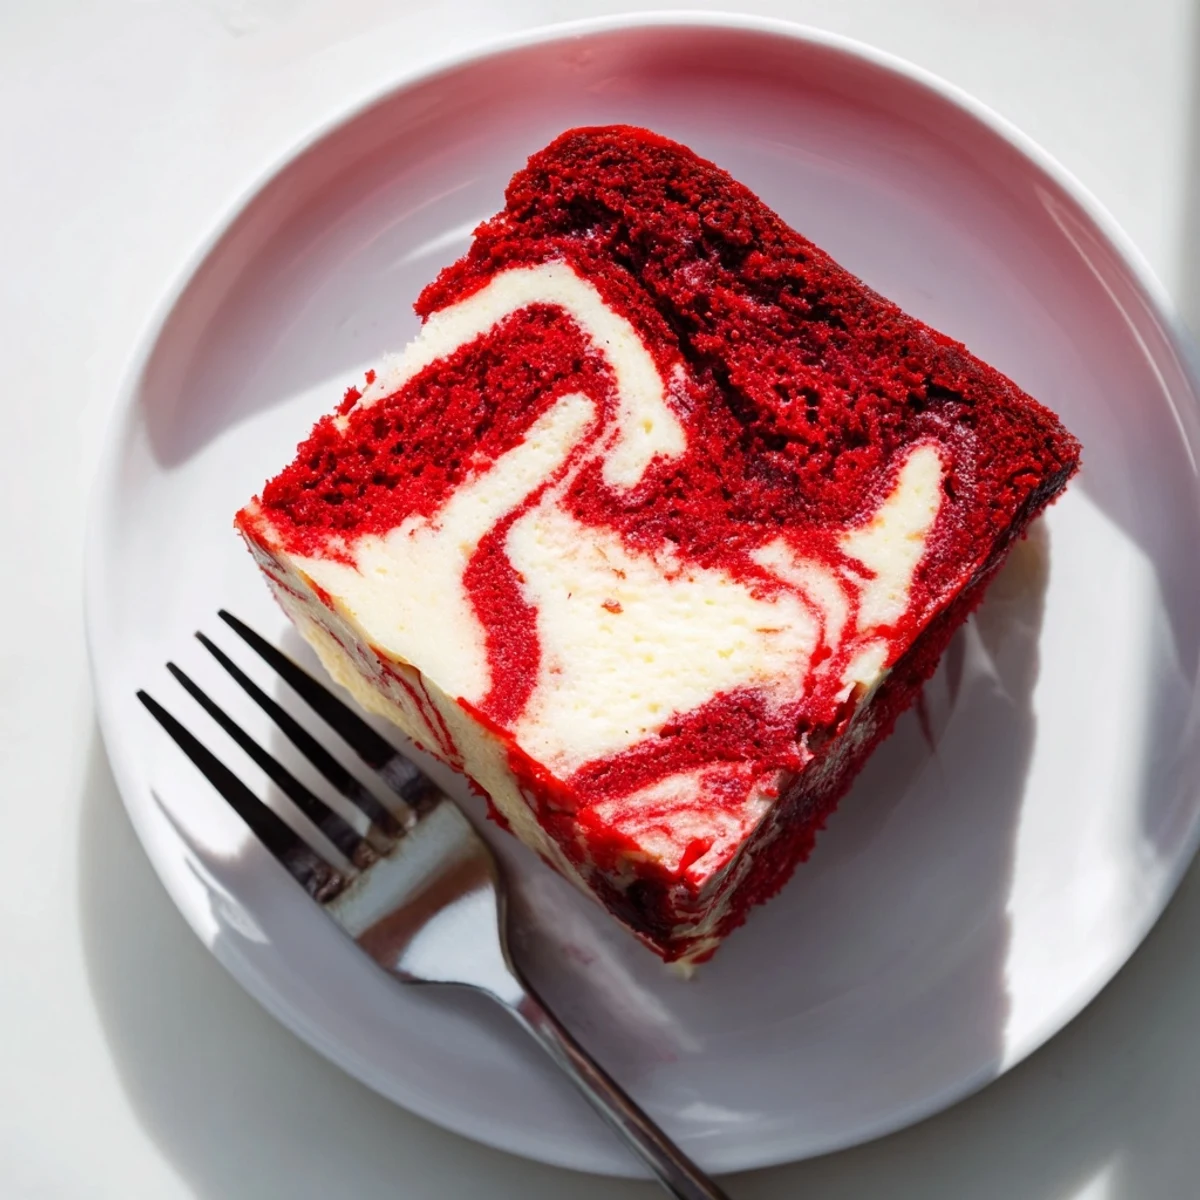
This cake tastes even better after chilling overnight in the refrigerator. The flavors meld together and the texture becomes incredibly dense and fudgey. I serve it slightly chilled with fresh berries on the side.
Storage And Make Ahead Tips
You can bake this cake up to two days before serving. Keep it tightly covered in the refrigerator and the red velvet stays perfectly moist while the cheesecake firms up nicely.
- Press plastic wrap directly against cut surfaces to prevent drying
- Bring slices to room temperature for 20 minutes before serving
- This actually freezes beautifully for up to 3 months
 Save
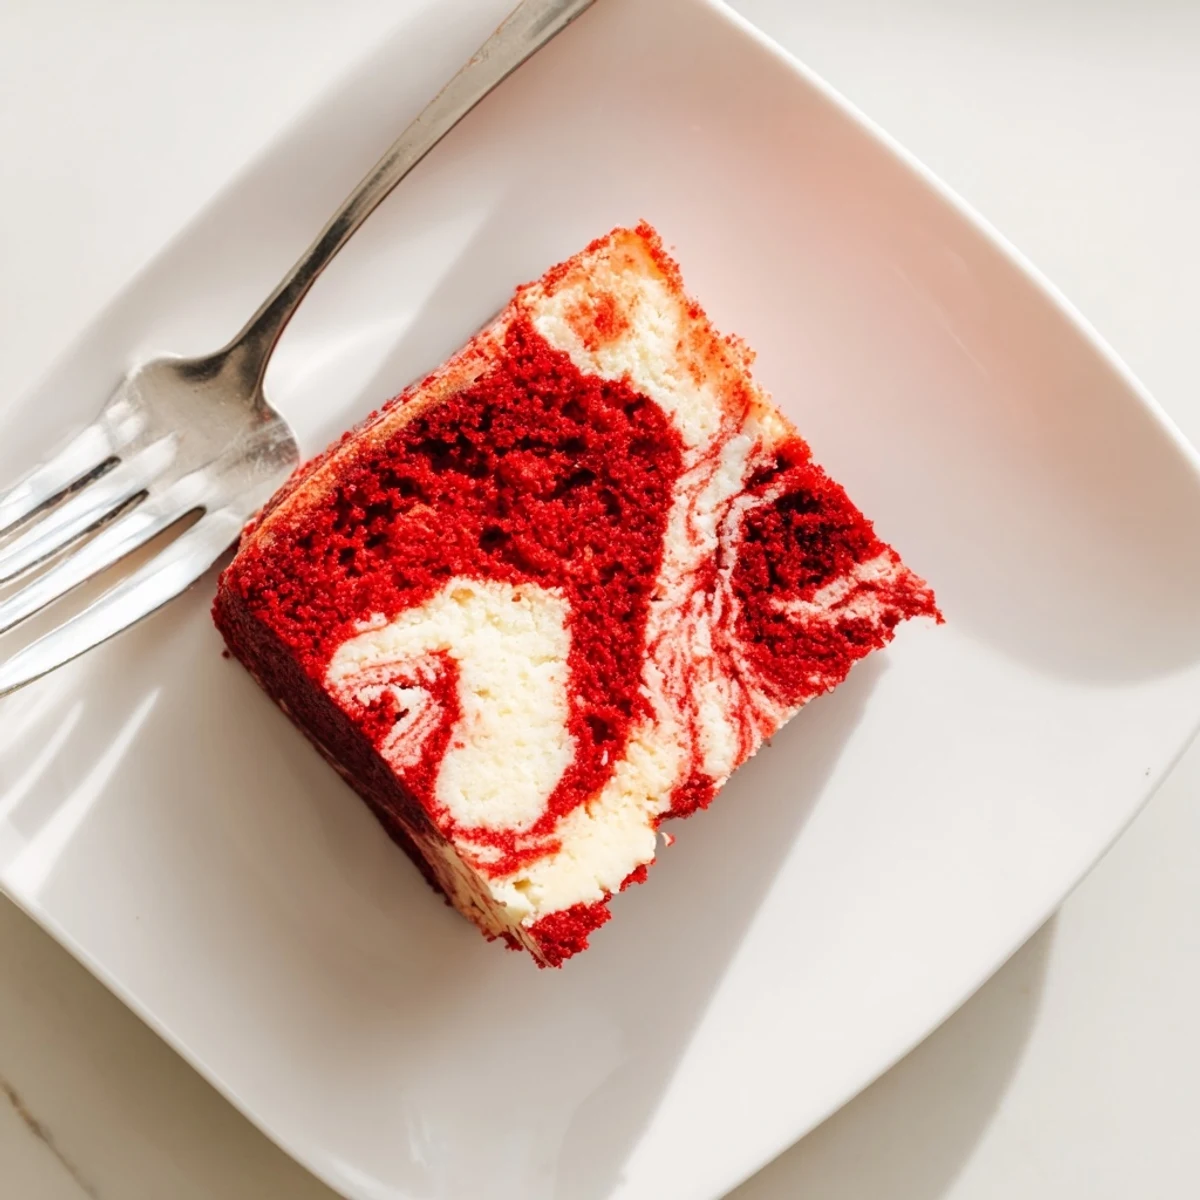
Save There is something about slicing into this cake that feels like revealing a little edible masterpiece. Hope it becomes as loved in your kitchen as it is in mine.
Recipe FAQs
- → How do I get the perfect marble swirl effect?
-
Dollop spoonfuls of cheesecake batter over the red velvet base, then use a knife or skewer to gently swirl through both layers. Use a figure-eight or circular motion, being careful not to overmix—the goal is distinct marbling, not blending completely.
- → Can I use natural food coloring instead?
-
Natural options like beet juice or pomegranate juice can work, though the result may be more muted. Gel food coloring provides the most vibrant red hue with less liquid, which won't affect the batter's consistency.
- → How should I store leftovers?
-
Keep the cake covered in the refrigerator for up to 4 days. The cheesecake swirls make it best served chilled, though it's also delicious at room temperature. Bring to room temperature 30 minutes before serving for the best texture.
- → Why is buttermilk important in this batter?
-
Buttermilk's acidity activates the baking soda, creating extra lift and tenderness. It also adds a subtle tang that complements both the cocoa in the velvet layers and the cream cheese swirls, creating a more complex flavor profile.
- → Can I make this in a different pan size?
-
A 9x13-inch pan creates the ideal thickness for both layers to bake evenly. Round pans (two 9-inch) work too but may need 5-10 minutes less baking time. Avoid smaller pans as the increased depth could prevent proper baking.
- → What's the best way to tell when it's done?
-
Insert a toothpick into the center—it should come out mostly clean. A few moist crumbs or a slight cheesecake residue is fine, but wet batter means more time is needed. The edges should pull slightly from the pan.
