 Save
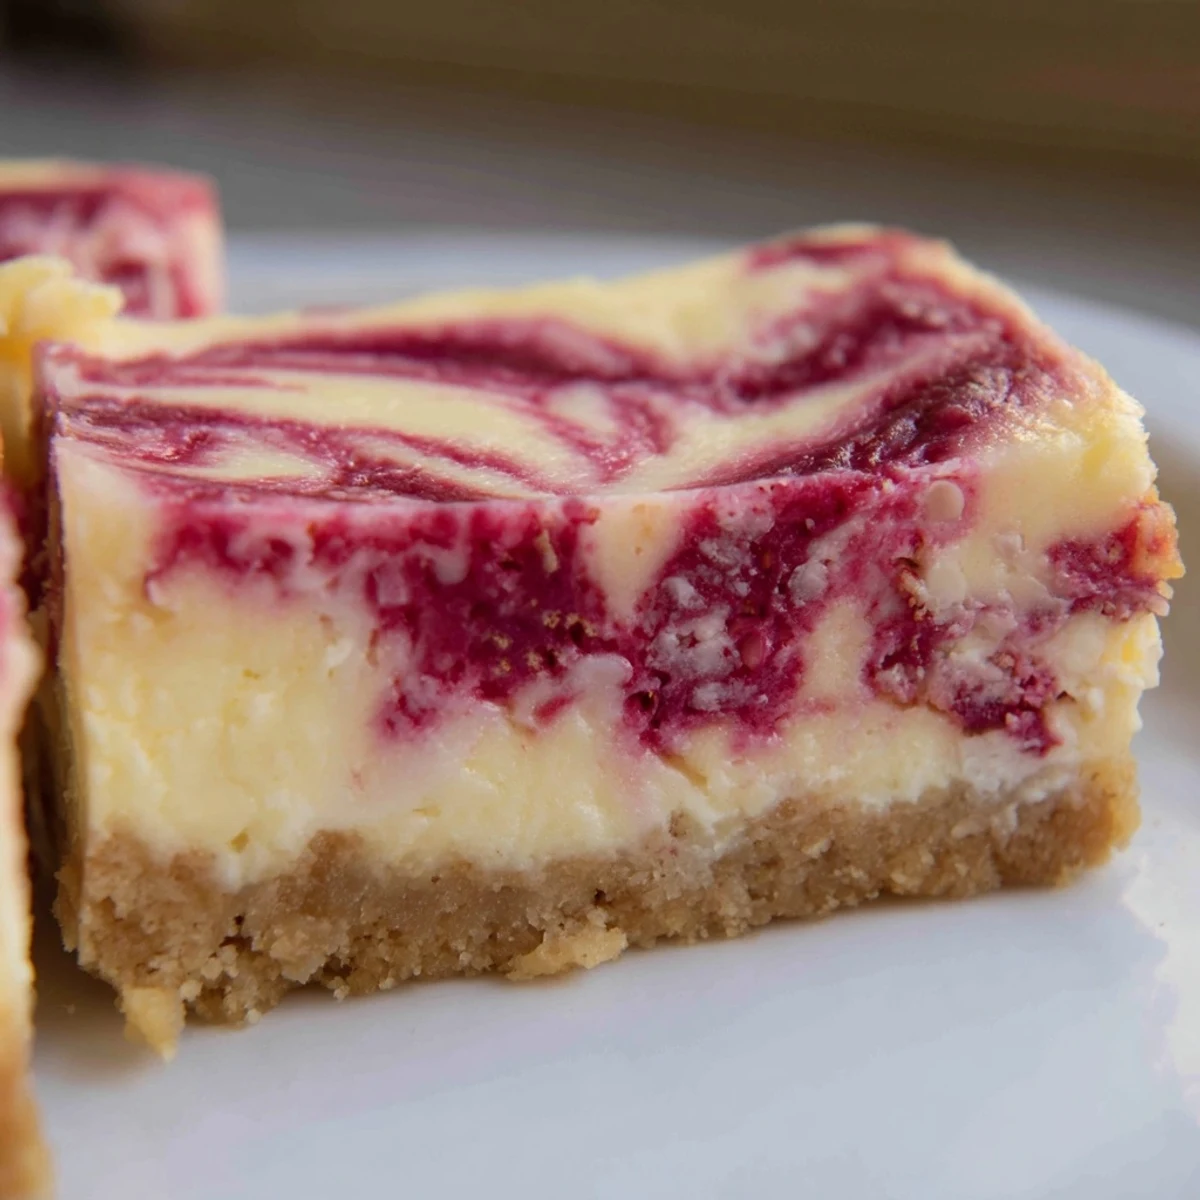
Save These creamy bars combine a smooth cream cheese base with rich white chocolate and vibrant raspberry swirls, all set on a buttery graham cracker crust. The raspberry puree adds a bright, tart contrast to the sweet and luscious filling, creating a harmonious balance of flavors. Baked to perfection and chilled before serving, these bars offer a luscious texture and rich taste that suits any casual or special occasion. Optional toppings like pistachios or almonds boost the crunch and nutty notes.
The first time I made these bars, I was standing in my kitchen on a Sunday afternoon with my sister, and she'd just mentioned how much she missed the raspberry cheesecake from this little bakery that closed down years ago. I had cream cheese on hand and a pint of raspberries that were getting soft, so I thought, why not try to recreate it in bar form? What started as a spontaneous baking session turned into something neither of us expected—these gorgeous, fudgy squares with that perfect tartness cutting through all the creamy richness.
I brought these to a potluck the following weekend, and honestly, they were gone before I even sat down. Someone asked if I'd bought them from a bakery, which might sound silly, but that's the moment I knew I'd nailed it. Now I make them whenever I want to impress people without spending all day in the kitchen.
Ingredients
- Graham cracker crumbs: The foundation that holds everything together; make sure to pack them firmly so your crust stays intact when you bite into a bar.
- Granulated sugar (for crust and filling): Keeps the sweetness balanced without adding unnecessary moisture.
- Unsalted butter: Melted butter binds the crust perfectly and adds that buttery flavor without the salt competing with the toppings.
- Fresh or frozen raspberries: Both work beautifully; thawed frozen raspberries will have released some juice, so adjust your cooking time slightly.
- Lemon juice: Brightens the raspberry sauce and cuts through the richness of the cheesecake like a little flavor revelation.
- Cream cheese: Must be softened to room temperature or your filling will have lumps that no amount of mixing can fix.
- Eggs: Add structure and richness; add them one at a time so everything incorporates smoothly.
- Vanilla extract: A quiet background note that brings all the flavors together without announcing itself.
- Sour cream: Adds tang and keeps the texture tender instead of dense and heavy.
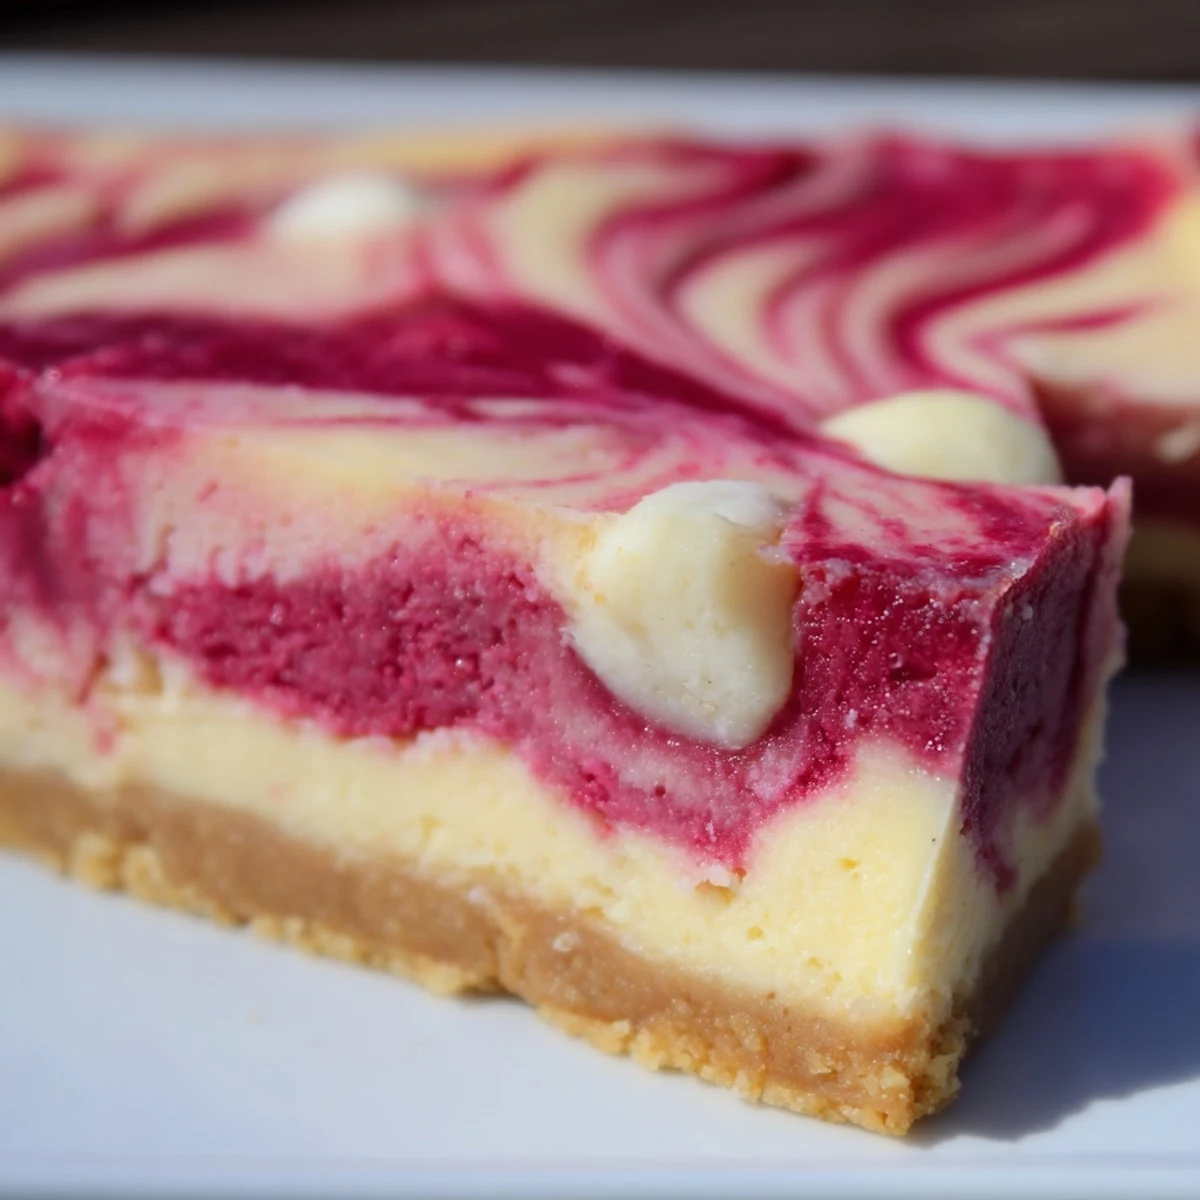
- White chocolate: Both melted and in chip form for layers of creamy texture and sweet flavor throughout.
Instructions
- Set the stage:
- Preheat your oven to 325°F and line your 8-inch square pan with parchment paper, leaving some overhang on the sides so you can pull the whole thing out later. This small step saves you from the frustration of trying to wrestle these out of the pan.
- Build the crust:
- Mix your graham cracker crumbs, sugar, and melted butter in a bowl until it feels like damp sand, then press it firmly into the pan's bottom. Bake for 8 minutes just to set it, then let it cool while you tackle the next parts.
- Make the raspberry puree:
- Combine your raspberries, sugar, and lemon juice in a saucepan over medium heat, stirring and mashing as they break down. Once they've turned into a thick sauce (about 5 minutes), strain them through a fine mesh sieve to remove the seeds, which makes the texture silky instead of grainy.
- Create the filling:
- Beat your softened cream cheese and sugar until it's absolutely smooth and creamy—this is non-negotiable because lumpy cream cheese will ruin the texture. Add eggs one at a time, waiting until each one is fully mixed before adding the next, then stir in vanilla and sour cream.
- Fold in the chocolate:
- Pour in your melted white chocolate and mix until completely combined, then gently fold in the white chocolate chips so they stay somewhat intact and give you those little bursts of sweetness.
- Assemble and swirl:
- Pour the filling over your cooled crust and smooth the top, then drop spoonfuls of raspberry puree across it. Use a knife or skewer to drag through the puree, creating a marbled pattern that looks like you planned it all along.
- Bake until set:
- Bake for 30 to 32 minutes until the edges look set but the very center still jiggles slightly when you nudge the pan—this means it'll be creamy, not dense. The residual heat will finish the cooking as it cools.
- Chill completely:
- Let it cool to room temperature first, then refrigerate for at least 3 hours so the layers set properly and you can slice clean bars instead of a crumbly mess.
 Save
Save I realized these bars had become a tradition when my neighbor started asking me to bring them to block parties before I'd even finished eating my own plate. There's something special about food that people actually remember and ask for again.
Making Them Your Own
These bars are a great canvas for playing around with flavors. I've swapped the raspberries for strawberry puree and added a touch of almond extract, which felt like a completely different dessert. You could also try blackberries, or even a mixed berry situation if that's what your kitchen has on hand. The white chocolate is what ties everything together, so I wouldn't mess with that part, but everything else is fair game.
Storage and Make-Ahead Tips
These actually taste better the next day once all the flavors have had time to get to know each other. You can store them covered in the fridge for up to 5 days, or wrap them individually and freeze them for up to a month if you want to have homemade dessert on standby. They also travel well, which makes them sneakily perfect for bringing somewhere.
Pairing Suggestions and Serving
These are rich enough to stand on their own, but a glass of something cold makes them feel a little fancier. I've served them with iced tea, Moscato, or even just a strong cup of coffee in the afternoon. They're small enough that people can grab one without feeling guilty, but substantial enough that one or two feels like a real dessert.
- Cut them into neat squares by wiping your knife between each slice with a warm, damp towel.
- Let them sit at room temperature for a few minutes before serving so the flavors aren't muted by the cold.
- A tiny sprinkle of lemon zest on top adds a bright finishing touch if you want to get fancy.
 Save
Save These bars remind me that the best desserts are the ones people keep coming back for, not the ones that look perfect on Instagram. They're an excuse to gather people together and share something that took care and a little bit of love to make.
Recipe FAQs
- → What type of crust is used for these bars?
-
A buttery graham cracker crumb crust is baked briefly to provide a firm yet tender base for the bars.
- → How is the raspberry swirl prepared?
-
Fresh raspberries are cooked with sugar and lemon juice, then strained to remove seeds before swirling into the filling.
- → Can I substitute the white chocolate in this dessert?
-
Yes, white chocolate chips and melted white chocolate are both used, but you can adjust quantities or try milk chocolate for variation.
- → How long should the bars chill before serving?
-
Chill the bars in the refrigerator for at least three hours to allow them to set properly before slicing.
- → Are there any suggested toppings to enhance texture?
-
Chopped pistachios or sliced almonds can be sprinkled on top before baking for extra crunch and flavor.
