 Save
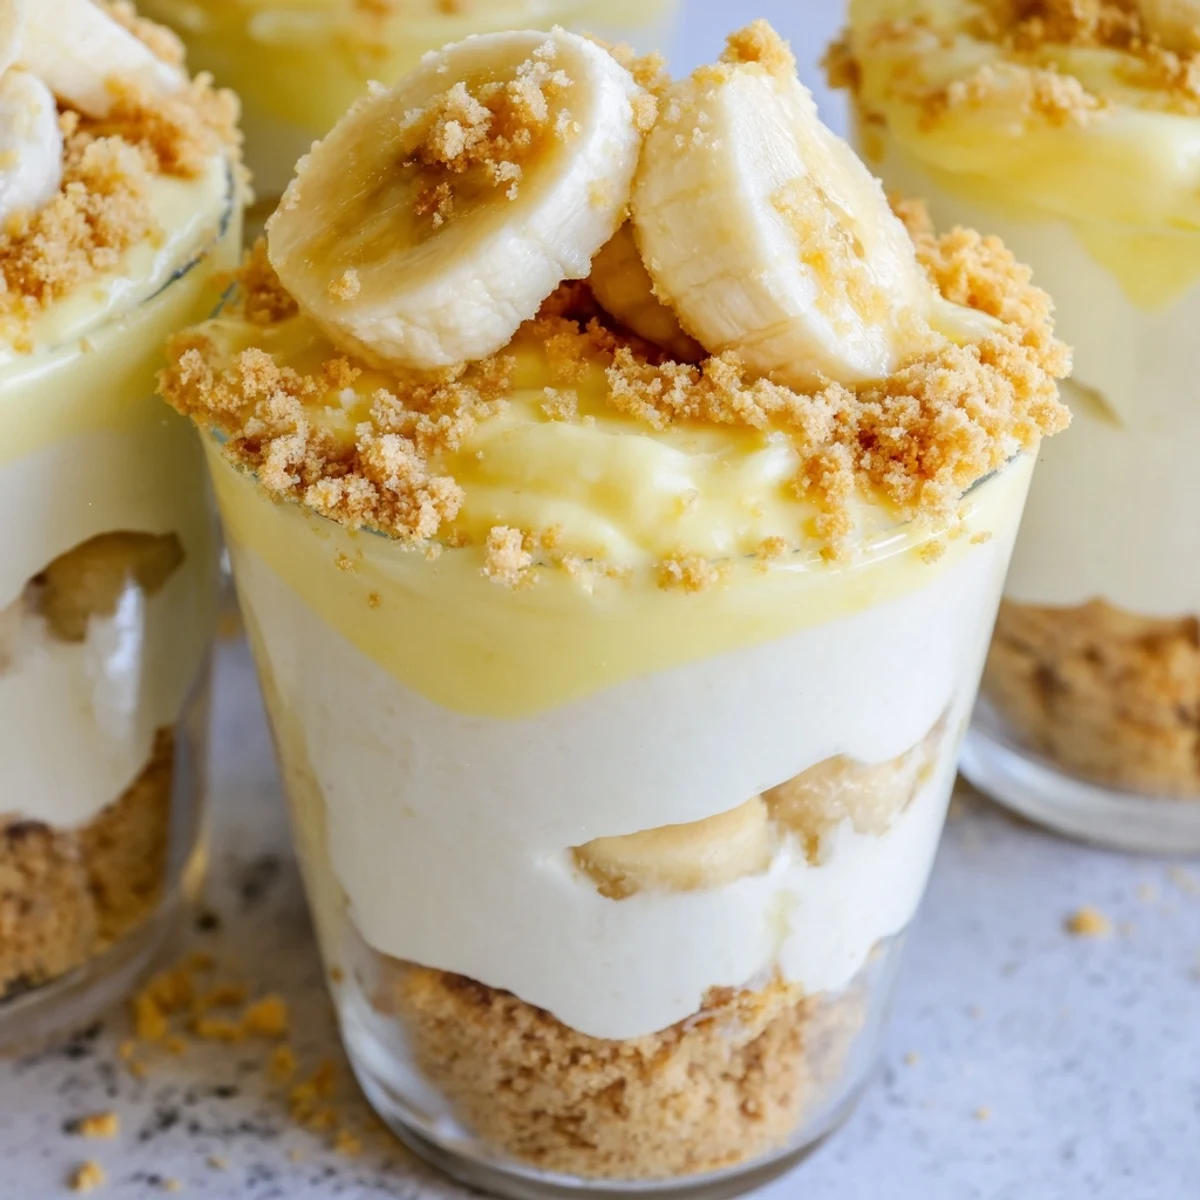
Save These individual cups feature buttery vanilla wafer crust topped with velvety cheesecake filling and classic banana pudding. Fresh banana slices add natural sweetness while crunchy wafer crumbs provide satisfying texture. The entire dessert comes together in just 20 minutes without turning on the oven—perfect for warm weather or last-minute entertaining.
Each cup delivers creamy richness from the whipped cream and cream cheese blend, balanced by the light, fruity banana pudding layer. The individual portions make serving effortless, and guests will love the beautiful layered presentation.
Last summer, my neighbor brought these to our block party and I practically hovered over the dessert table until she finally wrote the recipe down for me on a napkin. Now they're my go-to when I need something impressive but don't want to turn on the oven.
I made these for my daughter's birthday instead of a traditional cake, and the kids went absolutely wild for them. Something about having their own little cup made it feel extra special, and the adults were just as excited about the flavors.
Ingredients
- Vanilla wafer cookies: Crushing these by hand gives you the perfect texture variation—some fine crumbs, some slightly larger pieces create a better crust
- Unsalted butter: Melt it completely so every cookie particle gets coated and holds together beautifully when pressed
- Cream cheese: Let it sit on the counter for a full hour—cold cream cheese creates lumps that no amount of mixing can fix
- Heavy whipping cream: Keep it ice cold in the fridge until the exact moment you need to whip it
- Instant banana pudding mix: The classic boxed version actually works better here than homemade pudding for stability
- Ripe bananas: Look for bananas with brown spots—they're sweeter and mash into the layers more easily
Instructions
- Build the crust foundation:
- Mix your crushed wafers with melted butter until it feels like damp sand, then press firmly into each cup using the back of a spoon.
- Create the cheesecake base:
- Beat that softened cream cheese with sugar and vanilla until it's silky smooth—this takes about 2 minutes of patience.
- Whip the cream:
- Watch those cold cream transform into stiff peaks, then gently fold it into your cream cheese mixture.
- Prepare the pudding layer:
- Whisk the pudding mix with cold milk for exactly 2 minutes until it's thick enough to hold its shape.
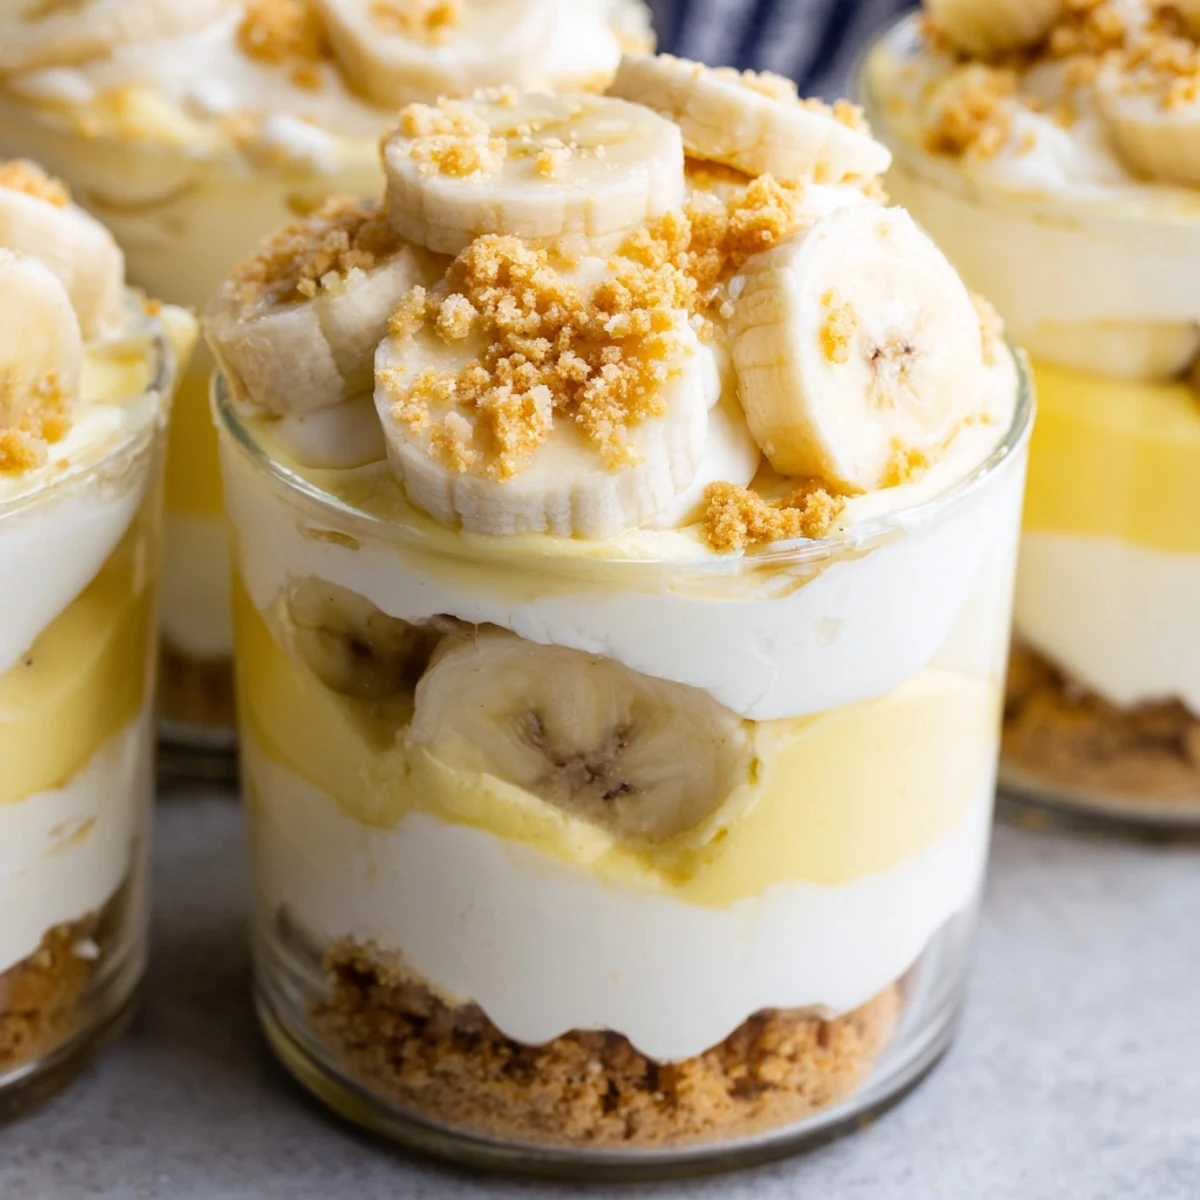
- Assemble the layers:
- Spoon cheesecake over your crust, add bananas, top with pudding, then finish with more cheesecake filling.
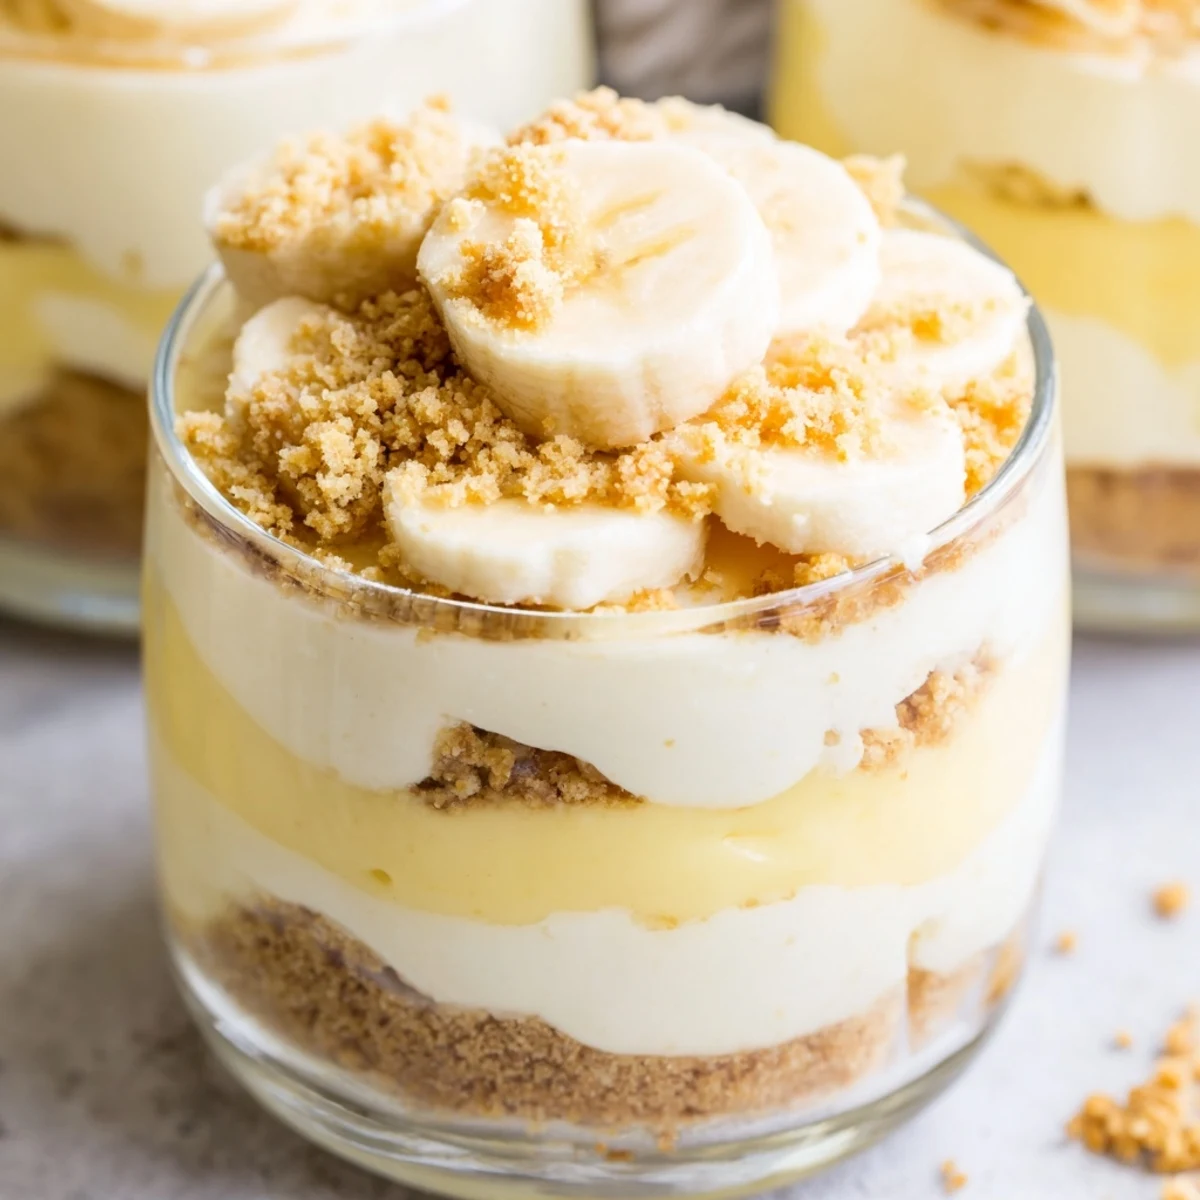
- Add the finishing touches:
- Sprinkle extra crumbs, arrange fresh banana slices on top, and add whipped cream if you're feeling fancy.
- Chill and serve:
- Refrigerate for at least 2 hours so all the flavors can meld and the layers can set properly.
 Save
Save My grandmother used to make banana pudding every Sunday, and this recipe feels like a love letter to those memories. The first time I served them at our family gathering, my aunt actually got teary remembering those Sunday afternoons at her kitchen table.
Making These Ahead
You can assemble everything except the fresh banana topping up to 24 hours in advance. Just keep those cups covered in the fridge, and add the final banana slices and whipped cream about 15 minutes before you're ready to serve.
Serving Suggestions
Clear glass cups or mason jars let those gorgeous layers shine through, which is half the fun of this dessert. Small espresso spoons work perfectly for digging through all the layers without making a mess.
Customization Ideas
Sometimes I'll add a sprinkle of cinnamon to the crust mixture for warmth, or fold crushed pineapple into the cheesecake layer for a tropical twist. You could also swap vanilla wafers for graham crackers or even Nilla wafers that have been lightly toasted.
- Try adding a layer of dulce de leche between the cheesecake and pudding
- Crush extra wafers and press them into the sides of clear cups for a bakery look
- A dash of banana extract in the cheesecake layer intensifies the flavor
 Save
Save These little cups have become my signature dessert, and I love watching people's faces light up when they take that first spoonful through all the layers.
Recipe FAQs
- → Can I make these cups ahead of time?
-
Yes, prepare these cups up to 24 hours in advance. Refrigerate covered and add fresh banana slices and wafer crumbs just before serving to maintain optimal texture and prevent browning.
- → How do I prevent bananas from turning brown?
-
Toss sliced bananas lightly in lemon juice before layering, or add them immediately before serving. The acid helps prevent oxidation while maintaining the fresh banana flavor.
- → Can I use homemade pudding instead of instant?
-
Absolutely. Cook homemade vanilla or banana pudding, allow it to cool completely, then layer as directed. The texture may be slightly denser but equally delicious.
- → What size cups work best?
-
Use 6-8 ounce ramekins, mason jars, or clear glass cups. Transparent vessels showcase the beautiful layers and make these cups even more appealing for serving.
- → Can I substitute the vanilla wafers?
-
Graham cracker crumbs, gingersnaps, or shortbread cookies work well. Each alternative brings a slightly different flavor profile while maintaining the necessary crunch and buttery texture.
- → How long should the cups chill before serving?
-
Refrigerate for at least 2 hours to allow layers to set properly. This chilling time ensures clean, distinct layers when serving and the ideal creamy consistency.
