 Save
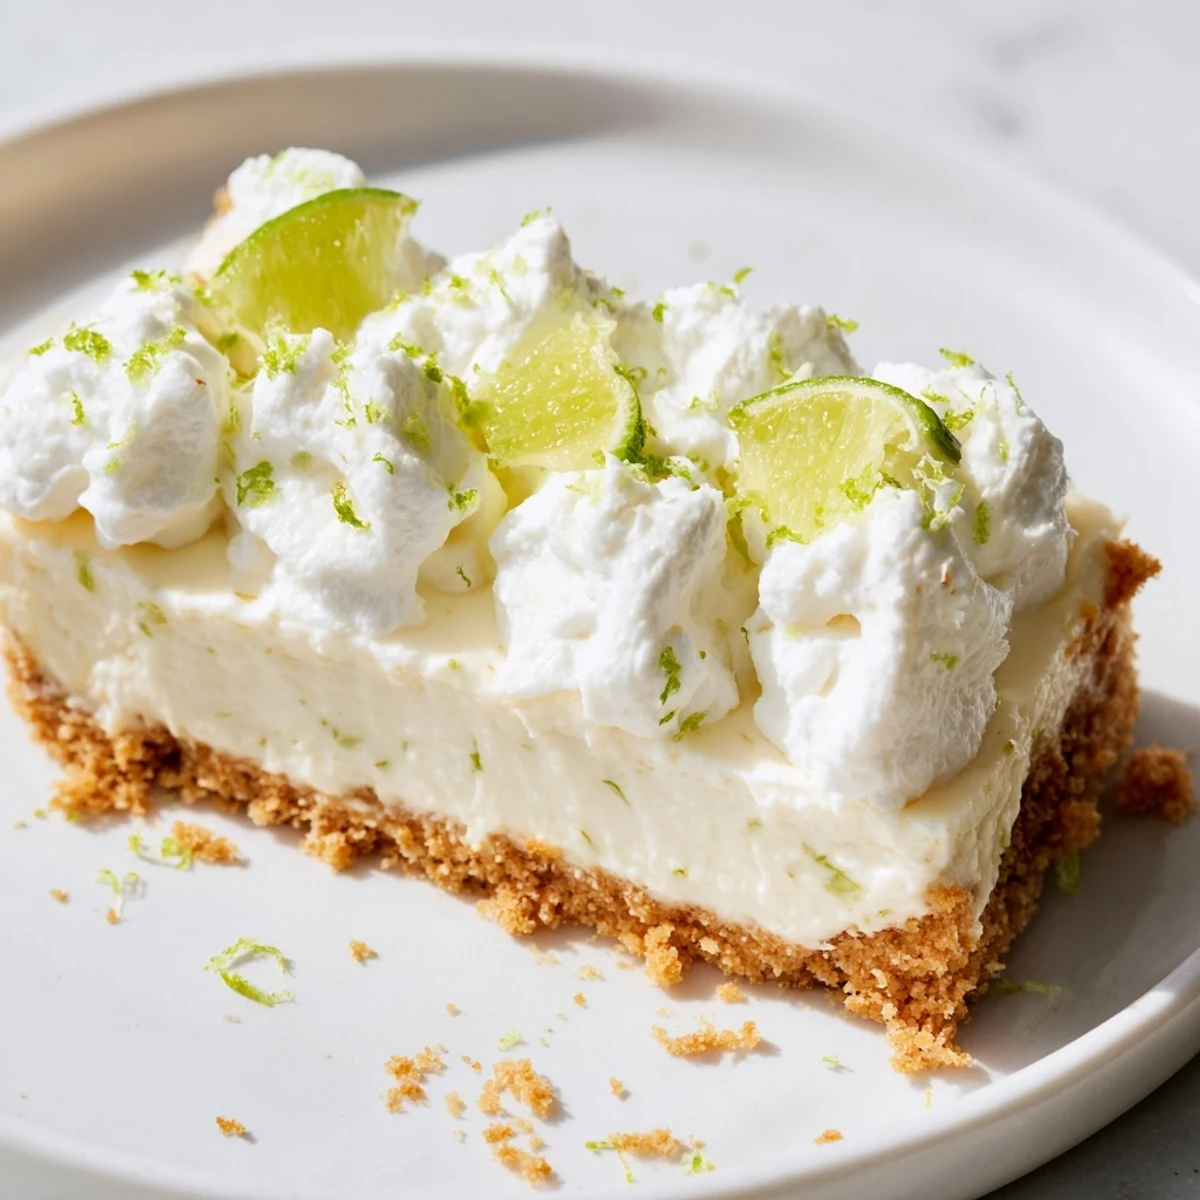
Save These refreshing bars capture everything loved about classic key lime pie in an easy-to-serve format. The buttery graham cracker crust provides the perfect crunchy foundation, while the silky smooth key lime filling offers that signature tangy-sweet balance. With just 20 minutes of active preparation and 25 minutes in the oven, these bars come together beautifully.
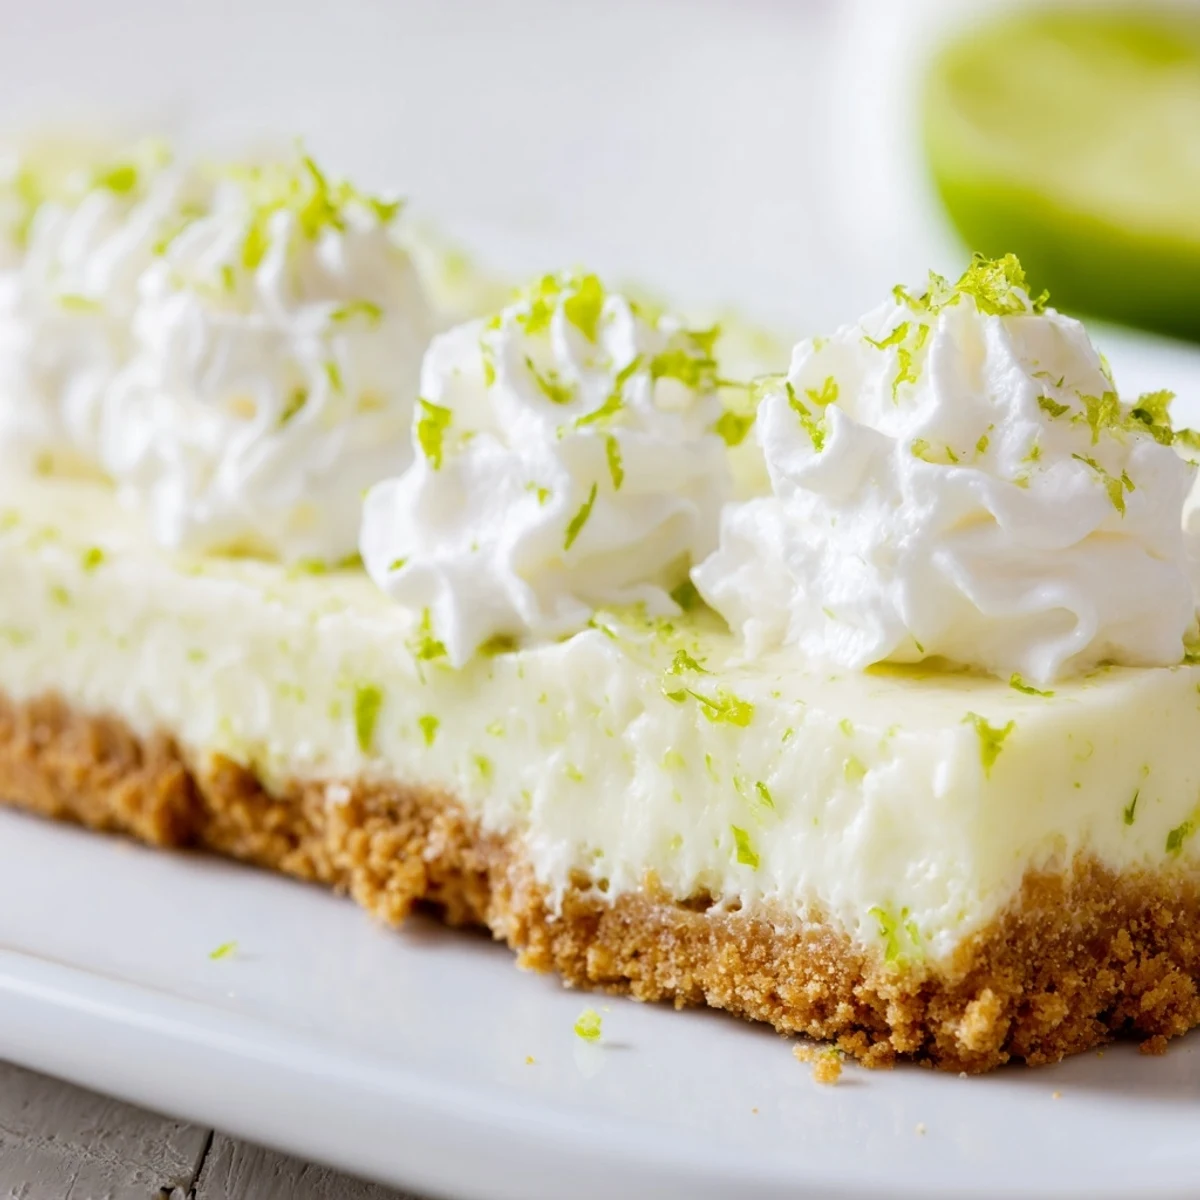
The filling sets to a perfect consistency—firm enough to hold their shape yet still creamy on the palate. Chilling time allows the flavors to meld and the texture to stabilize, making these bars ideal for make-ahead entertaining. An optional whipped cream topping adds extra richness, though these bars shine on their own.
Whether using fresh key limes or quality bottled juice, the bright citrus flavor remains the star. The yield of 16 bars makes them perfect for potlucks, parties, or summer gatherings. Stored properly in the refrigerator, they maintain their texture and flavor for several days, though they rarely last that long.
My aunt first brought these to our family beach vacation in a beat-up Tupperware container, sand still clinging to the lid. She'd made them the night before in a rental kitchen with questionable equipment and a microwave that didn't work. Everyone went quiet after that first bite, then someone immediately asked for the recipe. Now I can't imagine a summer gathering without that bright, creamy tang cutting through all the heavy sides and grilled meats.
I once made these for a potluck and watched them disappear in under ten minutes. Two different people cornered me separately, insisting I write down the recipe on whatever scrap of paper they could find. The best part was seeing my normally dessert-averse father go back for seconds, claiming he was just checking the consistency.
Ingredients
- Graham cracker crumbs: Freshly crushed give you better texture than store-bought crumbs, and don't pack them down too tight or you'll get a rock-hard base
- Unsalted butter, melted: Let it cool slightly before mixing so it doesn't make your graham mixture gummy
- Egg yolks: Room temperature yolks incorporate much more smoothly into the condensed milk
- Sweetened condensed milk: Don't accidentally grab evaporated milk, they live on the same shelf but will give you completely different results
- Key lime juice: Fresh is ideal but bottled works perfectly fine, just avoid anything labeled limeade
- Key lime zest: Zest before juicing, it's almost impossible to zest a lime that's already been squeezed
- Heavy whipping cream: Cold cream whips faster, so pop your bowl in the fridge for ten minutes before starting
Instructions
- Get your oven ready:
- Preheat to 350°F and line an 8-inch square pan with parchment, letting the edges hang over like handles.
- Build the crust:
- Mix graham crumbs, sugar, and melted butter until it feels like wet sand, then press firmly into your pan.
- Give it a quick bake:
- Bake for 8 to 10 minutes until you catch a hint of golden color, then set it aside to cool.
- Whisk the filling:
- Beat egg yolks and condensed milk until smooth, then fold in the key lime juice and zest until just combined.
- Fill and bake again:
- Pour the filling over your cooled crust, smooth the top, and bake 15 to 18 minutes until the center barely jiggles when you shake the pan.
- The hard part:
- Let everything cool completely, then chill for at least an hour before cutting into clean squares.
- Optional but worth it:
- Whip cream with powdered sugar until stiff, then spread over chilled bars and finish with fresh zest.
 Save
Save These became my go-to contribution after I brought them to a friend's bad breakup party. Something about that bright, almost mouth-puckering lime felt like exactly what we needed. They sat around eating bars and complaining about men for three hours straight.
Making Them Your Own
Regular limes work absolutely fine if key limes feel like too much effort or hunting. The flavor difference is subtle, and honestly, most people won't notice unless you're doing a side-by-side comparison.
Serving Strategy
These need to stay cold until serving, so keep them in the fridge until the last possible minute. A cold bar cuts cleaner and holds its shape better than one that's been sitting out at room temperature.
Storage Secrets
The texture actually improves after a day in the fridge as the flavors meld together. They'll keep for three days, assuming they last that long.
- Use a hot knife for the cleanest cuts, wiping it between slices
- Press the crust mixture with the bottom of a measuring cup for perfectly even thickness
- These freeze beautifully if you want to get ahead for a party
 Save
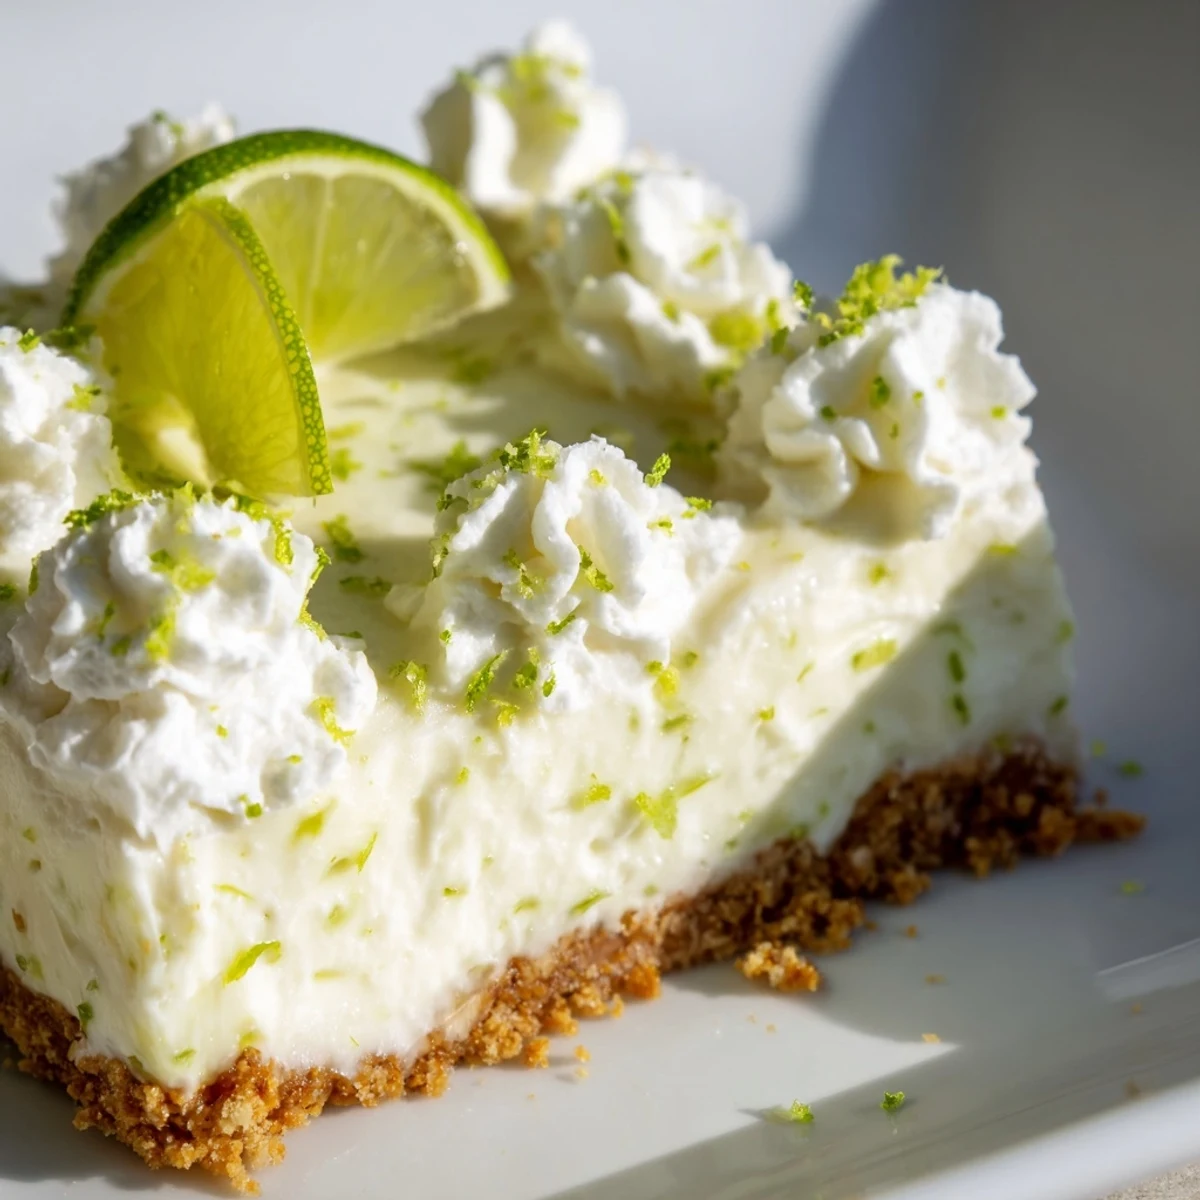
Save There's something almost nostalgic about that first bite of graham crust meeting tart lime filling. It's the kind of dessert that makes people pause mid-conversation and reach for another.
Recipe FAQs
- → Can I use regular lime juice instead of key lime juice?
-
Yes, regular lime juice works perfectly well as a substitute. The flavor will be slightly less intense and aromatic, but still delicious. Use the same amount called for in the filling.
- → How long do these bars need to chill before serving?
-
Refrigerate for at least one hour to allow the filling to set completely. For the best texture and flavor, chilling for 2–3 hours is ideal. The bars can also be made the day before serving.
- → Can I make these bars gluten-free?
-
Absolutely. Simply use gluten-free graham crackers or gluten-free cookie crumbs for the crust. Ensure all other ingredients, particularly the condensed milk, are certified gluten-free if needed.
- → How do I know when the filling is done baking?
-
The filling is ready when the edges are set but the center still has a slight jiggle, similar to a cheesecake. This residual heat will finish the cooking process as it cools. Overbaking leads to a cracked, dry texture.
- → Can I freeze these key lime bars?
-
Yes, these freeze beautifully. Wrap the uncut slab tightly in plastic wrap and foil, then freeze for up to 2 months. Thaw overnight in the refrigerator before slicing and serving. Add whipped topping after thawing.
- → What's the best way to get clean cuts?
-
Use a sharp knife dipped in hot water and wiped clean between cuts. For the neatest appearance, trim the edges first, then cut into 16 even squares. Chilling thoroughly before slicing also helps achieve clean edges.
