 Save
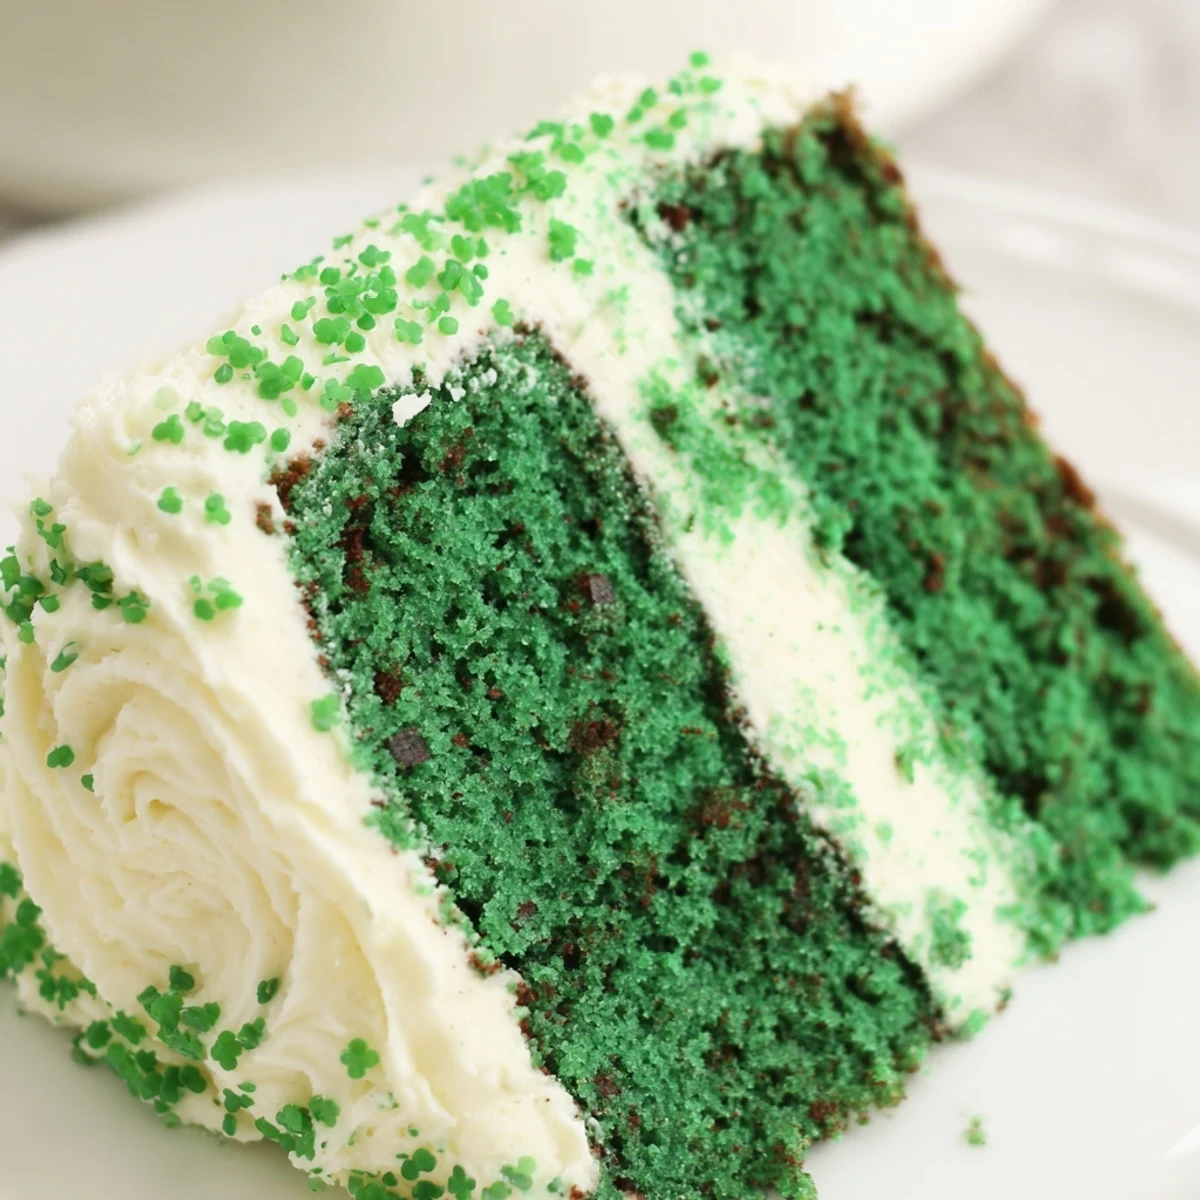
Save This gorgeous green velvet cake brings a festive twist to the classic red velvet tradition. The batter combines cocoa powder with buttermilk for a tender, moist crumb, while vibrant green gel coloring creates that signature emerald hue. After baking to golden perfection, the cake layers are cooled completely before being stacked and covered in a rich cream cheese frosting that balances sweetness with tangy notes.
The entire process takes about 1 hour and 15 minutes, including cooling time, and yields 12 generous servings. The gentle cocoa flavor complements rather than overpowers the distinctive velvet texture, while the frosting adds luxurious creaminess to every bite. Perfect for St. Patrick's Day or anytime you want to impress with something visually striking.
The first time I attempted a green velvet cake was actually by accident
I was aiming for mint frosting on a regular chocolate cake but got carried away with the food coloring in the batter itself
Ingredients
- All-purpose flour: The structure holder
- Unsweetened cocoa powder: Just enough for depth without overpowering the delicate flavor
- Baking soda: Essential for that tender rise
- Salt: Balances sweetness
- Granulated sugar: Sweetens and keeps the crumb tender
- Vegetable oil: The secret to staying moist longer than butter based cakes
- Large eggs: Room temperature eggs incorporate better
- Buttermilk: Adds tang and tenderness
- Pure vanilla extract: Rounds out all the flavors
- White vinegar: Reacts with baking soda for extra lift
- Green gel food coloring: Gel gives more intense color than liquid
- Cream cheese: Must be softened for smooth frosting
- Unsalted butter: Also softened to room temperature
- Powdered sugar: Sifting prevents lumps in the frosting
- Vanilla extract: For the frosting
- Salt: Just a pinch keeps frosting from being too sweet
Instructions
- Preheat and prep:
- Heat your oven to 350 degrees and grease two nine inch round pans with parchment paper
- Mix the dry ingredients:
- Whisk together flour cocoa powder baking soda and salt in a medium bowl then set it aside
- Combine sugar and oil:
- Beat them in a large bowl until incorporated then add eggs one at a time
- Add the wet ingredients:
- Stir in buttermilk vanilla vinegar and green coloring until everything is evenly green
- Combine everything:
- Add dry ingredients to wet in two batches mixing just until incorporated
- Bake:
- Divide batter between pans and bake for twenty eight to thirty two minutes until a toothpick comes out clean
- Cool completely:
- Let cakes rest in pans for ten minutes then turn onto wire racks
- Make the frosting:
- Beat cream cheese and butter until smooth then add powdered sugar vanilla and salt until light
- Assemble:
- Frost between layers then cover the entire cake and decorate if you like
 Save
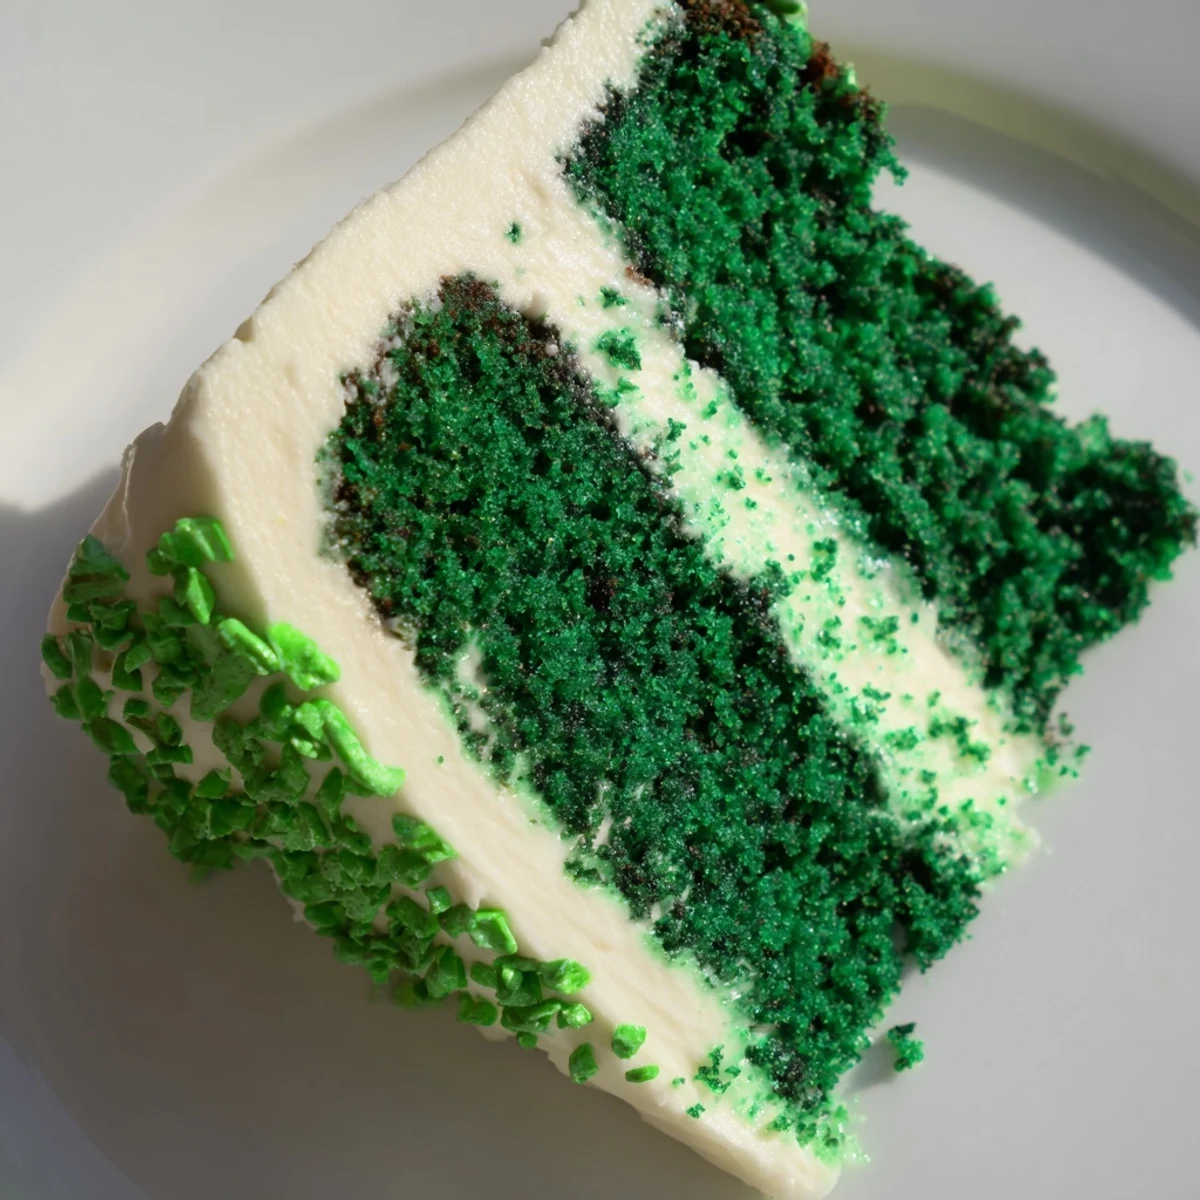
Save My sister requested this for her St Patricks Day party and now it appears every March without fail
Getting That Perfect Green
Start with less coloring than you think you need
Frosting Like a Pro
Chill the frosted cake for thirty minutes before serving
Making It Ahead
The layers actually taste better on day two when the flavors have had time to settle
- Wrap unfrosted layers tightly in plastic and freeze for up to a month
- Bring everything to room temperature before frosting
- The frosting can be made three days ahead and stored in the refrigerator
 Save
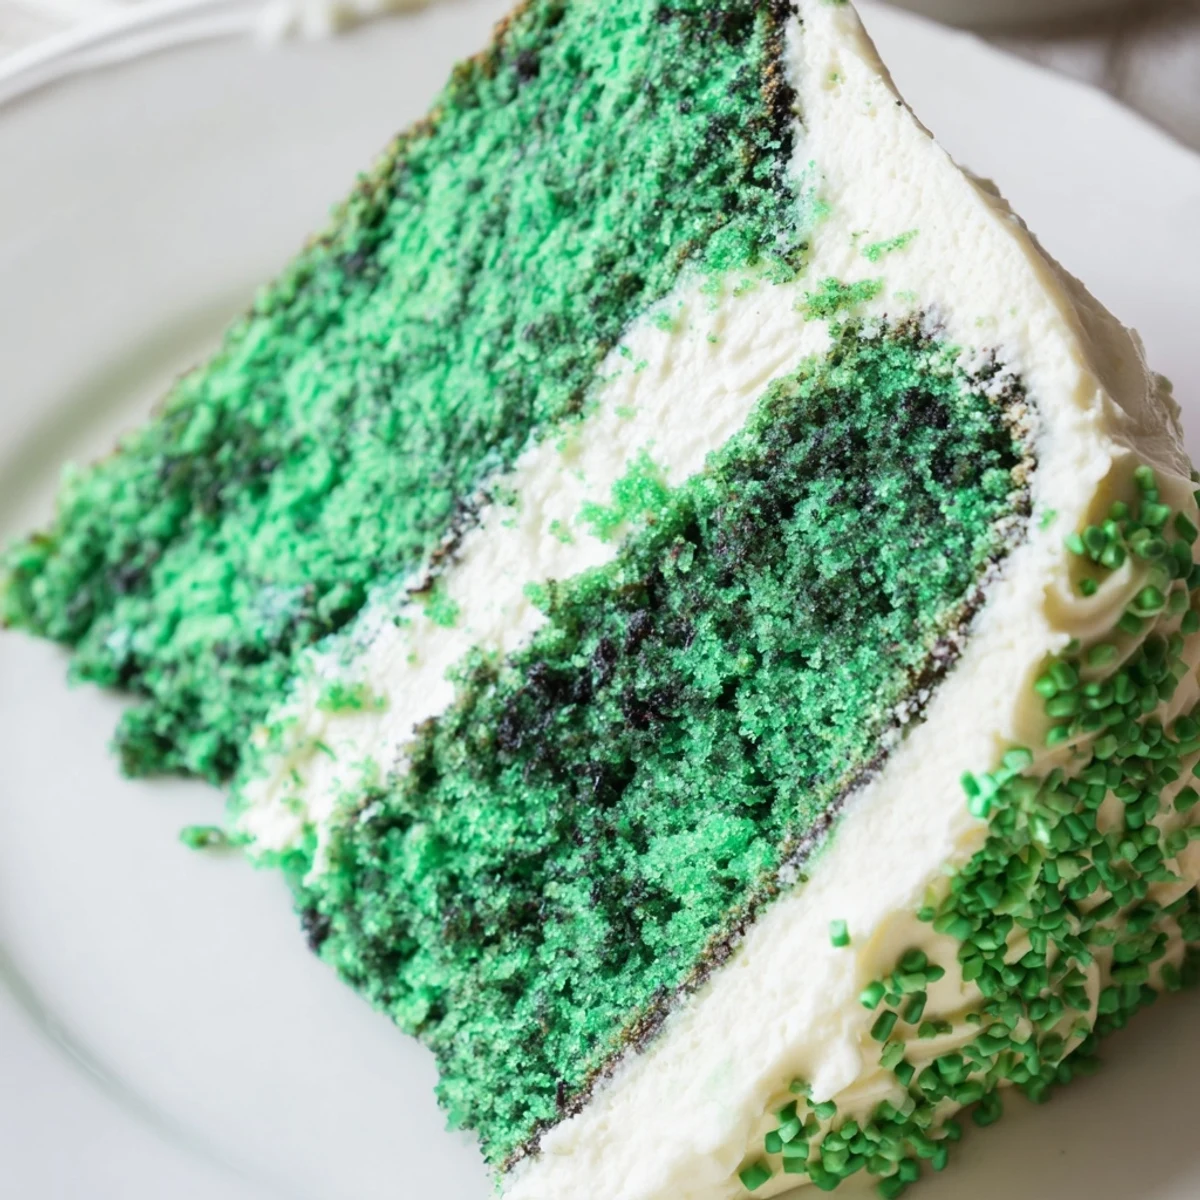
Save Something about cutting into that bright green interior feels like serving up pure celebration
Recipe FAQs
- → What makes green velvet cake different from red velvet?
-
Green velvet cake follows the same fundamental recipe as red velvet—using cocoa powder, buttermilk, and vinegar for that signature tender crumb—but swaps the red food coloring for vibrant green gel. The flavor profile remains nearly identical, with subtle cocoa notes and a moist, velvety texture that distinguishes it from standard chocolate cake.
- → Can I use liquid food coloring instead of gel?
-
Gel food coloring is highly recommended because it provides intense color without adding excess liquid to your batter. Liquid coloring can alter the consistency and may require additional adjustments to flour or liquid ratios. If you must use liquid, start with ½ teaspoon and increase gradually, though you may not achieve the same vibrant emerald shade.
- → How should I store the finished cake?
-
Store your frosted green velvet cake in an airtight container or cover well with plastic wrap. It will keep at room temperature for up to 2 days, or refrigerate for up to 5 days. The cake actually develops more moisture and flavor after sitting for a day. Bring refrigerated slices to room temperature 20 minutes before serving for the best texture and flavor.
- → What can I substitute for buttermilk?
-
If you don't have buttermilk on hand, make a quick substitute by combining 1 cup of regular milk with 1 tablespoon of white vinegar. Let the mixture sit for 5 minutes until it thickens slightly and curdles. This homemade version provides the necessary acidity to react with baking soda, creating the tender crumb and subtle tang that makes velvet cake distinctive.
- → Why is there vinegar in the cake batter?
-
White vinegar serves two important purposes in velvet cake. First, it reacts with baking soda to create extra lift and a tender crumb structure. Second, the acid enhances the cocoa's natural red tones—though less relevant with green coloring—and contributes that characteristic subtle tanginess that balances the sweetness. The vinegar flavor itself completely bakes out.
- → Can I make this cake ahead of time?
-
Absolutely! The unfrosted cake layers can be wrapped tightly in plastic wrap and frozen for up to 3 months. Thaw overnight at room temperature before frosting. Alternatively, bake the cakes 1-2 days ahead, cool completely, wrap well, and store at room temperature. Frost the day you plan to serve for the freshest appearance and texture.
