 Save
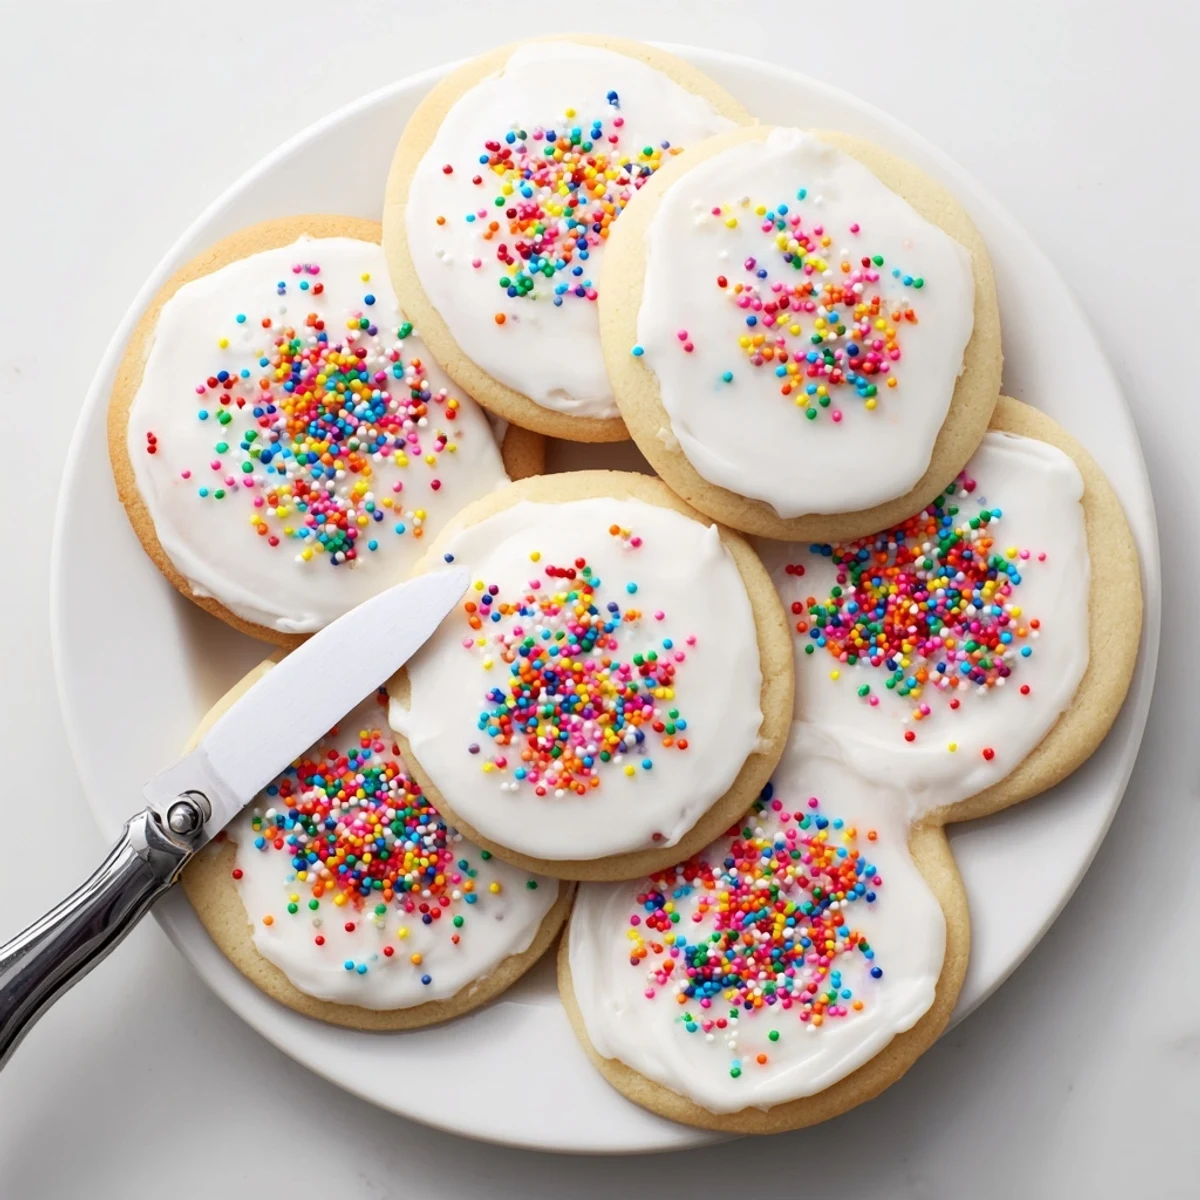
Save This versatile icing creates a beautiful professional finish on baked goods. The combination of powdered sugar, corn syrup, and vanilla produces a glossy coating that dries to a firm, stackable finish within hours. Perfect for beginners and experienced decorators alike, the consistency adjusts easily for spreading, dipping, or piping intricate designs. One batch covers approximately two dozen cookies and stores well for future use.
My kitchen counter looked like a rainbow had exploded across it, but those glossy white cookies were staring back like little edible mirrors. I'd been searching for an icing that would actually dry firm enough to stack cookies without them sticking together in a sad, sugary mess. This recipe, borrowed from my grandmother's recipe box, turned out to be exactly what I'd been missing.
One December afternoon, my six-year-old niece and I made fifty snowflake cookies for her school party. She insisted every single flake needed different colored centers, and somehow we ended up with tiny bowls of pastel icing in every color of the rainbow. Her teacher sent me a photo later that day of all the cookies arranged on a platter, each one unique and cheerful.
Ingredients
- 2 cups powdered sugar (240 g), sifted: Sifting eliminates those tiny lumps that make icing look grainy and professional decorators never skip this step
- 2-3 tablespoons milk: Start with less and add gradually, dairy or non-dairy both work perfectly here
- 1 tablespoon light corn syrup: This is the secret ingredient that creates that gorgeous glossy finish and helps the icing dry firm
- 1/2 teaspoon pure vanilla extract: Pure extract makes such a difference in flavor compared to imitation
- Food coloring (optional): Gel colors give you more vibrant results with less liquid, which keeps your icing consistency perfect
Instructions
- Mix the base:
- Whisk together the powdered sugar, 2 tablespoons of milk, corn syrup, and vanilla in a medium bowl until completely smooth and glossy
- Adjust the consistency:
- Add more milk, just half a teaspoon at a time, until the icing flows slowly from your whisk but still holds its shape slightly
- Color your icing:
- Divide into separate bowls if using multiple colors and stir in food coloring drop by drop until you reach your desired shade
- Decorate your cookies:
- Dip, spread with a small knife, or pipe onto completely cooled cookies, working quickly before the icing begins to set
- Let them set:
- Allow the decorated cookies to dry at room temperature for at least 4 hours, or overnight for best results
 Save
Save Last Christmas, I made an entire batch of these decorated cookies for my office gift exchange. Watching everyone choose their favorite designs was surprisingly joyful, like sharing tiny edible art pieces I'd created with my own hands.
Getting the Right Consistency
I've learned that icing consistency is everything, and it took me dozens of batches to understand the difference between flooding consistency and piping consistency. Thick icing holds detailed lines and borders, while thinner icing spreads smoothly to fill larger areas. The 15-second test became my go-to method, saving me from so many disappointing batches that were either too runny or too stiff to work with.
Making This Icing Your Own
Once you master the basic recipe, the flavor possibilities are endless. Almond extract adds a sophisticated nutty note, while lemon extract brightens everything up for spring cookies. I've even experimented with peppermint extract for holiday treats, and a tiny pinch of salt can help balance the sweetness.
Storage and Make-Ahead Tips
This icing keeps surprisingly well, which means you can mix up a batch on Sunday and still have perfect icing on Wednesday for after-school decorating. Store it in an airtight container in the refrigerator with a piece of plastic wrap pressed directly onto the surface to prevent a skin from forming. When you're ready to use it again, let it come to room temperature and give it a good stir.
- Leftover icing stays fresh in the refrigerator for up to one week
- Always bring icing to room temperature before using for the smoothest results
- If thickened after storage, add milk one drop at a time until you reach the right consistency again
 Save
Save There's something magical about watching plain cookies transform into colorful, glossy creations. This simple icing recipe has turned so many ordinary afternoons into special memories around my kitchen table.
Recipe FAQs
- → How long does the icing take to dry completely?
-
The icing sets at room temperature within 4 hours. For best results, allow decorated cookies to dry undisturbed on a flat surface. Humidity may extend drying time slightly.
- → Can I make this icing ahead of time?
-
Yes, store unused icing in an airtight container in the refrigerator for up to 1 week. The mixture may separate slightly—simply stir well before using and thin with small amounts of milk if needed.
- → What consistency should the icing be for different decorating techniques?
-
For outlining or piping borders, use thicker icing. For flooding or filling larger areas, thin with additional milk until pourable. The base recipe starts at a medium consistency perfect for spreading.
- → Can I substitute the corn syrup?
-
Corn syrup creates the glossy finish and proper drying texture. Honey or maple syrup can work but may alter flavor slightly. Clear corn syrup provides the most neutral taste and best results.
- → How do I prevent colors from bleeding together?
-
Allow each color section to dry for 15-20 minutes before adding adjacent colors. This prevents the wet icing from blending. Using gel food coloring also helps maintain color intensity without adding excess liquid.
- → What's the best way to apply this icing?
-
Dip cookies face-down for full coverage, spread with a small offset spatula for even layers, or pipe using squeeze bottles for detailed designs. All methods work equally well with this versatile formulation.
