 Save
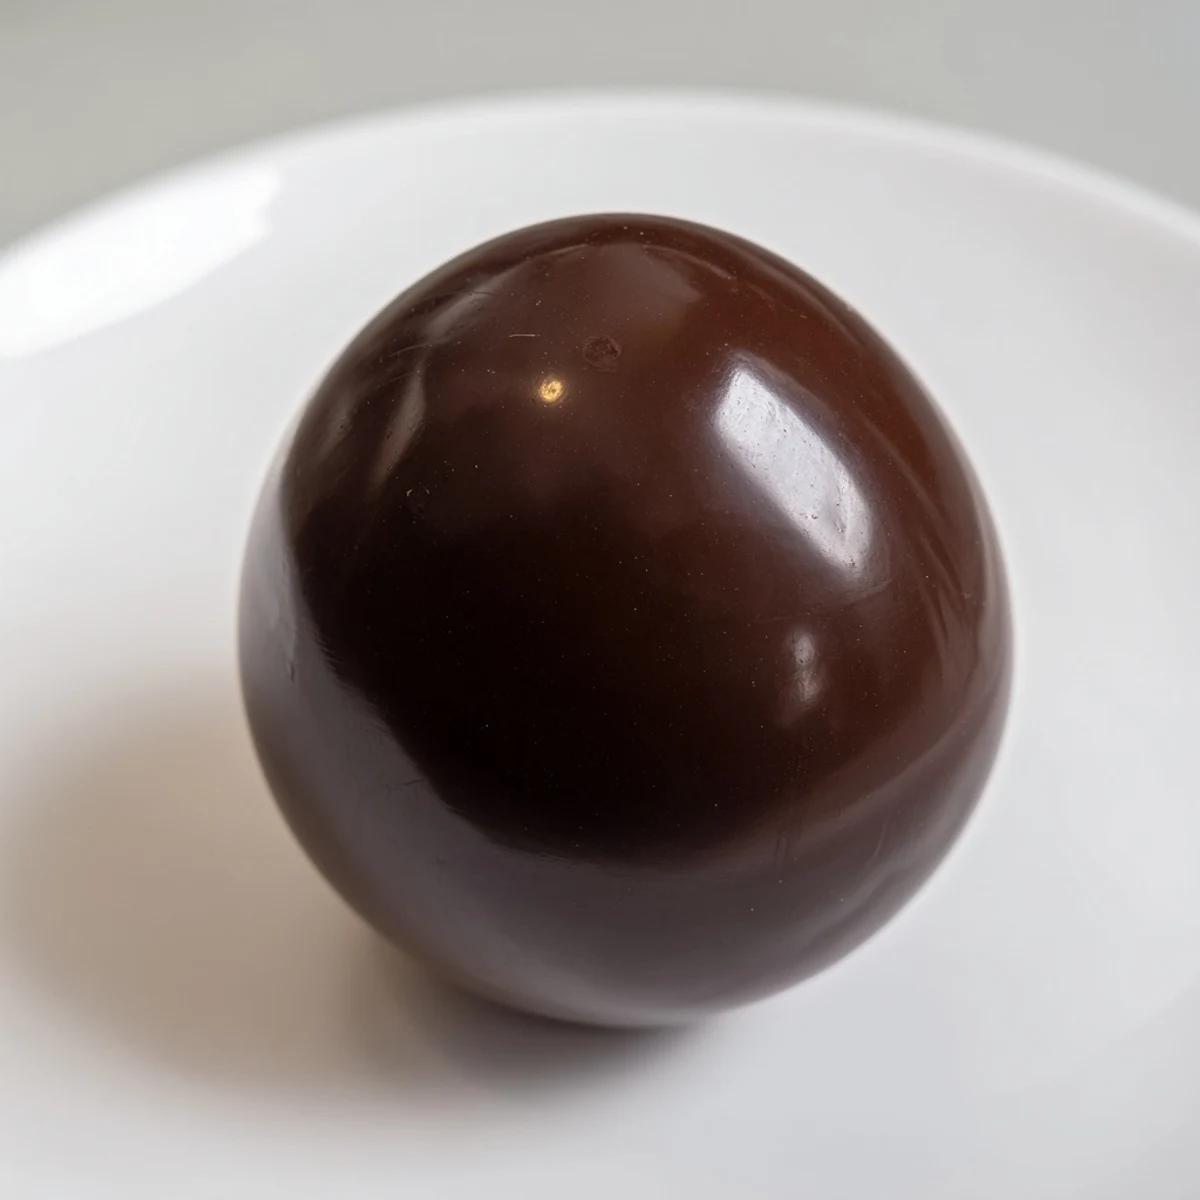
Save Craft glossy hollow chocolate eggs by carefully tempering high-quality chocolate to achieve a smooth, shiny finish. Pour melted chocolate into egg molds, coating evenly and allowing layers to set for strength. Once cooled, gently unmold and seal halves for a beautiful presentation. These eggs can be filled with candies or treats, making them an elegant choice for celebrations. Follow precise melting and cooling techniques to ensure a professional, crisp shell.
I'll never forget the Easter morning I decided to make hollow chocolate eggs from scratch. My daughter had seen them in a fancy chocolaterie window, and instead of buying the expensive ones, I thought, why not try? Standing in my kitchen with melted chocolate and egg molds, I felt like a real chocolatier for the first time. That first glossy, perfectly formed chocolate shell that unmolded without breaking felt like pure magic—and I was hooked.
I remember my son's face when he carefully cracked open his chocolate egg to find it filled with his favorite candies and a little handwritten note. That's when I realized these weren't just desserts—they were memories wrapped in chocolate. Now we make them together every year, and it's become our tradition.
Ingredients
- High-quality chocolate (dark, milk, or white couverture): 400 g total. Couverture chocolate is your secret weapon here—it has higher cocoa butter content, which means it'll be beautifully glossy and snappy when it sets. I learned the hard way that using chocolate chips or baking chocolate results in dull, brittle shells that crack when you try to unmold them. Pick chocolate you'd actually enjoy eating on its own, because that's what your egg will taste like.
Instructions
- Prep your chocolate:
- Grab a sharp knife and chop your chocolate into small, even-sized pieces—think of little pebbles rather than chunks. This matters more than you'd think because uniform pieces melt at the same rate, giving you smooth, lump-free chocolate. Take your time here; it's meditation work.
- Melt two-thirds gently:
- Place a heatproof bowl over a saucepan of gently simmering water, making sure the bowl doesn't touch the water. Add two-thirds of your chopped chocolate and stir frequently. This gentle heat is crucial—chocolate burns so easily, and once it does, there's no recovery. You're looking for a smooth, glossy consistency with no lumps, which usually takes about 5 minutes.
- Temper with the remaining third:
- Remove the bowl from heat and stir in the last third of chocolate. This is the tempering magic—it cools the chocolate just enough while stirring ensures it sets with a perfect snap and shine. Keep stirring until it reaches 31–32°C (88–90°F) for dark chocolate, or 29–30°C (84–86°F) for milk or white. A simple thermometer is your best friend here. You'll feel the texture change as it cools; it becomes silkier and more pourable.
- Coat your molds:
- Make sure your egg molds are completely dry and grease-free—even a tiny smudge will ruin the shine. Pour tempered chocolate into the molds, coating every surface generously. Now comes the fun part: rotate the molds in all directions to spread the chocolate evenly, then flip them upside down over parchment paper to let the excess drip out. You're creating a hollow shell, so trust the process.
- Let it set:
- Place the upside-down molds on parchment paper. Leave them at room temperature for 5–10 minutes, or pop them in the fridge for 10 minutes. You'll see the edges start to look frosted and set—that's when you know it's working.
- Build thickness if you like:
- For sturdier, more luxurious eggs, repeat the coating process once the first layer is set. The second coat adds both thickness and insurance against cracking during unmolding.
- Unmold with care:
- Once the chocolate is fully set and glossy, gently wiggle the mold and let gravity do the work. If it sticks, very gently warm the outside of the mold with your hands or run it briefly under warm water. The halves should release smoothly.
- Seal them together:
- Slightly warm the edges of two chocolate halves on a warm plate—just enough so they're slightly tacky but still hold their shape. Press them together firmly and hold for a few seconds. Let them cool completely before moving on.
- Final set:
- Allow the sealed egg to rest completely before filling or wrapping. This ensures the seam is rock solid and your creation won't fall apart at a crucial moment.
 Save
Save I once brought these to a family dinner, and my usually skeptical brother actually closed his eyes when he bit into one. That moment—when food stops being just sustenance and becomes an experience—that's when I knew I'd nailed it.
Choosing Your Chocolate Wisely
The chocolate you choose will absolutely define your egg. I started with a basic supermarket chocolate and wondered why my eggs looked dull and didn't taste amazing. Then I invested in a real couverture chocolate from a specialty store, and the difference was night and day. The flavor is richer, the finish is glossier, and the whole experience feels elevated. Dark chocolate gives you sophistication, milk chocolate brings warmth and sweetness, and white chocolate offers a canvas for food coloring or creative fills. Don't cheap out on this ingredient—it's literally the entire egg.
Creative Fills and Finishes
The beauty of a hollow chocolate egg is that the inside is entirely up to you. I've filled them with champagne truffles for celebrations, colorful candies for Easter mornings, and even small handwritten messages for my kids. Before sealing, brush the outside with edible gold dust for elegance, drizzle with contrasting chocolate for visual drama, or leave them plain and sophisticated. The magic is in making it yours.
Storage and Making Ahead
One of my favorite discoveries is that these can be made well in advance. Store your finished eggs in a cool, dry place—not the refrigerator, as the temperature change causes condensation that will dull that gorgeous shine you worked for. I make mine a week or two before Easter and keep them in a cool cupboard, sealed in a box away from humidity and heat. They actually improve as they sit, the flavors settling and deepening. If you need to refrigerate, wrap them individually in plastic wrap and bring them to room temperature before serving.
- Unfilled eggs keep for up to two weeks in a cool, dry spot
- If filling with fresh ingredients, assemble no more than a day ahead
- Never store in direct sunlight or near heat sources, or your chocolate masterpiece might soften
 Save
Save Making chocolate eggs is less about following a recipe and more about understanding chocolate—respecting it, actually. Once you do, you'll never buy a store-bought one again.
Recipe FAQs
- → How do I temper chocolate for shiny hollow eggs?
-
Temper by melting two-thirds of the chocolate over simmering water, then stirring in the remaining third off heat until cooled to correct temperature ranges (31–32°C for dark, 29–30°C for milk/white).
- → What tools are needed for making chocolate shells?
-
Use heatproof bowl, double boiler, egg molds, spatula, thermometer, and parchment paper for best results.
- → Can I make the shells thicker?
-
Yes, repeat the coating process after the first layer sets to build up thicker, sturdier shells.
- → How should I join the chocolate egg halves?
-
Warm the edges slightly on a warm plate, then press halves together firmly and allow to set completely.
- → How do I store finished hollow eggs?
-
Store in a cool, dry place away from moisture and condensation to maintain gloss and texture.
