 Save
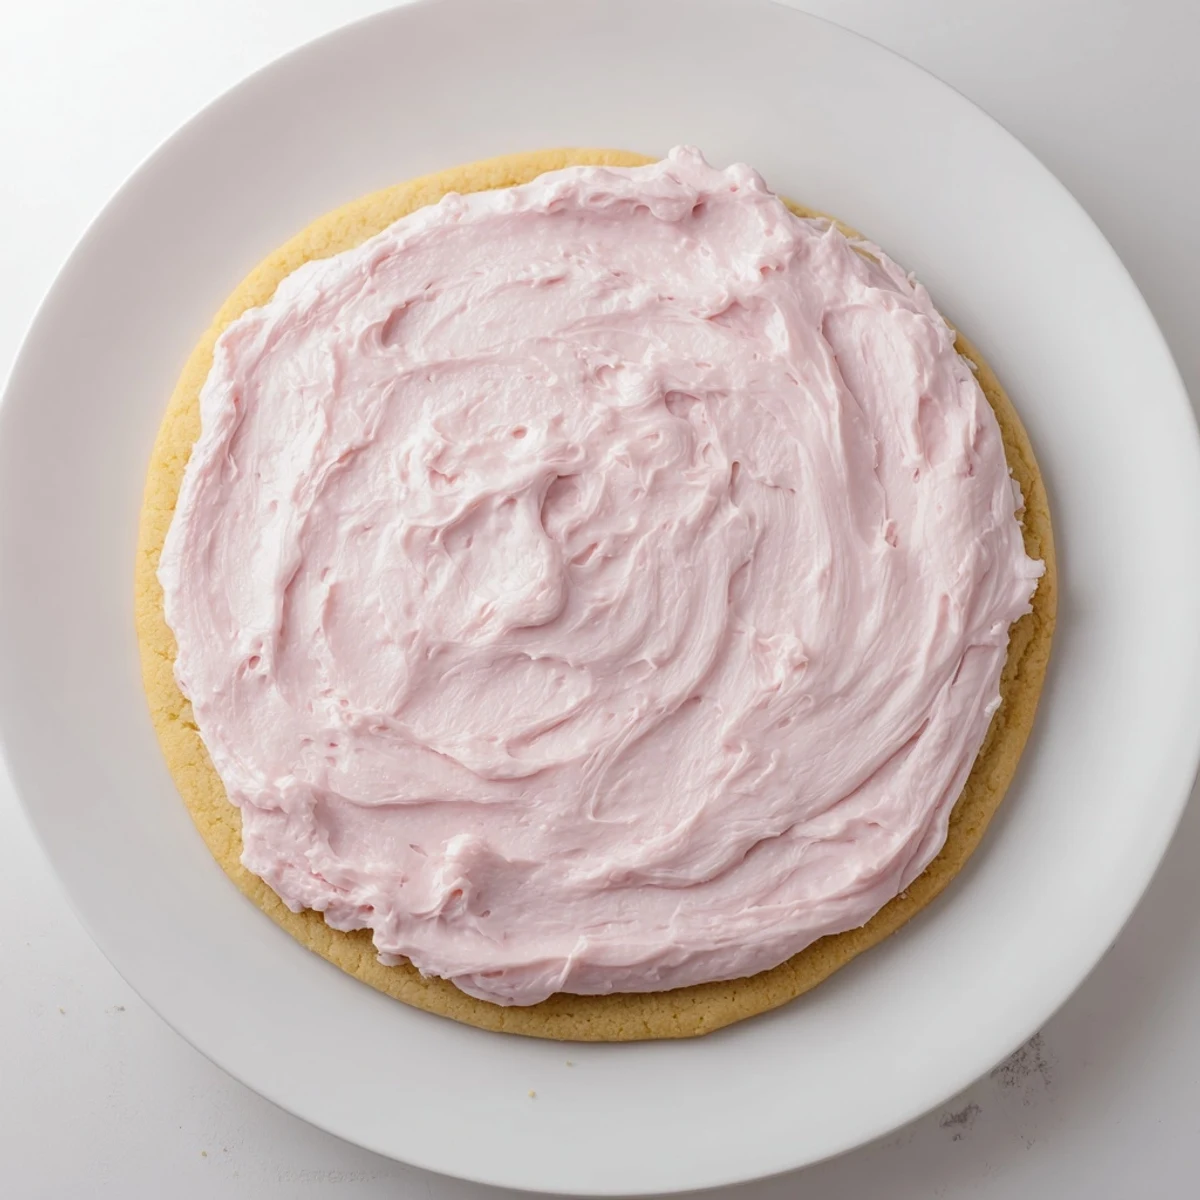
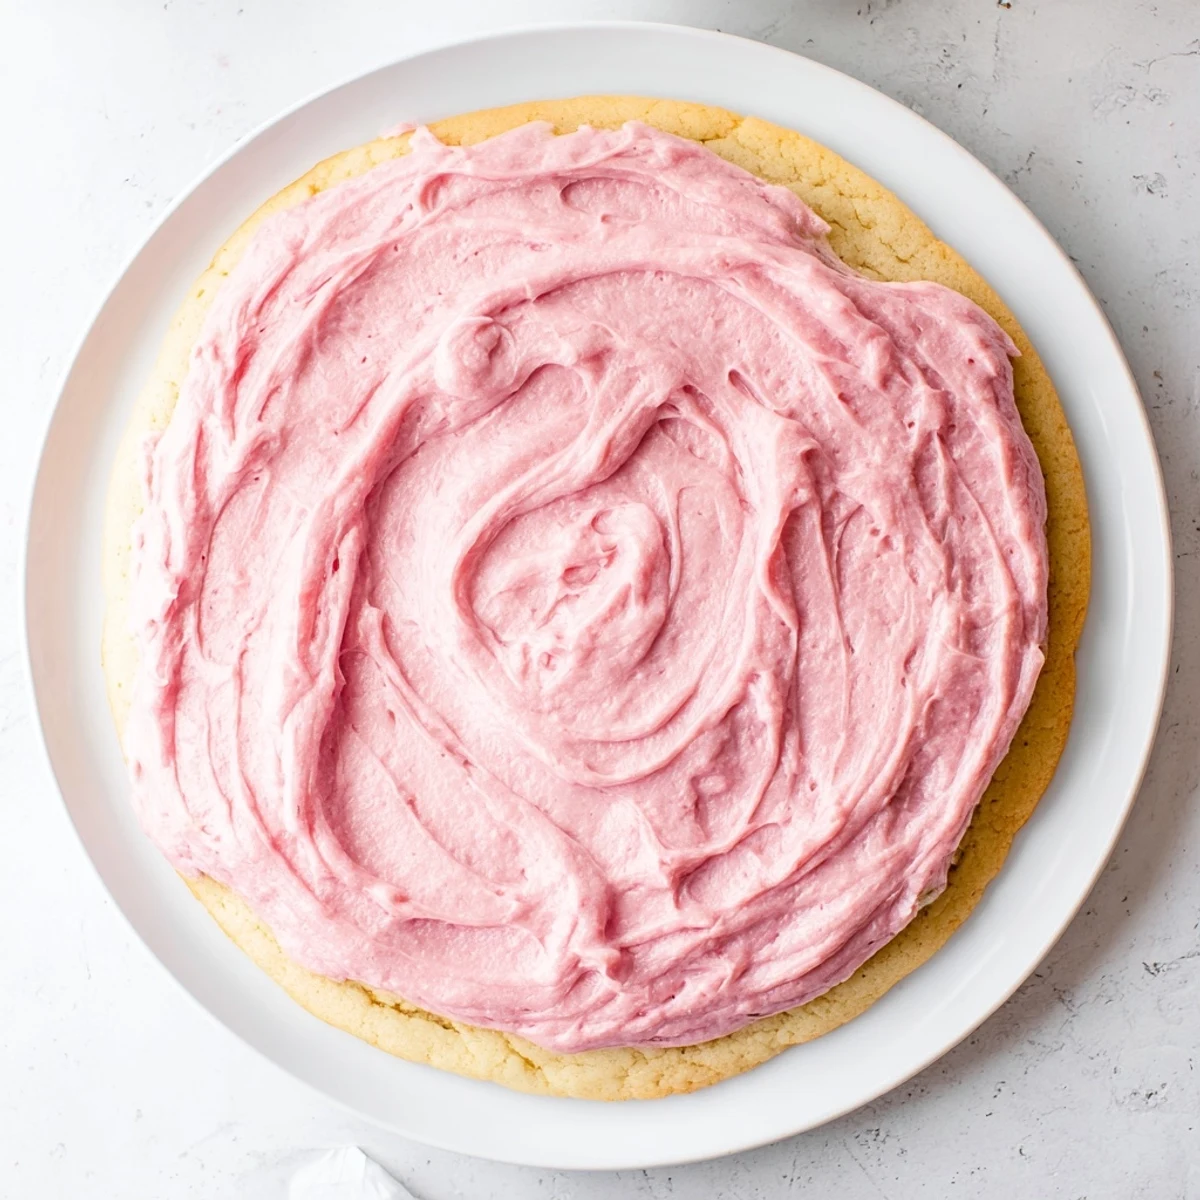
Save These giant chilled sugar cookies bring the bakery experience home with soft, buttery bases and swirls of creamy pink vanilla frosting. The dough combines butter with both granulated and powdered sugar for maximum tenderness, while the chilled serving method creates that signature Crumbl texture everyone loves.
Each oversized cookie delivers the perfect balance of sweet vanilla flavor and melt-in-your-mouth softness. The secret? A quick chill in the refrigerator after frosting transforms these treats into the ultimate indulgent dessert.
The first time my sister brought home a Crumbl cookie, we sat on her kitchen floor in our pajamas, splitting that massive chilled sugar cookie between us. The frosting hit first, creamy and cold, then the soft cake like cookie underneath. I texted her at midnight that same week: we need to figure out how to make these. Three attempts later, my kitchen smelled like a bakery and I finally understood what makes these cookies so addictive.
Last summer I made these for my daughters birthday instead of a traditional cake, arranging them on a platter with pink frosting swirls. The kids went quiet for exactly thirty seconds, then came the questions: can I have another, did you really make these, will you teach me? Now she requests them for every sleepover, and I have learned to double the recipe because somehow the word spreads through the neighborhood before the cookies even cool.
Ingredients
- Unsalted butter: Room temperature butter creates the best structure for thick cookies that hold their shape
- Granulated sugar: This gives the cookies their crisp edges while keeping centers soft
- Powdered sugar: The secret ingredient in the dough for extra tenderness
- Eggs: Room temperature eggs incorporate better and help the cookies rise properly
- Pure vanilla extract: Do not skip this or substitute, it makes all the difference in flavor
- All-purpose flour: Provides the structure for these bakery style cookies
- Baking powder and baking soda: Together they create the perfect lift and spread
- Salt: Balances sweetness and enhances all the flavors
- Butter for frosting: Whipped butter creates that silky smooth texture
- Powdered sugar: Sift it first to avoid lumps in your frosting
- Heavy cream: Makes the frosting spreadable and creamy
- Pink gel food coloring: Gel coloring works better than liquid for frosting
Instructions
- Preheat your oven:
- Set it to 350°F and line two baking sheets with parchment paper while you work
- Cream the butter and sugars:
- Beat them together for 2 to 3 minutes until the mixture looks pale and fluffy, this creates the perfect texture
- Add eggs and vanilla:
- Mix in eggs one at a time, then pour in the vanilla until everything is well combined
- Whisk the dry ingredients:
- In a separate bowl combine flour, baking powder, baking soda, and salt so they are evenly distributed
- Combine the mixtures:
- Gradually add the dry ingredients to the wet mixture, mixing only until just combined to avoid tough cookies
- Shape the cookies:
- Scoop generous 1/3 cup portions of dough and roll into balls, then press into thick discs about 3/4 inch high
- Bake to perfection:
- Bake for 13 to 15 minutes until edges are set but centers still look slightly soft
- Cool completely:
- Let them rest on the baking sheet for 10 minutes before moving to a wire rack, they need to be fully cool before frosting
- Make the frosting:
- Beat butter until creamy, then gradually add powdered sugar, cream, vanilla, and pink coloring until light and fluffy
- Frost and chill:
- Generously frost each cooled cookie and refrigerate for at least 30 minutes for that authentic chilled experience
 Save
Save My friend Sarah admitted she ate three of these while standing in front of her refrigerator at midnight, then blamed it on the chilly temperature making them irresistible. Now she keeps her emergency stash behind the vegetables where her husband never looks.
Getting That Bakery Texture
The thickness of these cookies matters more than I expected. Those first attempts where I rolled normal sized balls just did not capture the essence. Now I use my largest cookie scoop and press them down firmly but gently. The result is bakery style thickness that feels substantial and satisfying.
Frosting Like a Pro
Take your time with the frosting consistency. Too thick and it tears the cookie, too thin and it slides right off. I learned this the hard way after my first batch looked like a pink disaster. Now I add cream one tablespoon at a time, beating thoroughly between each addition until the frosting feels like softened butter.
Make Ahead Magic
These cookies actually taste better on day two, which shocked me when I discovered it during party prep. The flavors meld together and the texture becomes even more like the bakery version.
- Freeze unfrosted cookies for up to three months and thaw them overnight
- The frosting can be made ahead and stored in the refrigerator, just bring to room temperature and rewhip before using
- For parties, frost them in the morning and keep chilled until serving time
 Save
Save There is something joyful about serving these massive cookies, watching people is eyes widen at the size and then widen again at that first cold creamy bite. They are not just cookies, they are an event.
Recipe FAQs
- → Why must these cookies be chilled before serving?
-
Chilling creates the signature texture—firming the frosting while keeping the cookie center soft and dense, exactly like the bakery version everyone loves.
- → Can I make the dough ahead of time?
-
Absolutely! Scoop the dough into balls and refrigerate for up to 24 hours before baking. You can also freeze the dough balls for up to 3 months.
- → What makes these cookies different from regular sugar cookies?
-
The combination of granulated and powdered sugar creates extra softness, while the oversized portions and chilled serving method deliver that distinctive bakery-style texture.
- → How do I store these frosted cookies?
-
Keep them chilled in an airtight container for up to 4 days. The cold storage maintains the perfect texture and keeps the fresh frosting beautifully intact.
- → Can I customize the frosting color?
-
Yes! Use any gel food coloring you prefer. Classic pink looks beautiful, but you can match any theme or celebration with different colors.
- → Why do the centers look slightly underbaked?
-
That's intentional! Removing them while centers look slightly underbaked ensures they stay soft and chewy. They continue setting on the hot baking sheet.
