 Save
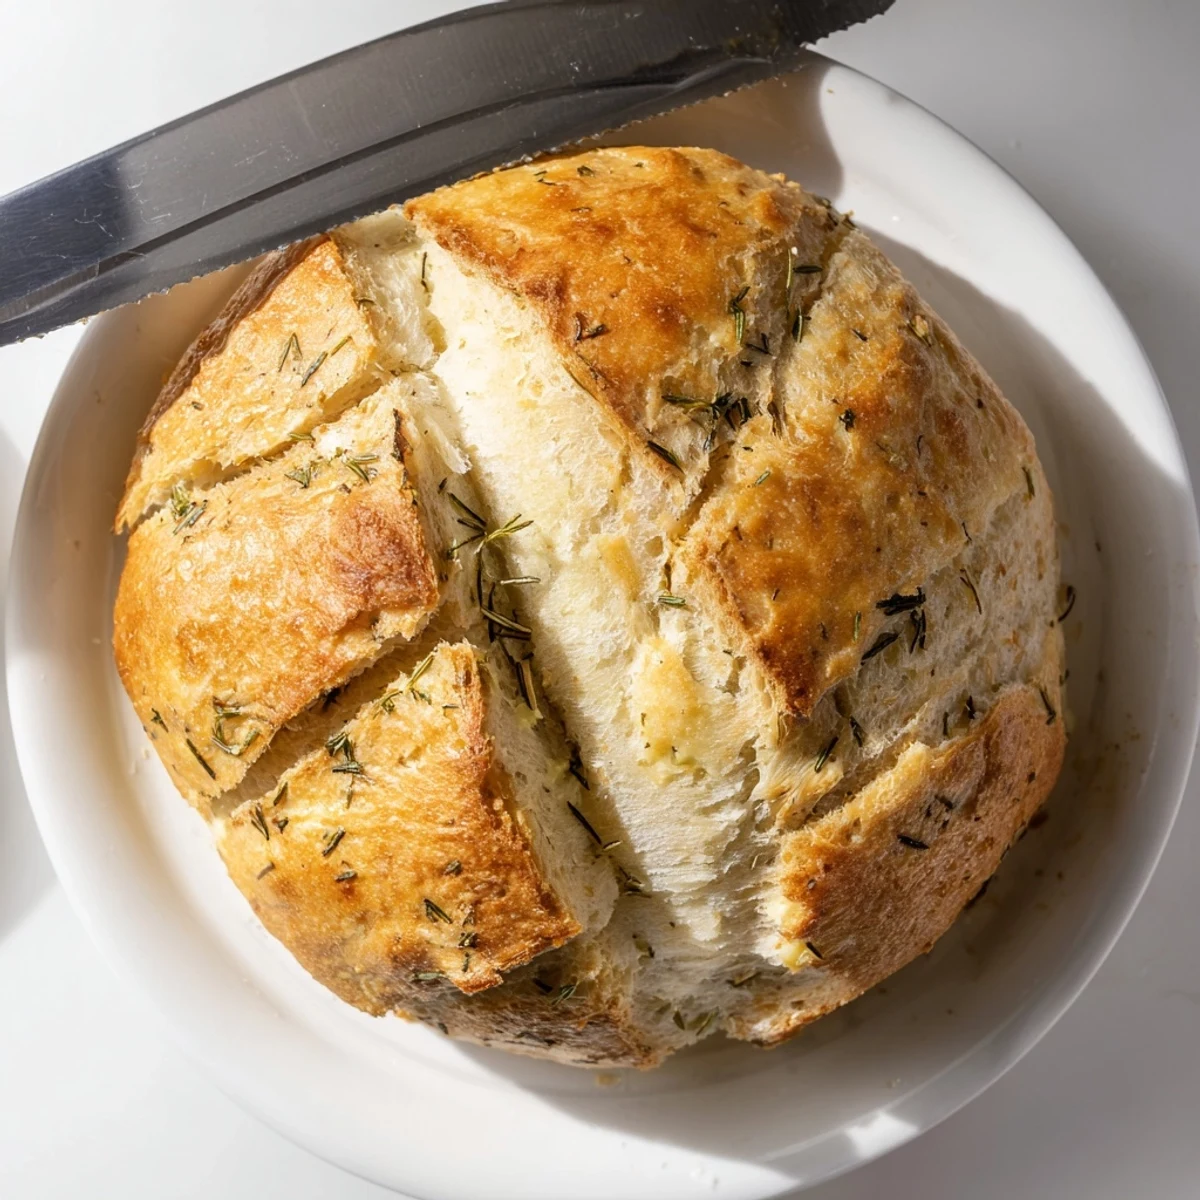
Save Create bakery-quality bread at home with this simple Dutch oven technique. The combination of aromatic garlic, fresh rosemary, thyme, and parsley infuses every bite with savory flavor. Baking in a preheated Dutch oven creates steam that develops a professional-style crust while keeping the interior soft and airy. Perfect alongside soups, salads, or enjoyed warm with olive oil.
The smell of garlic and rosemary hitting hot butter still takes me back to that tiny apartment kitchen where I first attempted Dutch oven bread. I'd been intimidated by artisan baking for years, convinced you needed a wood-fired oven and generations of sourdough wisdom. That first loaf came out ugly but the flavor was everything I'd been chasing.
My sister-in-law asked for the recipe after one bite at our Sunday family dinner, admitting she'd been buying similar loaves for six dollars each at the farmers market. Now she makes it weekly and her kids fight over the end pieces. There's something impossibly satisfying about pulling a gorgeous, crackling loaf from your own oven.
Ingredients
- Bread flour: The higher protein content creates that chewy, professional texture you cant get with all-purpose flour alone
- Active dry yeast: Skip the instant yeast here because the longer rise develops deeper flavor that complements the garlic
- Warm water: Use a thermometer if youre unsure, water that feels comfortably warm to your wrist is perfect
- Olive oil: This keeps the crumb tender and adds a subtle fruitiness that plays nicely with the herbs
- Garlic cloves: Dont be tempted to use garlic powder, fresh cloves mellow beautifully during baking
- Fresh rosemary and thyme: Hard herbs hold up better than delicate ones like basil or cilantro in high-heat baking
- Fresh parsley: Adds a bright, fresh counterpoint to the earthier rosemary and thyme
- Melted butter: Brushing the hot loaf with butter creates that irresistible finish and helps the extra garnish stick
Instructions
- Mix your base:
- Whisk together flour, salt, and sugar in a large bowl until everything is evenly distributed
- Activate the yeast:
- Stir in your yeast then pour in warm water and olive oil, mixing until a sticky shaggy dough forms
- Add the aromatics:
- Fold in minced garlic and chopped herbs until theyre distributed throughout the dough
- Let it rise:
- Cover your bowl and walk away for two hours until dough has doubled in size
- Shape your loaf:
- Turn dough onto a floured surface and gently tuck edges underneath to form a tight round
- Rest and preheat:
- Place dough on parchment and let it relax while heating your Dutch oven at 450°F for 30 minutes
- Score and bake:
- Transfer dough to hot pot, slice the top, then bake covered for 30 minutes
- Finish with flair:
- Remove lid and bake 15 more minutes until golden, then brush with butter and extra herbs
 Save
Save This bread has become my go-to host gift, arriving still warm and wrapped in a clean tea towel. People lose their minds over the smell wafting from the bag, and nobody believes it came from their own oven with basically zero effort.
Making It Your Own
Once you nail the basic technique, start playing with different herb combinations. I've done everything from sage and onion to sun-dried tomato and basil. The garlic stays constant because that earthy punch is what makes this bread sing.
Timing Your Bake
Long, slow fermentation creates the best flavor development, so try mixing the dough in the morning if you want fresh bread at dinner. The two hour rise is forgiving within an hour either direction, giving you flexibility around your schedule.
Storage and Serving
This bread is best enjoyed the day it's baked when the crust is at its crispest. Store any leftovers in a paper bag at room temperature, never plastic, which turns the crust soggy. Revive day-old bread in a 350°F oven for ten minutes.
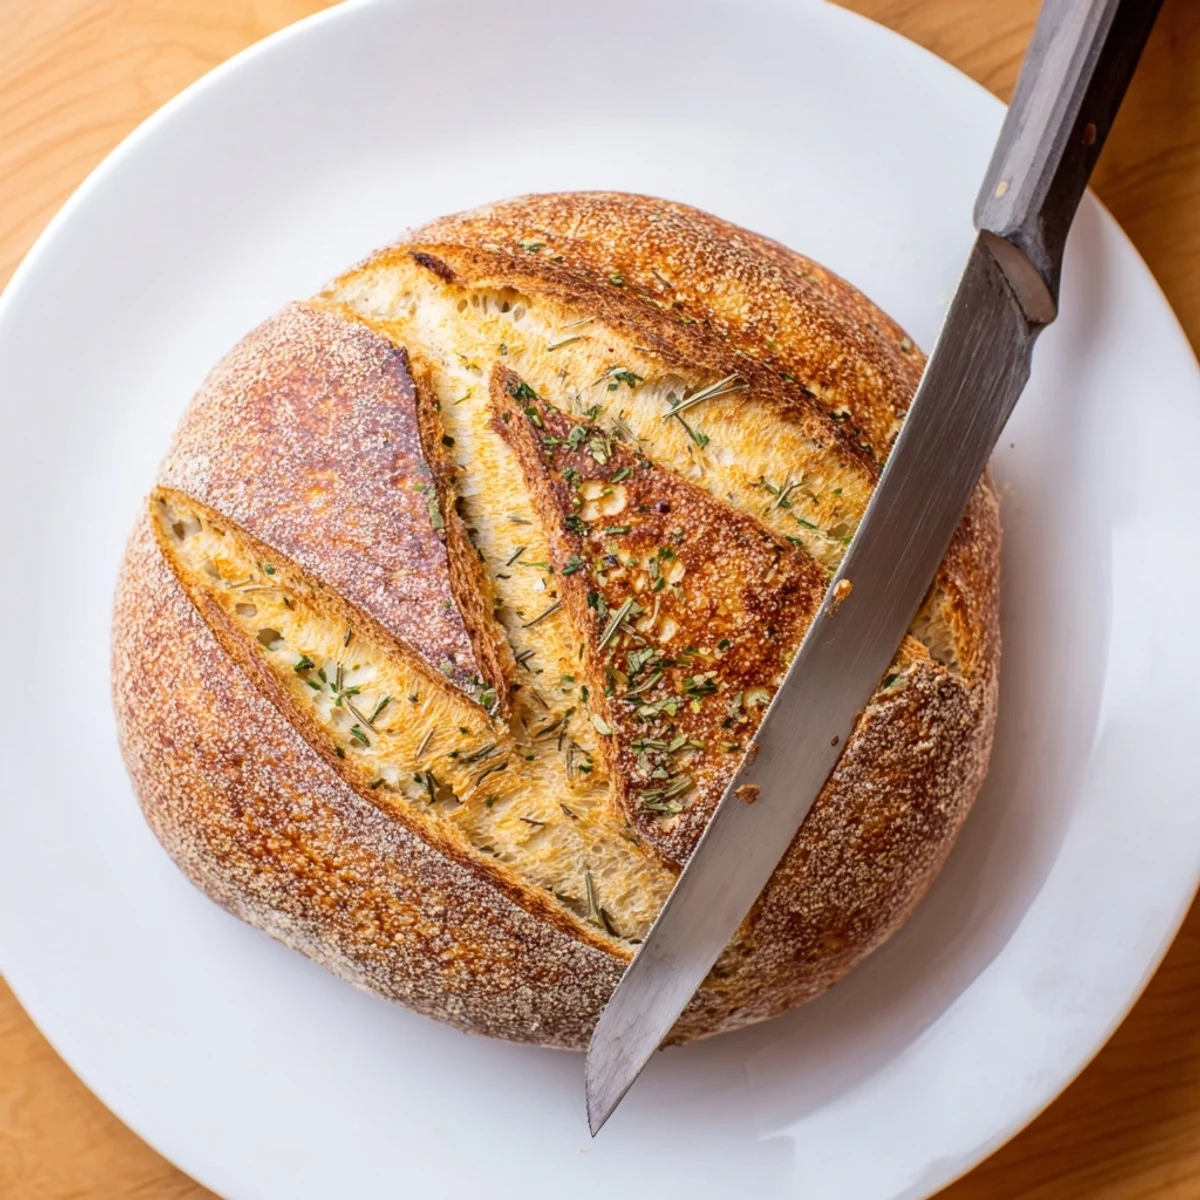
- Slice with a serrated knife using a gentle sawing motion to preserve the crust
- Serve alongside soups, stews, or simply torn into chunks with olive oil
- The bread freezes beautifully wrapped tightly in foil and thawed overnight
 Save
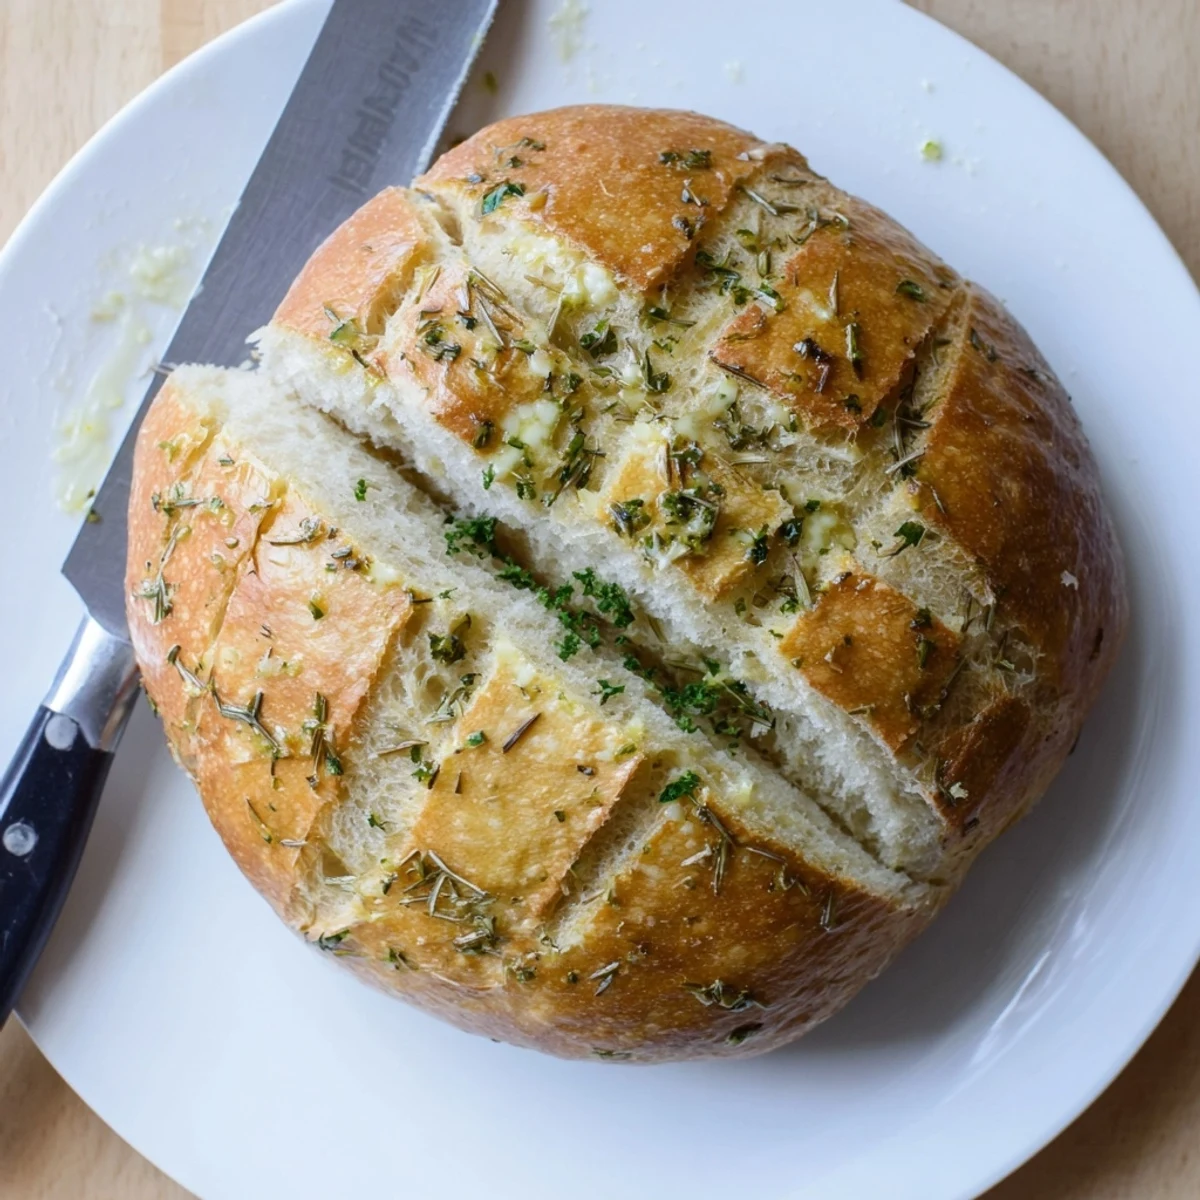
Save Theres nothing quite like tearing into a steaming slice of bread you baked yourself, the butter still glistening on the golden crust. Your kitchen will smell better than any bakery.
Recipe FAQs
- → Why bake bread in a Dutch oven?
-
The Dutch oven creates steam during baking, which develops a crispy, crackly crust while keeping the crumb tender and airy. It mimics professional steam-injected ovens.
- → Can I use dried herbs instead of fresh?
-
Yes, substitute 1 teaspoon of each dried herb for the fresh version. Dried herbs are more concentrated, so use smaller amounts to avoid overpowering the bread.
- → How do I know when the bread is done?
-
The crust should be deep golden brown, and the bread should sound hollow when tapped on the bottom. An instant thermometer inserted into the center should read 190-200°F.
- → Can I add cheese to this bread?
-
Absolutely! Mix 1/2 to 1 cup of grated Parmesan or cheddar into the dough along with the herbs for a savory variation.
- → How should I store this bread?
-
Store at room temperature in a paper bag for up to 2 days. For longer storage, wrap tightly and freeze for up to 3 months. Avoid plastic bags which make the crust soggy.
- → What size Dutch oven do I need?
-
A 4 to 6 quart Dutch oven works perfectly. The key is preheating it with the lid on for at least 30 minutes at 450°F before baking.
