 Save
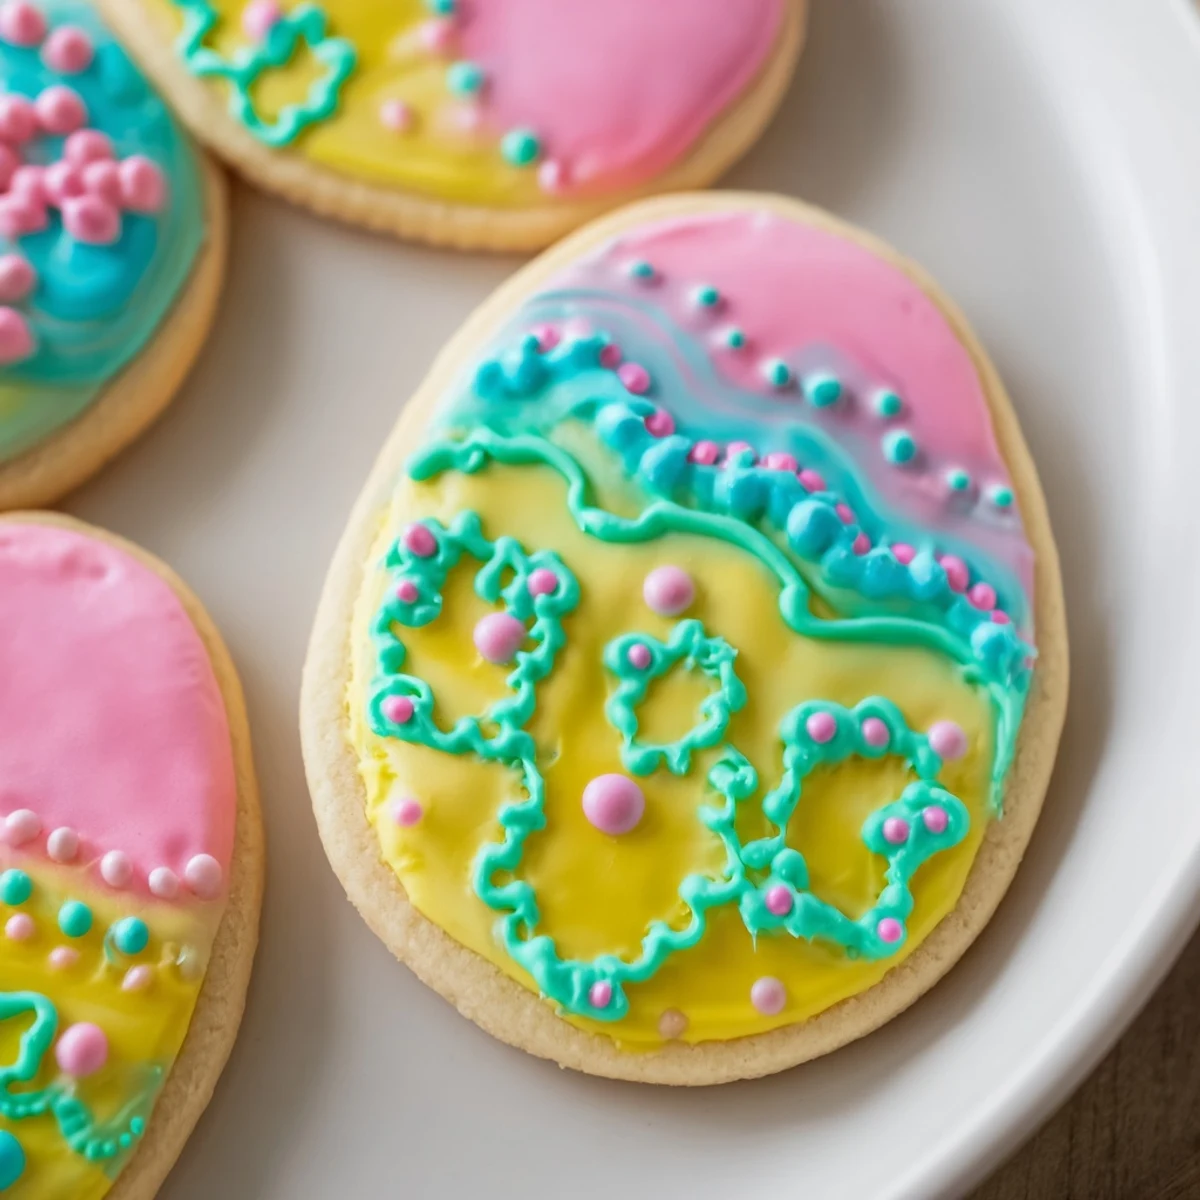
Save These buttery sugar cookies are shaped like Easter eggs and baked to perfection with a tender texture. After chilling, they’re decorated with smooth royal icing tinted in bright colors, making them festive and fun. The simple mixture includes vanilla and a hint of milk for softness. Cooling the cookies ensures they hold their shape and the icing sets beautifully. Perfect for spring celebrations or sharing with family, these treats combine classic ingredients and cheerful decoration for a delightful experience.
Last spring, my daughter discovered an old egg-shaped cookie cutter buried in the back of a kitchen drawer. She immediately declared we needed to make ‘real Easter cookies’ unlike the hurried slice-and-bake ones from previous years. That afternoon, with flour dusting every surface and pastel-colored bowls lined up like little soldiers, something clicked. These buttery, perfectly tender cookies became the anchor of our holiday weekend.
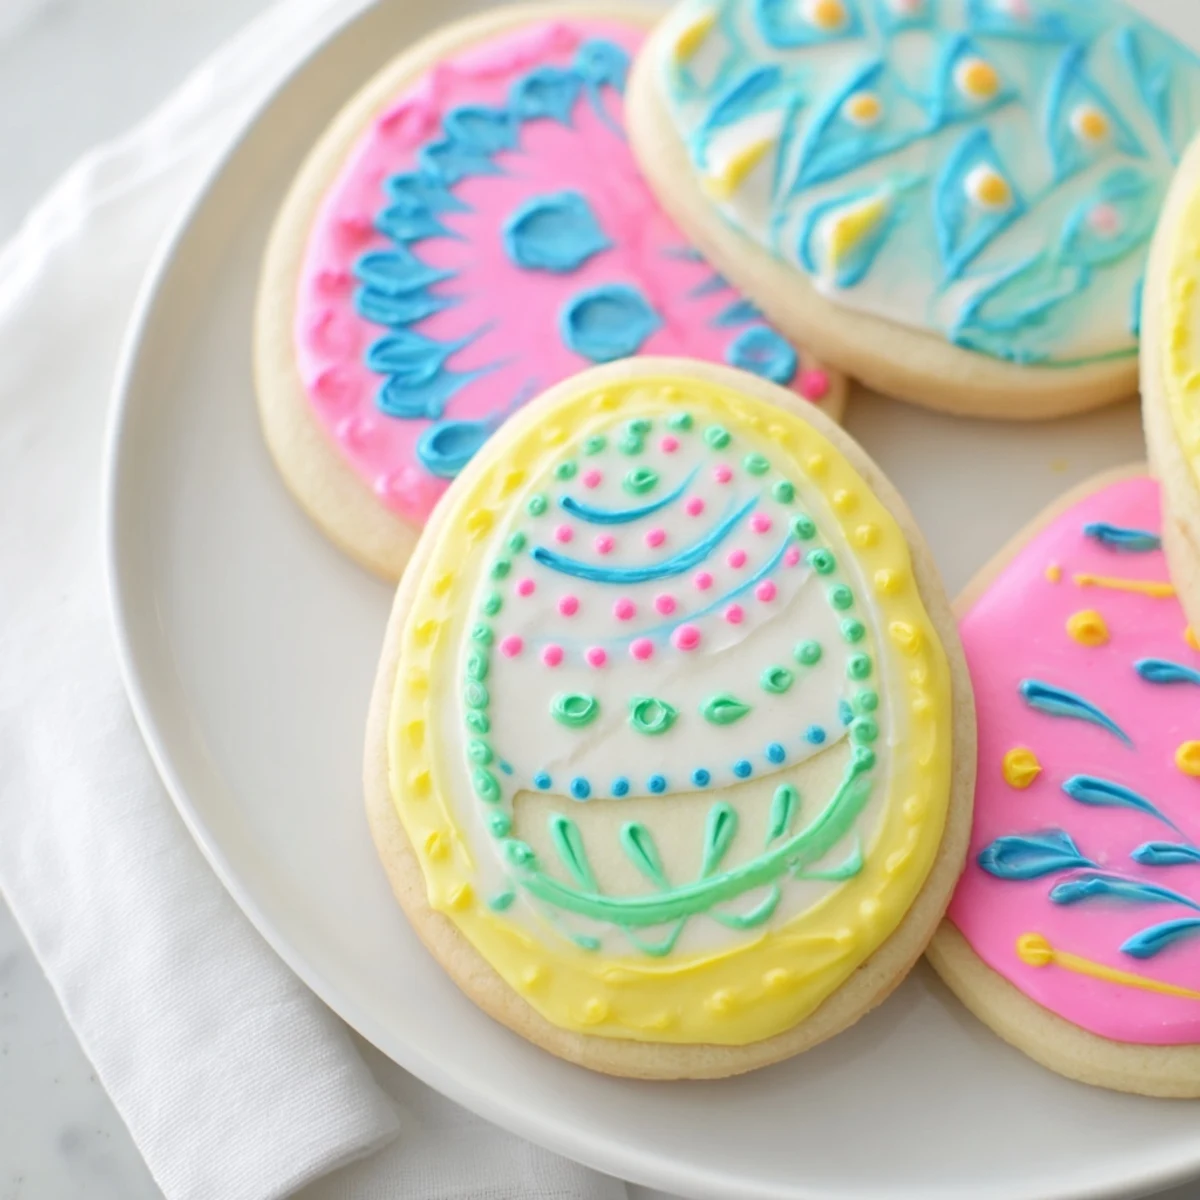
Last year, I set up a decorating station for my nieces and nephews while the adults finished dinner. Within minutes, the kitchen table had become an art studio, with cookies featuring polka dots, stripes, and even some questionable abstract egg interpretations. My nephew proudly presented me with a neon green monstrosity that he insisted was ‘very artistic.’ Those imperfect, joyful cookies tasted better than any perfectly decorated ones I have ever made.
Ingredients
- 2 1/2 cups (315 g) all-purpose flour: The foundation of tender cookies that hold their shape without spreading too much
- 1/2 tsp baking powder: Just enough lift to give the cookies a light, delicate crumb
- 1/4 tsp salt: Balances the sweetness and brings out the vanilla flavor
- 3/4 cup (170 g) unsalted butter, softened: Room temperature butter creates the perfect texture for rolling and cutting
- 1 cup (200 g) granulated sugar: Sweetens the dough while creating crisp edges
- 1 large egg: Adds structure and helps bind the dough together
- 2 tsp pure vanilla extract: The backbone of classic sugar cookie flavor
- 1 tbsp milk: Just enough moisture to bring the dough together without making it sticky
- 2 cups (240 g) powdered sugar, sifted: Creates smooth, pipeable royal icing that dries to a hard finish
- 1 1/2 tbsp meringue powder: Essential for royal icing that sets properly and holds its shape
- 3 tbsp warm water (plus more as needed): Adjusts the icing consistency for outlining and flooding
- Food coloring (gel or liquid), assorted colors: Gel colors give more vibrant hues with less liquid
Instructions
- Whisk the dry ingredients together:
- In a medium bowl, combine the flour, baking powder, and salt until everything is evenly distributed
- Cream the butter and sugar:
- Beat the softened butter and granulated sugar in a large mixing bowl until the mixture looks pale and fluffy, about 2 to 3 minutes
- Add the egg and vanilla:
- Crack in the egg and pour in the vanilla extract, beating until everything is fully incorporated
- Combine wet and dry ingredients:
- Gradually mix in the flour mixture on low speed, then add the milk and mix until a smooth dough forms
- Chill the dough:
- Divide the dough into two portions, flatten each into a disk, wrap in plastic, and refrigerate for at least 1 hour
- Preheat the oven:
- Heat your oven to 350°F (175°C) and line baking sheets with parchment paper
- Roll and cut the cookies:
- On a floured surface, roll one dough disk to 1/4-inch thickness, cut out egg shapes, and transfer to the prepared baking sheets
- Bake until golden:
- Bake for 8 to 10 minutes, watching for the edges to turn just slightly golden
- Cool completely:
- Let the cookies rest on the baking sheets for 5 minutes, then move them to a wire rack to cool fully
- Prepare the royal icing:
- Whisk together the powdered sugar, meringue powder, and warm water until smooth and thick enough to pipe
- Decorate your eggs:
- Divide the icing into bowls, tint each with food coloring, and decorate the cooled cookies using piping bags
 Save
Save Last Easter, my mother-in-law admitted she had never made decorated cookies from scratch before. Watching her carefully pipe tiny pink dots around the edge of an egg-shaped cookie, tongue slightly sticking out in concentration, reminded me that cooking is always about learning. She sent me a photo of her final batch, and honestly, they were impressive. Now she claims this as her signature holiday recipe.
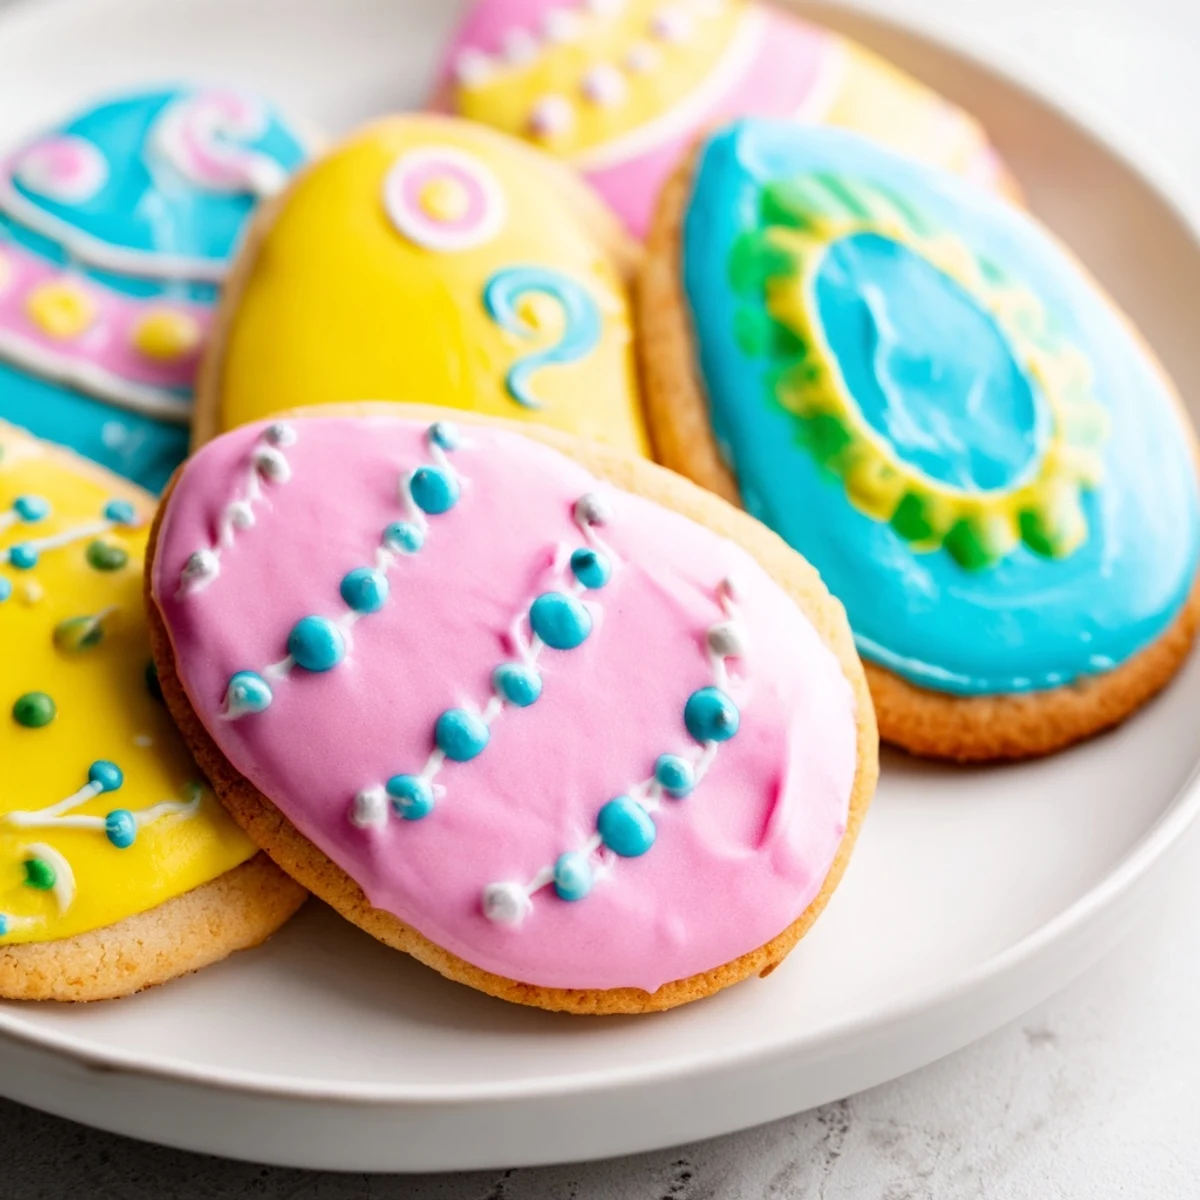
Getting the Icing Consistency Right
The royal icing consistency matters more than you might think. For outlining and detailed designs, you want it thick enough to hold its shape like a soft ribbon when you drizzle it. For flooding the larger areas of the egg, thin it with just a few drops of water until it flows smoothly and settles into an even surface. I keep two bowls going at once, one thick and one thin, and switch between them as I decorate.
Making Colors That Pop
Gel food coloring is absolutely worth the extra trip to the baking aisle. Liquid coloring can thin your icing and give you muted, washed-out colors that need endless tweaking. A tiny toothpick swipe of gel coloring delivers intense, saturated hues that stay vibrant even after the icing dries. Start with less than you think you need, you can always add more, but you cannot take it back.
Setting Up Your Decorating Station
Before you even touch the icing, lay down parchment paper or a silicone mat over your work surface. Royal icing dries incredibly fast, and those little drips and splatters become permanent cement on your countertop. Set out small bowls of sprinkles, edible glitter, or sanding sugar before you start piping, so you can add them while the icing is still wet. Working quickly and having everything ready makes the difference between fun decorating and stressful scrambling.
- Keep a damp paper towel nearby to wipe the tip of your piping bag between colors
- If your icing starts to harden in the bag, add a single drop of water and mix it gently
- Let cookies dry for at least 4 hours or overnight before packaging them up
 Save
Save These cookies have a way of turning an ordinary afternoon into something festive and memorable. Whether you are decorating with kids, serving them at a holiday gathering, or simply enjoying one with coffee, they capture everything sweet about spring.
