 Save
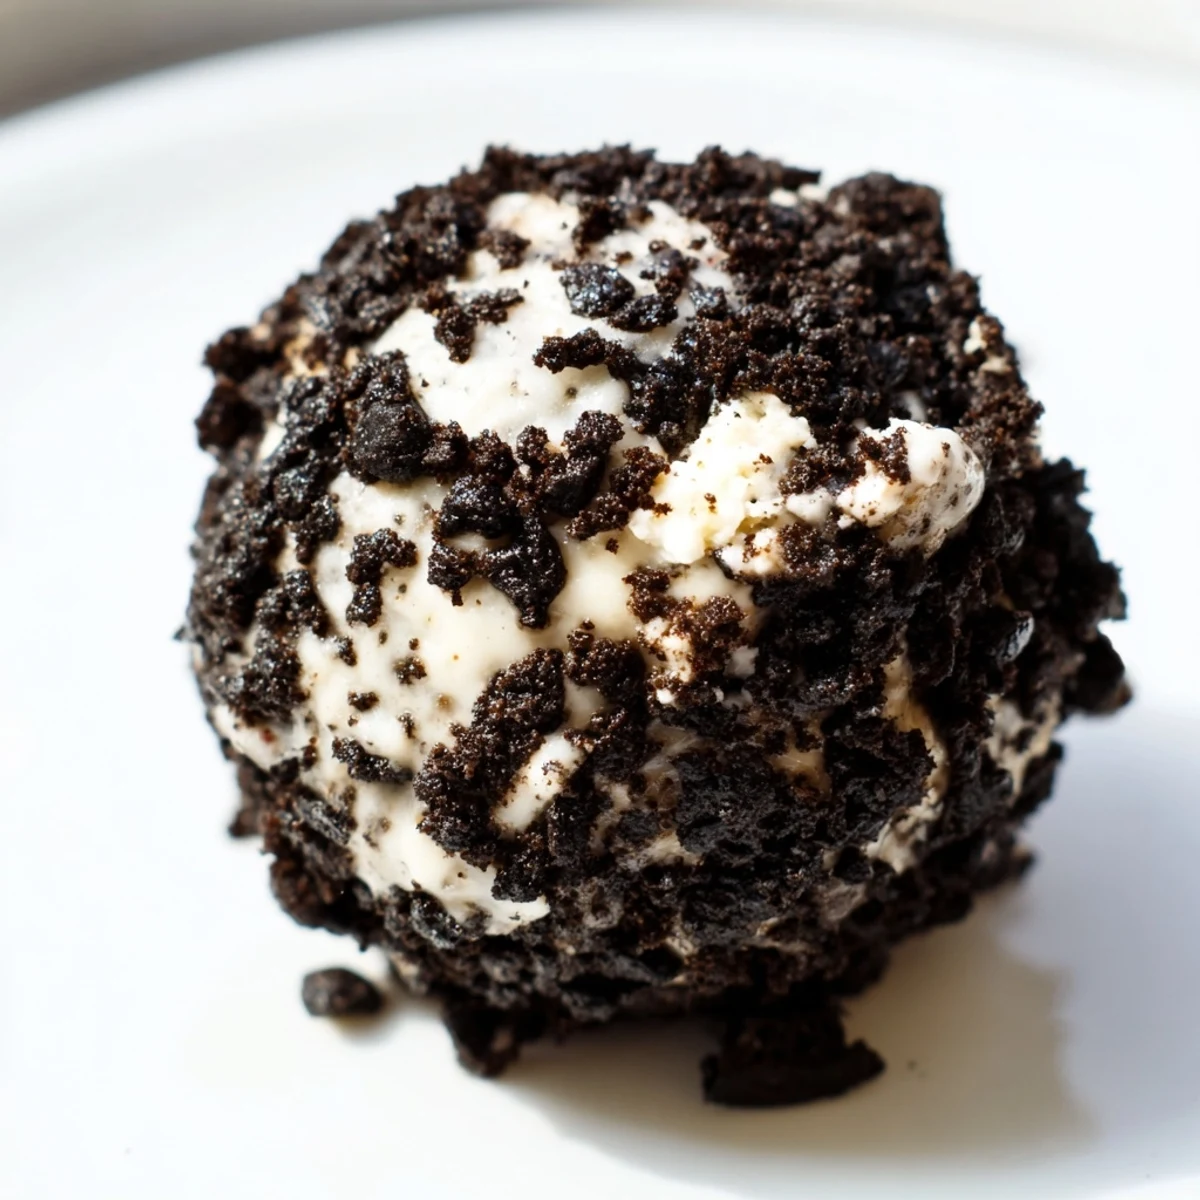
Save Indulge in these rich, satisfying no-bake protein balls that combine the classic flavors of cream cheese and chocolate sandwich cookies. Each bite delivers a perfect balance of creamy sweetness and crunchy texture, boosted with protein powder for a nutritious twist. The simple preparation comes together in just 15 minutes with only seven ingredients. Roll them in extra cookie crumbs for that signature cookies and cream coating, or drizzle with melted chocolate for an extra decadent touch. These versatile treats stay fresh in the refrigerator for up to five days, making them ideal for meal prep or whenever hunger strikes.
The afternoon I discovered I could satisfy my chocolate cravings without derailing my fitness goals was entirely accidental. I was craving something sweet after a workout but refused to undo my progress, so I started experimenting with what I had in my pantry. These protein balls have become my go-to solution ever since.
My gym buddies started asking what I was eating during our post-workout chats, and now they text me for the recipe. There is something deeply satisfying about popping one of these into your mouth knowing it tastes like a cheat meal but is helping you recover.
Ingredients
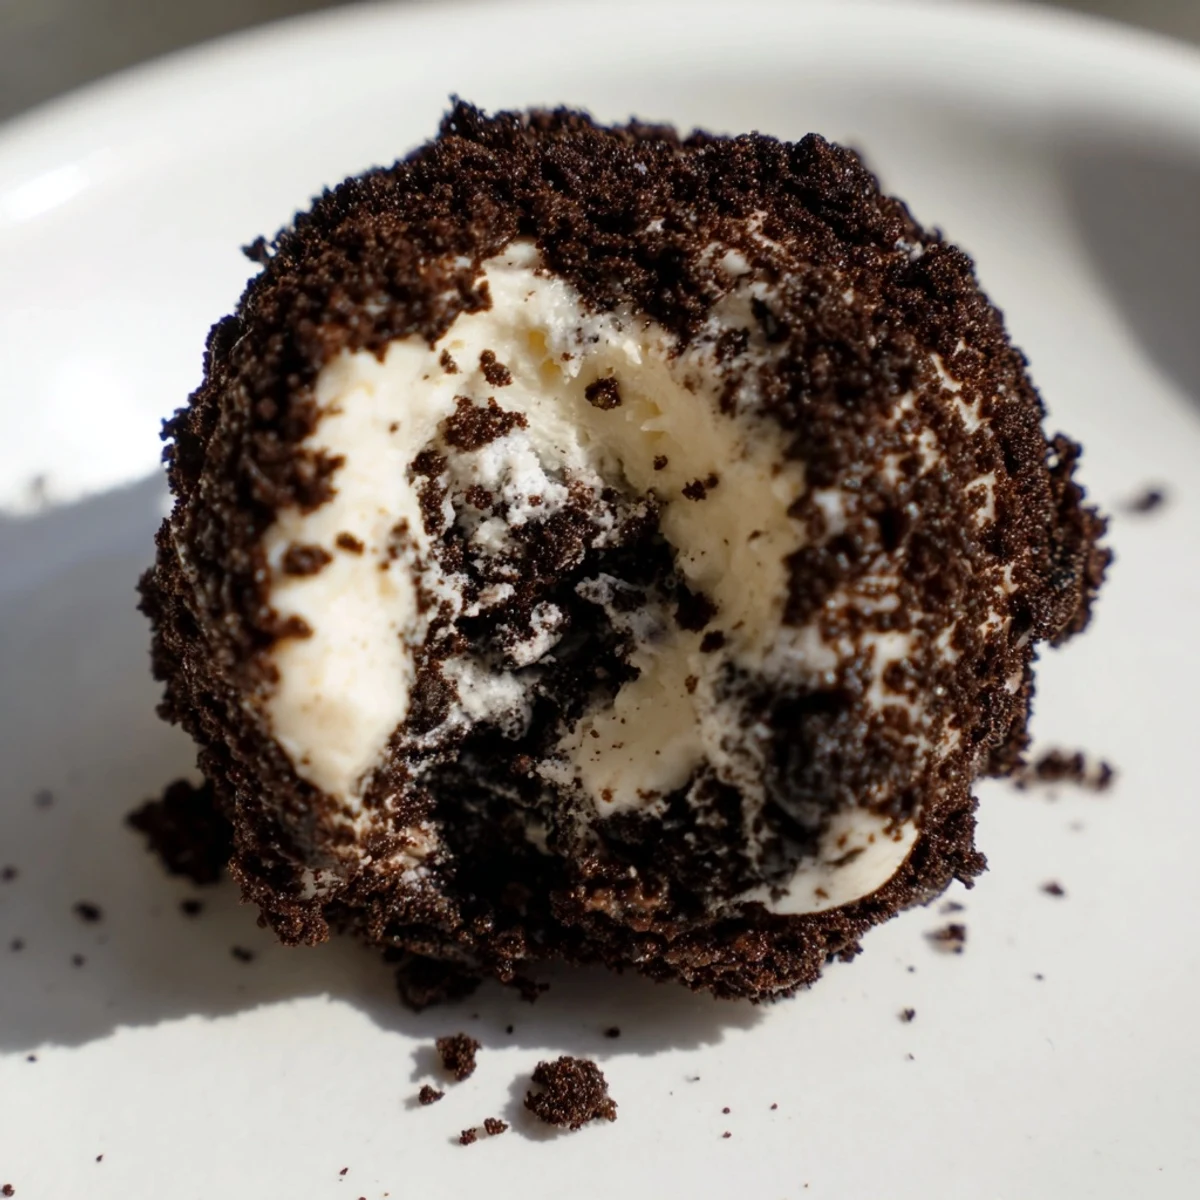
- 8 oz cream cheese softened: This binds everything together and creates that luxurious creamy center that makes these feel indulgent
- 1 cup Oreo cookies crushed: The chocolate cookie pieces throughout are what give these their signature cookies and cream flavor
- 1 cup vanilla or chocolate protein powder: Your protein boost and also helps firm up the dough so it rolls into perfect balls
- 2 tbsp milk: Just enough to bring everything together into a workable consistency without making it sticky
- 2 tbsp powdered sugar: Balances the tang from cream cheese and adds just enough sweetness without going overboard
- 1/2 cup Oreo cookie crumbs for coating: Rolling the balls in these gives them that finished bakery look and extra crunch
- Optional chocolate drizzle: Takes them from post-workout snack to impress-your-guests territory
Instructions
- Beat the cream cheese until completely smooth:
- Use your electric mixer on medium speed for about a minute until there are absolutely no lumps remaining.
- Combine all the base ingredients:
- Add the crushed Oreos, protein powder, milk, and powdered sugar to the cream cheese and mix on low until everything is incorporated and you have a thick, moldable dough.
- Check your consistency:
- The mixture should hold together when squeezed but not stick to your hands. Add protein powder if too sticky or another splash of milk if it is crumbling.
- Roll into uniform balls:
- Scoop about one tablespoon at a time and roll between your palms into smooth spheres, working quickly so the warmth of your hands does not melt the cream cheese.
- Coat with Oreo crumbs:
- Pour your coating crumbs into a shallow bowl and gently roll each ball to cover the surface completely, pressing lightly to help them adhere.
- Chill before serving:
- Place your finished balls on a parchment lined tray and refrigerate for at least 30 minutes so they firm up and hold their shape.
 Save
Save These have become such a staple in my meal prep routine that I keep double the ingredients on hand at all times. Watching my kids actually get excited about eating something protein packed has been the unexpected bonus.
Make Them Your Own
The beauty of this recipe is how easily it adapts to whatever flavor profile you are craving. Swap the Oreos for Nilla Wafers and use vanilla protein for a birthday cake version. Peanut butter lovers can add two tablespoons to the base mixture and roll them in crushed peanuts.
Working With The Dough
If your hands start getting warm while rolling and the dough becomes sticky, pop the mixture in the fridge for ten minutes. I also keep a small bowl of cold water nearby to dip my fingers in occasionally. The contrast between the cold, firm mixture and the slight warmth from your hands is what creates that perfect creamy interior.
Serving And Storage
These protein balls taste best when they have had at least an hour to chill completely. The cold intensifies the cream cheese flavor and gives them that satisfying fudge like texture.
- Let them sit at room temperature for five minutes before serving for the creamiest bite
- Package them in clear containers lined with parchment paper so they do not stick together
- Keep a batch in your gym bag for immediate post-workout recovery
 Save
Save These protein balls started as an experiment but have become one of those recipes I cannot imagine my kitchen without. Hope they become just as indispensable in your routine.
Recipe FAQs
- → How long do these keep fresh?
-
Store these protein balls in an airtight container in the refrigerator for up to 5 days. The firm texture holds well, and flavors may even improve after chilling overnight.
- → Can I make these gluten-free?
-
Yes, simply swap the regular Oreo cookies for any gluten-free chocolate sandwich cookie brand. The rest of the ingredients are naturally gluten-free, though always check your protein powder label to be certain.
- → What protein powder works best?
-
Vanilla or chocolate protein powder both complement the Oreo flavor beautifully. Whey, casein, or plant-based powders all work—just note that some plant-based varieties may absorb more liquid, so adjust the milk accordingly.
- → Why is my mixture too sticky or dry?
-
If the dough sticks to your hands, add another spoonful of protein powder. If it crumbles and won't hold together, splash in a bit more milk. The right consistency should feel like playdough—firm enough to roll but not crumbling.
- → Do I have to refrigerate these?
-
Chilling for at least 30 minutes helps the balls firm up and makes them easier to handle. For the best texture and food safety, keep them refrigerated until serving time, especially since they contain cream cheese.
