 Save
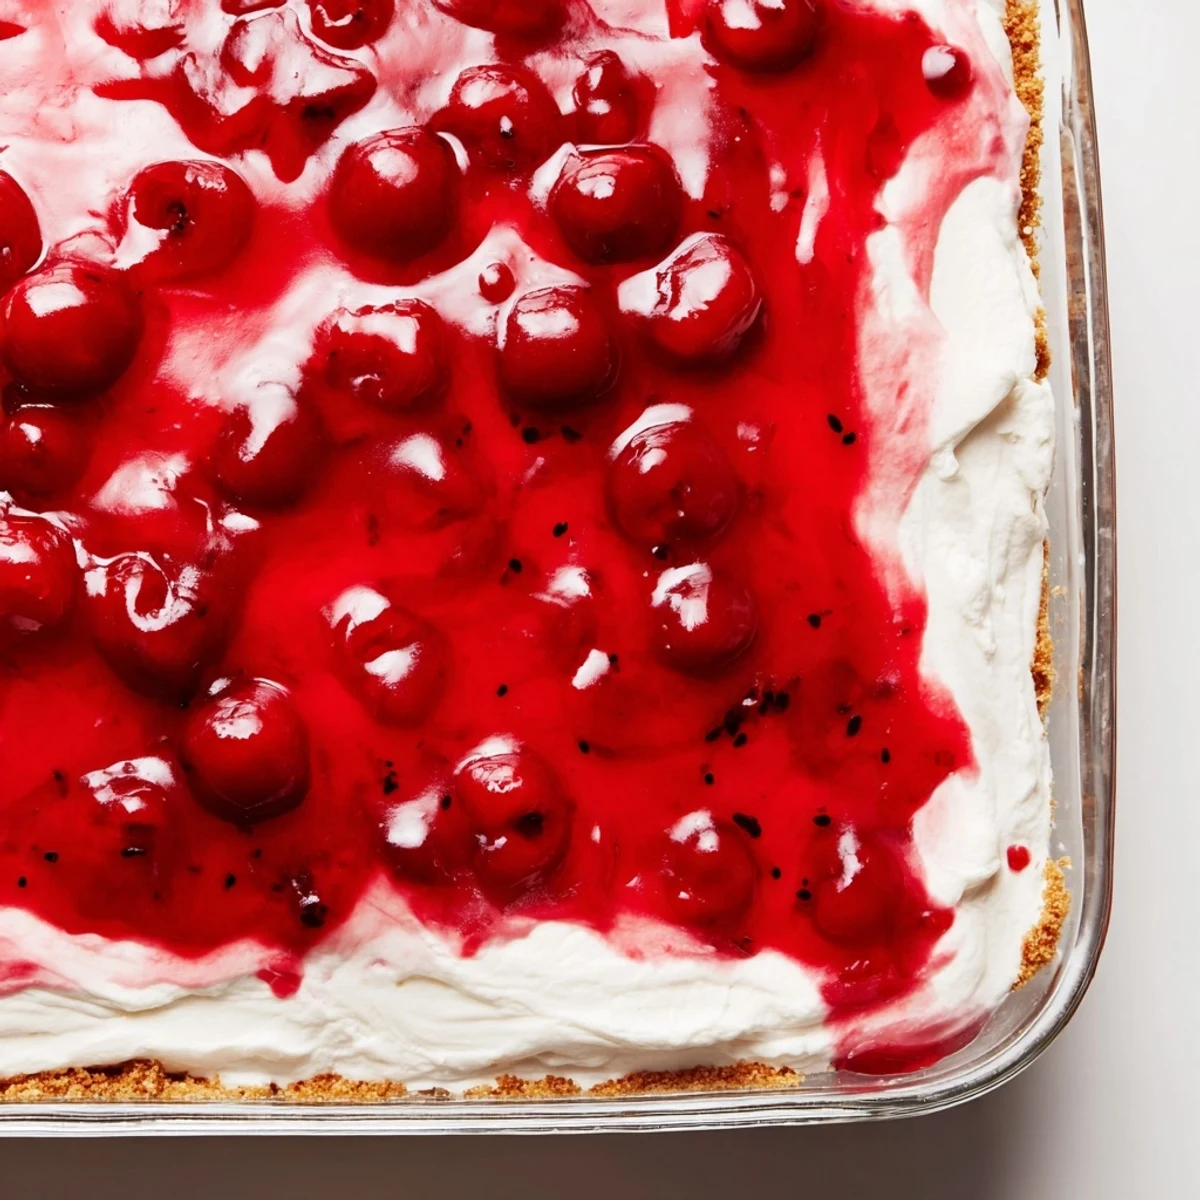
Save This classic cherry delight combines a buttery graham cracker base with a smooth cream cheese layer and sweet cherry topping. The no-bake preparation makes it ideal for warm weather or when you need an impressive dessert without turning on the oven. Simply press the crumb crust into your dish, whip together the creamy filling, and top with luscious cherry pie filling. After two hours of chilling, you'll have beautifully layered squares that offer the perfect balance of sweet cherries, tangy cream cheese, and crunchy crust.
The summer my youngest daughter turned seven, she requested something pink and sweet for her birthday. I'd planned an elaborate layer cake but ran out of time after a chaotic work week. This cherry delight saved the day—no baking required, just assembly and a bit of patience. The birthday girl declared it better than any cake we'd ever made.
My neighbor brought over a version of this after I had surgery years ago. She'd packed it in a disposable pan with a note that said 'no cooking allowed.' I remember eating it straight from the container with a spoon, standing in my kitchen at midnight, wondering how something so simple could taste this good.
Ingredients
- Graham cracker crumbs: I pulse whole crackers in the food processor for the most consistent texture, but crushing them in a ziplock with a rolling pin works just fine
- Unsalted butter: Melt it completely so it coats every crumb evenly—this is what makes the crust hold together when you slice
- Cream cheese: Let it sit on the counter for at least two hours; cold cream cheese creates stubborn lumps that no amount of mixing can fix
- Powdered sugar: Sift it first if it's been sitting in your pantry for months—those clumps won't dissolve in the creamy mixture
- Vanilla extract: Pure extract makes a noticeable difference here since vanilla shines against the tangy cream cheese
- Whipped topping: Fold it in gently at the end—overworking collapses the air bubbles and makes the final texture dense instead of fluffy
- Cherry pie filling: Look for one with visible cherry pieces rather than just gel, and give the can a good swirl before opening to distribute the fruit evenly
Instructions
- Press the crust:
- Mix the graham crumbs with melted butter and sugar until it feels like wet sand. Dump it into your baking dish and use the bottom of a measuring cup to press it down firmly—this creates a crust that cuts cleanly instead of crumbling.
- Make the creamy layer:
- Beat that room-temperature cream cheese until it's completely smooth, then add the powdered sugar and vanilla. The mixture should look glossy before you fold in the whipped topping.
- Assemble the layers:
- Spread the cream cheese mixture over your crust, going all the way to the corners so every bite gets that creamy base. Then spoon the cherry filling on top—drop it in dollops and gently connect them rather than dragging through the cream layer.
- Let it set:
- Cover the dish and pop it in the fridge for at least two hours, though overnight is even better. The flavors need time to marry and the layers need to firm up so you can cut neat squares.
 Save
Save Last Christmas, my aunt asked for the recipe after having it at our holiday gathering. She confessed later that she makes it now whenever she needs to bring something to a potluck—it's become her signature dish, though she still claims she invented it.
Making It Your Own
I've played with different fruit fillings over the years, and blueberry gives it a more sophisticated twist while strawberry feels more like childhood summers. Once I used a homemade cherry compote instead of canned filling, and while it tasted fresh, the consistency didn't set quite as firmly.
Getting The Texture Right
The secret to that restaurant-quality layered look is letting the crust cool completely before adding the cream cheese mixture. I learned this the hard way when impatient scoops melted into the warm butter and created marbled swirls—tasty, but not the clean presentation I was aiming for.
Serving Suggestions
A sharp knife dipped in hot water between cuts gives you the cleanest slices, though honestly, it's just as good scooped into bowls for casual weeknight desserts. I like to garnish individual servings with fresh cherries when they're in season—it makes it feel special without much extra effort.
- Chill your serving bowls for 10 minutes before plating—the dessert holds its shape longer
- A dusting of graham cracker crumbs on top adds a nice crunch and hints at what's underneath
- This pairs beautifully with strong black coffee, which cuts through the richness
 Save
Save Sometimes the simplest recipes become the ones we return to again and again. This cherry delight started as a backup plan and ended up a family tradition.
Recipe FAQs
- → Can I make this ahead of time?
-
Yes, this actually improves when made ahead. You can prepare it up to 24 hours before serving. The extended chilling time helps the layers set completely, making cleaner slices when serving.
- → What other fruit toppings work well?
-
Blueberry, strawberry, raspberry, or mixed fruit pie fillings all work beautifully. Fresh berries with a glaze also make an excellent alternative to canned filling.
- → How should I store leftovers?
-
Keep covered in the refrigerator for up to 4-5 days. The crust may soften slightly over time but the dessert will remain delicious. Avoid freezing as the texture changes.
- → Can I use homemade whipped cream instead?
-
Absolutely. Whip 1 1/2 cups heavy cream with 2 tablespoons powdered sugar until stiff peaks form. Fold this gently into the cream cheese mixture in place of the whipped topping.
- → What size pan should I use?
-
A standard 9x13-inch baking dish works perfectly. You could also use two 8-inch square pans if you prefer thicker pieces or want to freeze one pan for later.
- → Can I make individual servings?
-
Yes. Layer the crust, cream cheese mixture, and cherries in parfait glasses or mason jars for an elegant individual presentation. Chill as usual before serving.
