 Save
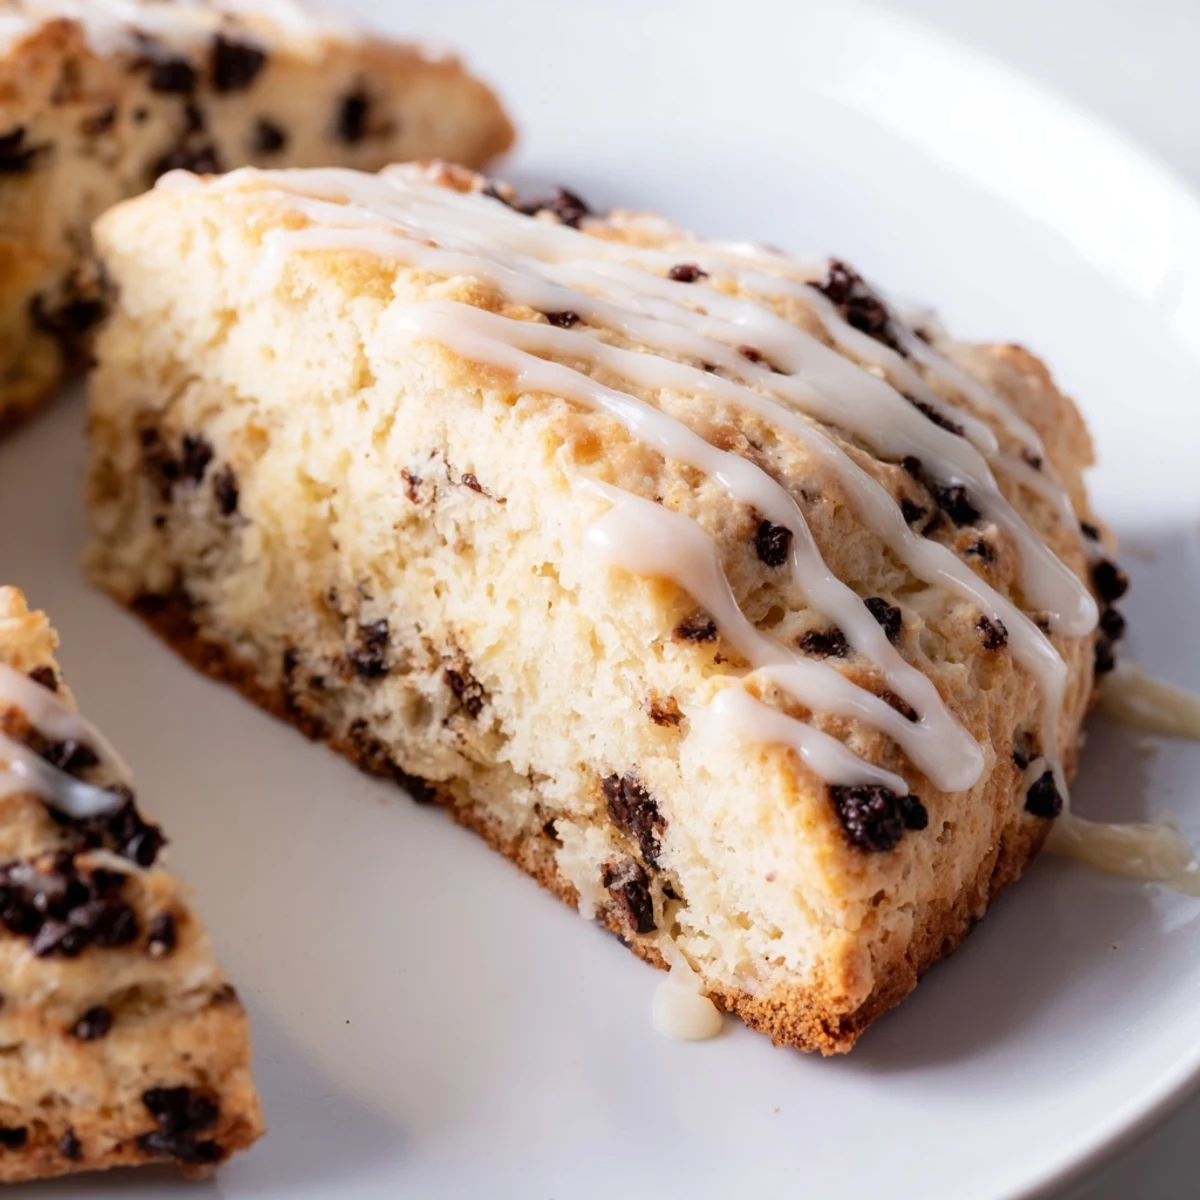
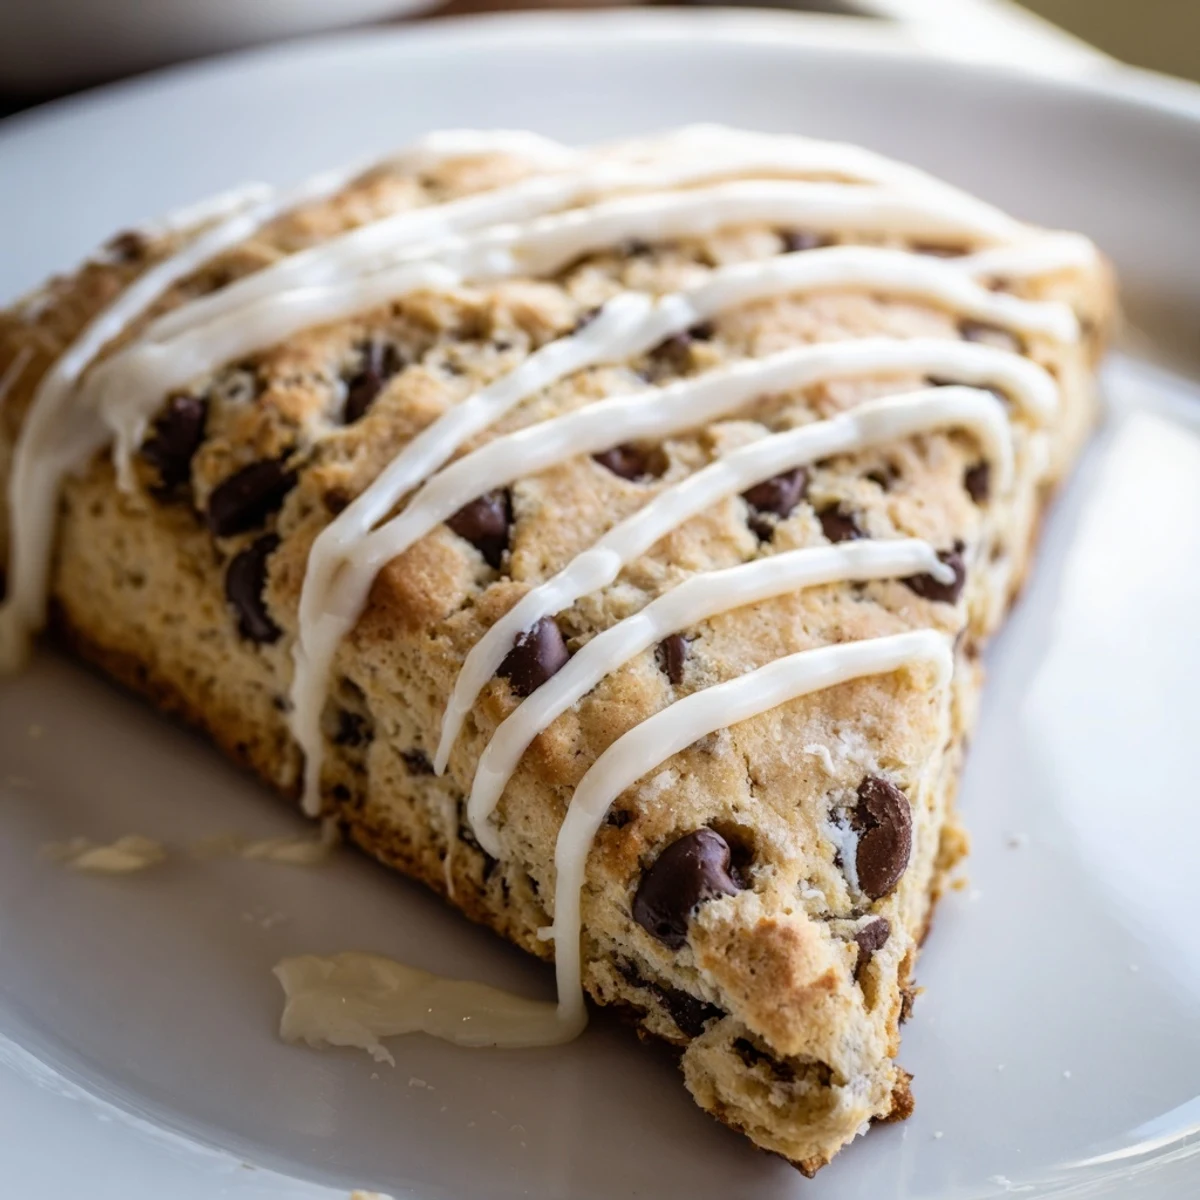
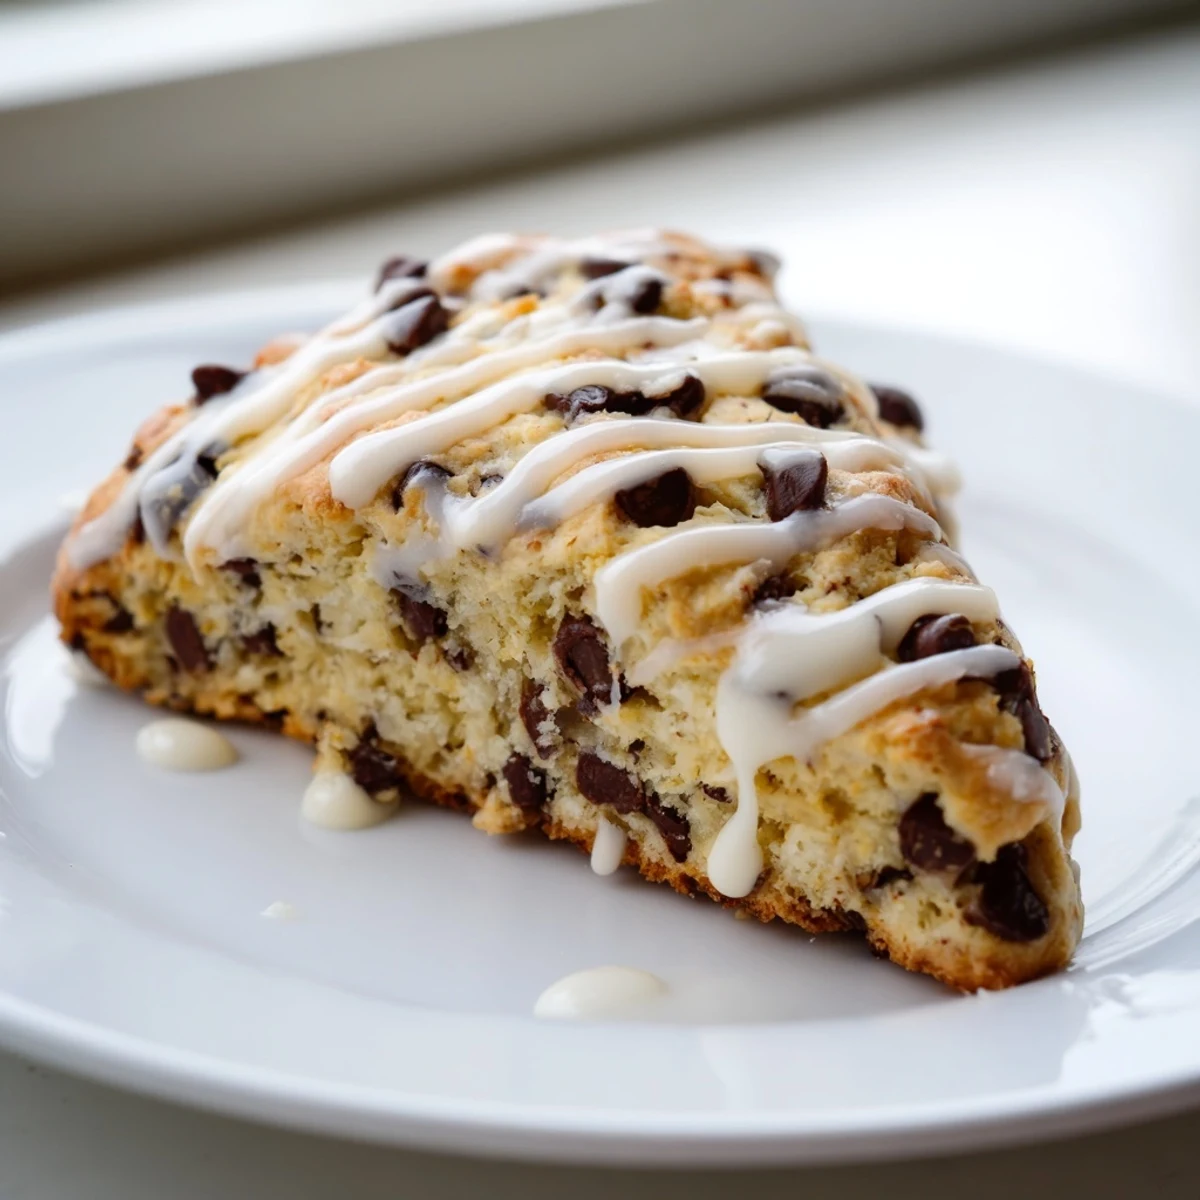
Save These tender, buttery scones feature pockets of semi-sweet chocolate throughout, crowned with a silky vanilla glaze that adds just the right amount of sweetness. The dough comes together quickly with simple pantry staples, and the key is keeping your butter cold for that flaky, melt-in-your-mouth texture.
Bake until golden and serve warm for the ultimate breakfast or afternoon treat. The glaze sets beautifully while adding a decorative finish that makes these scones feel special enough for company yet simple enough for everyday enjoyment.
My apartment smelled like a bakery the morning I finally nailed these scones. I had been attempting weekend baking for months, turning out hockey pucks and dry crumbles, until this recipe clicked. Now the ritual of cutting cold butter into flour has become my Sunday meditation, something about the rhythm feels like home.
Last spring, my sister came over for coffee and we stood in the kitchen talking about everything and nothing while these baked. When I pulled them from the oven, golden and steaming, she took one bite and went quiet for a whole minute. That is the kind of baking memory worth holding onto.
Ingredients
- 2 cups all-purpose flour: The foundation, give yourself permission to scoop and level instead of weighing
- 1/3 cup granulated sugar: Just enough sweetness to balance the chocolate without being cloying
- 2 ½ tsp baking powder: What gives them that impressive rise, make sure yours is fresh
- ½ tsp baking soda: Works with the baking powder for that tender crumb
- ½ tsp salt: Enhances the chocolate and keeps them from tasting flat
- ½ cup cold butter cubed: The cold butter hitting the hot oven creates those flaky layers, do not let it sit out
- 2/3 cup heavy cream: Makes them richer than milk-based scones
- 1 large egg: Adds structure and helps them hold their shape
- 2 tsp vanilla extract: Use the real stuff, it makes a difference you can taste
- 1 cup semi-sweet chocolate chips: I have tried fancy chunks and regular chips, honestly the chips distribute better
- 1 cup powdered sugar: For the glaze that makes these feel special
- 2-3 tbsp milk or cream: Start with less and add more until you reach the right consistency
- ½ tsp vanilla extract: A little vanilla in the glaze goes a long way
Instructions
- Get your oven ready:
- Preheat to 400°F and line a baking sheet with parchment paper, trust me you will thank yourself later
- Whisk the dry ingredients:
- Combine flour, sugar, baking powder, baking soda, and salt in a large bowl
- Cut in the butter:
- Work those cold cubes into the flour until it looks like coarse crumbs, some pea-sized bits should remain
- Add the chocolate:
- Fold in the chips so they are evenly distributed throughout the dough
- Whisk the wet ingredients:
- In a separate bowl, beat together the cream, egg, and vanilla until combined
- Gentle mixing:
- Pour the wet into the dry and fold with a fork until everything just holds together, overworking is the enemy
- Shape and cut:
- Turn onto a floured surface, pat into a 1-inch thick circle, and cut into 8 wedges like a pizza
- The secret touch:
- Brush the tops with extra cream for that beautiful golden finish
- Bake until golden:
- 16 to 18 minutes should do it, look for deep golden brown edges
- Make the glaze:
- Whisk powdered sugar with milk and vanilla until smooth, then drizzle generously over cooled scones
 Save
Save These have become my go-to when someone needs cheering up. There is something about breaking into a warm scone with that sweet glaze that feels like a hug in food form.
Getting That Perfect Texture
The trick I learned after dozens of batches is handling the dough as little as possible. When you pat it into a circle, do it gently like you are handling something precious. Rough handling develops gluten which leads to tough, bread-like scones instead of tender ones.
Make Them Your Own
Sometimes I add orange zest to the dough and swap the chocolate chips for dried cranberries, especially around the holidays. The combination reminds me of the scones I used to get at this little café near my old apartment, the ones that made rainy Saturdays feel cozy.
Storage And Freshness
These are honestly best the day they are made, when the exterior still has that slight crunch and the inside is steaming soft. However, I have learned a few tricks for extending their life.
- Freeze unbaked wedges on a parchment lined sheet, then transfer to a bag and bake from frozen, adding 2-3 minutes
- Reheat day-old scones in a 300°F oven for 5 minutes to restore that fresh-baked texture
- Store glazed scones uncovered so the glaze does not get sticky
 Save
Save Hope these bring as much warmth to your kitchen as they have to mine.
Recipe FAQs
- → Why is cold butter important for scones?
-
Cold butter creates small pockets of steam as it melts in the oven, resulting in flaky, tender layers. Work quickly and keep ingredients chilled to prevent the butter from softening before baking.
- → Can I freeze the dough?
-
Yes, cut the scones into wedges and freeze them on a baking sheet until solid. Transfer to a freezer bag and bake from frozen, adding 2–3 minutes to the baking time. No need to thaw first.
- → How do I store leftover scones?
-
Store in an airtight container at room temperature for up to 2 days. For longer storage, freeze individually wrapped scones and reheat in a 350°F oven for 5–10 minutes to refresh.
- → Can I make these gluten-free?
-
Use a 1:1 gluten-free flour blend designed for baking, and ensure your baking powder and chocolate chips are certified gluten-free. The texture may be slightly denser but still delicious.
- → What can I use instead of heavy cream?
-
Half-and-half works as a lighter alternative, though the scones will be slightly less rich. For a dairy-free version, use full-fat coconut milk or a creamy non-dairy alternative.
- → Why did my scones turn out tough?
-
Overmixing the dough develops gluten, leading to tough, dense scones. Mix just until combined and handle the dough as little as possible. Patting gently instead of kneading helps maintain tenderness.
