 Save
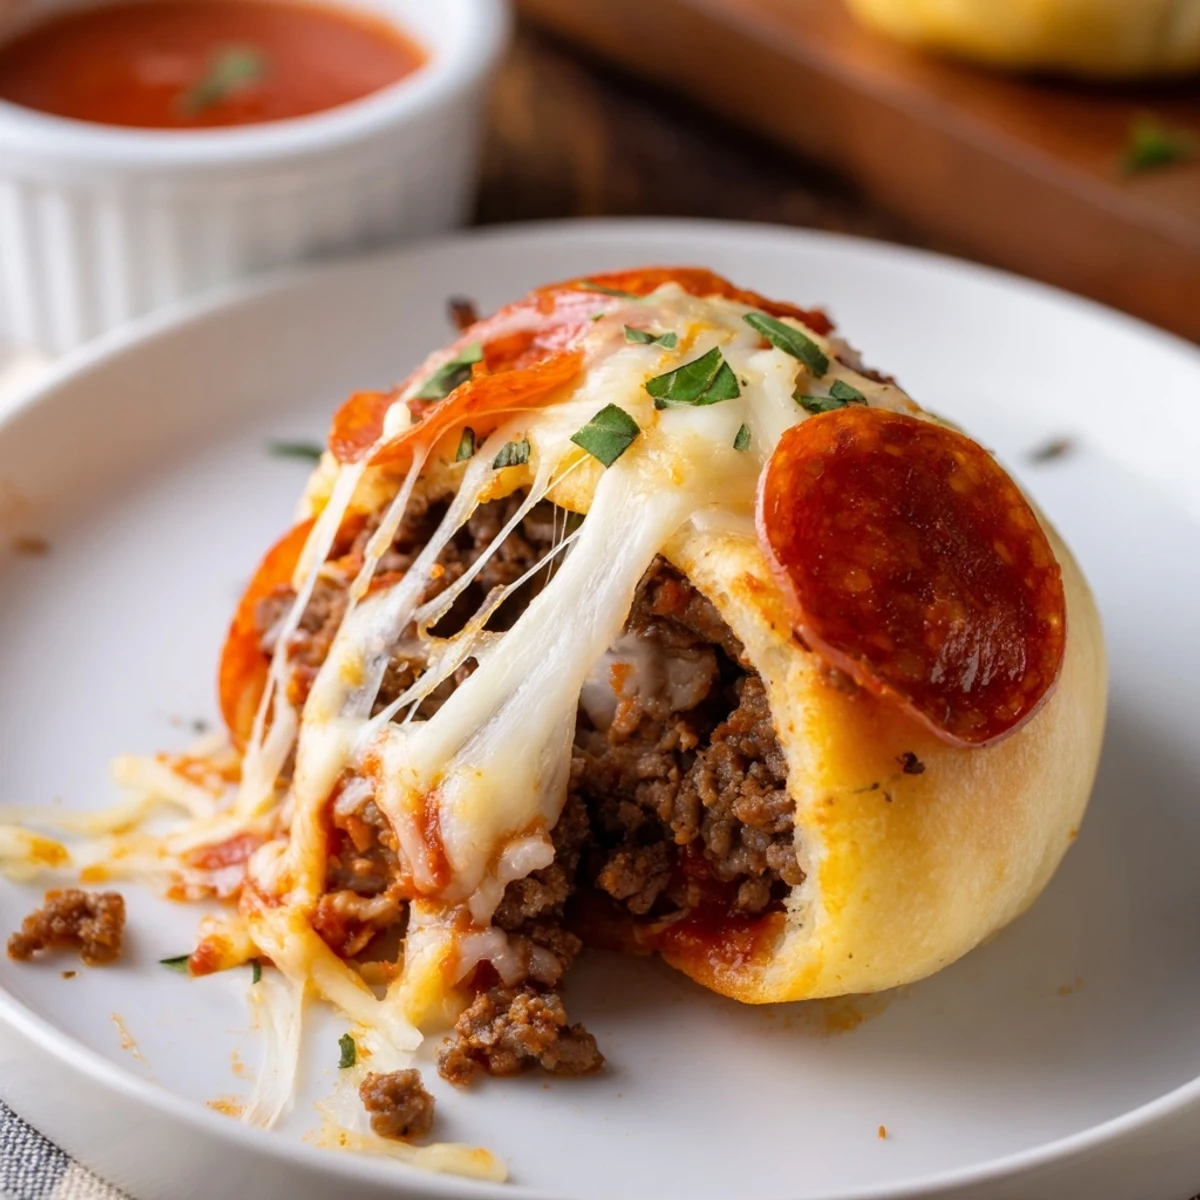
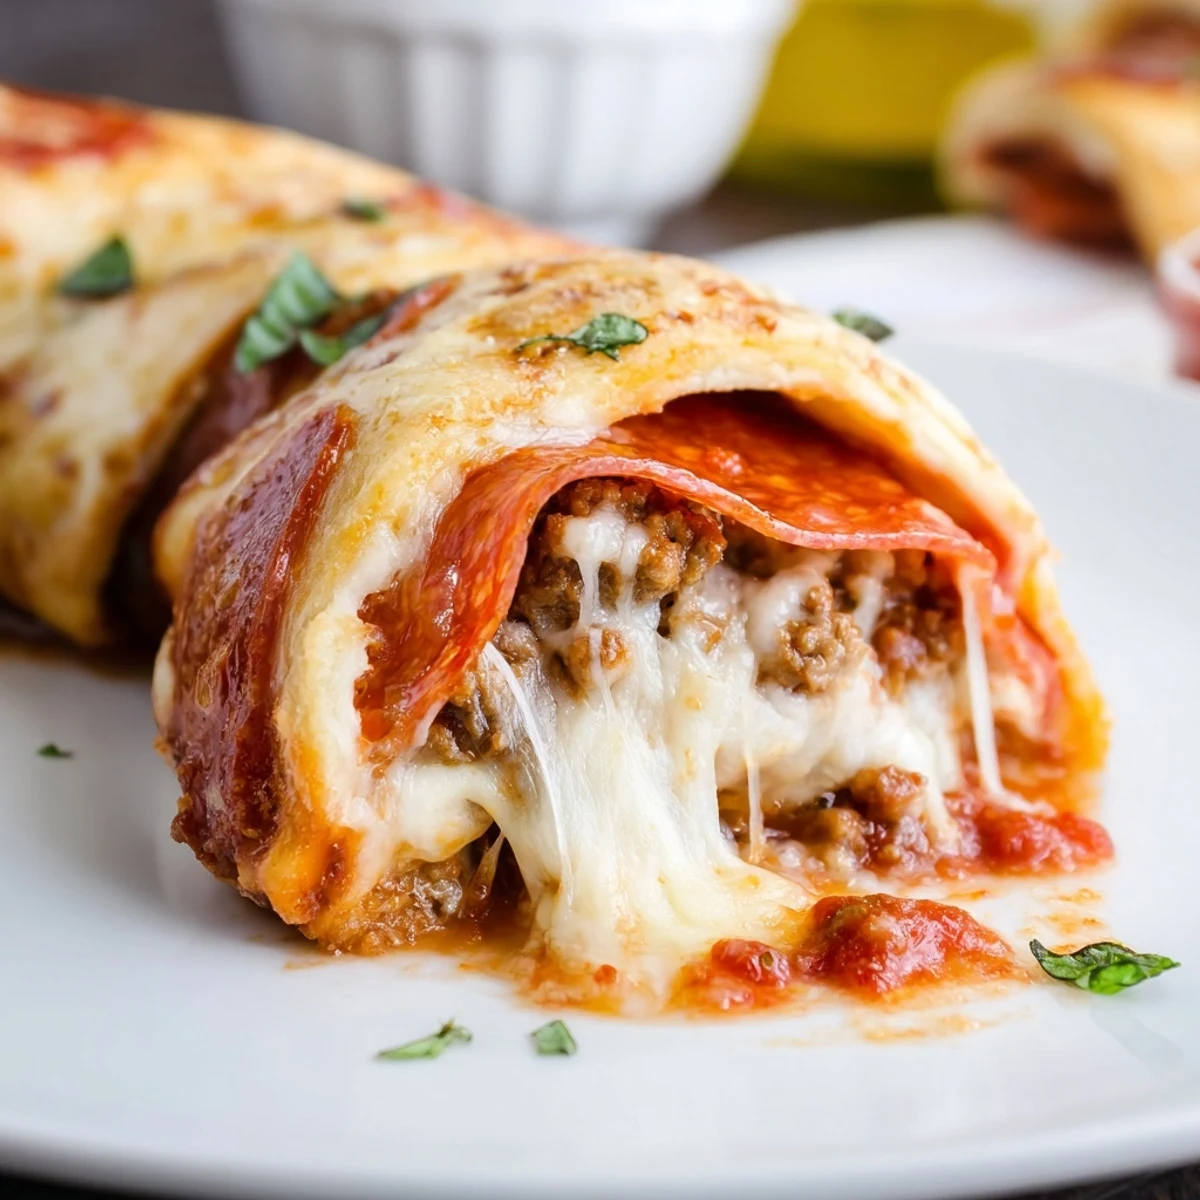
Save These cheesy beef and pepperoni pizza roll-ups start with browned, seasoned ground beef layered with pepperoni, pizza sauce and a mix of mozzarella and Parmesan inside rolled-out pizza dough. Roll into a log, slice into eight pieces, brush with olive oil and bake at 200°C (400°F) for 12–15 minutes until golden and bubbly. Ready in about 35 minutes; freeze extras and reheat to crisp.
The first time I made these Cheesy Beef Pepperoni Pizza Roll Ups, I remember hearing the sizzle of ground beef in the skillet mixing with faint hums of anticipation from my kids. The scent of bubbling cheese always seems to promise joy, but there's something playfully mischievous about rolling up pizza into tidy little spirals. I loved how easy it was to improvise with what I had—no pizza stone, no fancy gadgets, just quick hands and hungry appetites. Somehow, those golden rolls disappeared almost as quickly as I could pull them from the oven.
One rainy afternoon, I decided to whip these up for an impromptu family movie night, hoping to distract from the endless drizzle outside. Everyone gathered around the stove, sneaking stray pepperoni before I could even start rolling the dough. Even my partner, usually indifferent to snacks, couldn't resist swiping an extra roll when he thought no one was watching. The kitchen felt warm against the storm, filled with laughter and the teasing aroma of herbs as the oven worked its magic.
Ingredients
- Ground beef: Using lean beef means you avoid excess grease and keep the rolls from getting soggy. Browning until just crisp brings out a hearty flavor.
- Pepperoni: Layering the pepperoni gives each bite a fun spicy kick; try tucking any smaller slices near the center.
- Shredded mozzarella cheese: I’ve learned shredding cheese yourself makes it melt more nicely, creating those irresistible cheese pulls.
- Grated Parmesan cheese: Adds a sharp, nutty note that complements the mozzarella, making the rolls taste more complex.
- Refrigerated pizza dough: Shortcut dough makes everything faster, but let it rest at room temperature for a couple of minutes so it rolls out without tearing.
- Pizza sauce: A light, even spread prevents sogginess—don’t forget a little extra on the side for dipping.
- Dried Italian herbs: These bring a comforting, familiar flavor that reminds me of classic pizza nights at home.
- Garlic powder: A dusting brings warmth and rounds out the taste, but don’t overdo it or it will overpower the other flavors.
- Salt and pepper: Always taste and adjust at the browning stage for just the right balance.
- Olive oil: Brushing the tops before baking gives a golden, slightly crisp finish you’ll look forward to biting through.
- Fresh basil or parsley: Added at the end, this lifts the whole tray with a splash of color and freshness (totally optional but always pretty).
Instructions
- Prepare the oven and pan:
- Set your oven to 200°C (400°F) and line a baking sheet with parchment paper; the crackle of the paper adds promise of easy cleanup.
- Brown the beef:
- Heat a skillet over medium, add beef, salt, pepper, garlic powder, and herbs—you’ll smell the savory blend as it cooks. Stir until browned, then drain off extra fat and let it cool briefly.
- Roll out your dough:
- Spread your pizza dough onto a lightly floured surface and coax it (gently!) into a rectangle—don't worry about perfect edges, rustic is charming.
- Sauce it up:
- Spoon pizza sauce over the dough, swirling it around but leaving about a 2 cm border free so the fillings won't spill out later.
- Add toppings:
- Evenly scatter the cooled beef, then layer on pepperoni, mozzarella, and Parmesan so every bite has a bit of everything.
- Roll and slice:
- Working from the long edge, roll up everything into a snug log and pinch the seam—it should feel satisfyingly full. Use a sharp knife to slice the log into 8 pieces, imagining the golden spiral surprises ahead.
- Arrange and brush:
- Place the pieces cut-side up on your sheet and brush the tops with olive oil for tempting shine and color.
- Bake to finish:
- Bake for 12–15 minutes; listen for bubbling cheese and peek for a golden crust—it’s when your kitchen will really smell like a pizzeria.
- Cool, garnish, and serve:
- Let them sit for a few minutes so nobody burns their tongue. Garnish with ribbons of basil or parsley for a fresh finishing touch and hand out with a bowl of sauce for dipping.
 Save
Save One evening, these pizza roll ups stole the show at a casual game night when my normally shy friend surprised herself by reaching for seconds—and then thirds. That moment shifted them from a simple snack into my go-to “crowd-pleaser,” unlocking happy requests from friends ever since.
Why These Roll Ups Work for Any Crowd
You don’t have to be a pizza expert; even my little ones love joining in by sprinkling cheese or helping roll. The fillings can be swapped for whatever’s on hand, and everyone gets a piece that’s just as enticing as the last. Best of all, their tidy spiral shape means no sticky slices, no messes—just warm hands, smiles, and easy cleanup.
How to Make Ahead and Store
After plenty of rushed afternoons, I learned to assemble these up to a day ahead, refrigerate the tray covered, and bake them off right before serving. Leftovers—if there are any—reheat beautifully in the oven and regain their crisp edges in just a few minutes. Perfect for school lunches or unexpected guests.
Upgrades, Variations, and Little Surprises
Once I threw in leftover sautéed peppers and swapped turkey for beef for a lighter version—no one noticed the difference. Don’t be afraid to try spicy salami, sprinkle chili flakes, or toss in finely chopped onions for your own twist. A shower of extra Parmesan before baking makes the tops extra golden and fragrant.
- If you freeze the rolls, let them thaw slightly before reheating so the centers stay melty.
- Let the kids decorate with extra herbs or a drizzle of garlic butter for fun.
- Always slice using a gentle sawing motion so the dough doesn’t squash the fillings.
 Save
Save These pizza roll ups always bring people together with their cheesy comfort and hands-on appeal. Next time you’re searching for a snack that feels both fun and homemade, give this a try—you might just start your own delicious kitchen tradition.
Recipe FAQs
- → Can I swap the ground beef for another meat?
-
Yes — ground chicken or turkey work well. Adjust seasoning and drain any excess liquid to keep the dough from getting soggy.
- → How do I make the roll-ups spicier?
-
Use spicy pepperoni, add red pepper flakes to the beef while cooking, or mix a pinch of cayenne into the sauce for an extra kick.
- → What is the best way to keep the bottoms crisp?
-
Arrange pieces cut-side up on a preheated baking sheet and bake until golden. For extra crispness, finish under the broiler for 1–2 minutes while watching closely.
- → Can I prepare these ahead of time?
-
Yes — assemble, slice and freeze the unbaked roll-ups on a tray, then transfer to a bag. Bake from frozen, adding a few extra minutes to the baking time.
- → How should leftovers be reheated?
-
Reheat in a preheated oven at 180°C (350°F) for 8–10 minutes to restore crispness, or warm in an air fryer for a few minutes.
- → Any tips for preventing leaks from the filling?
-
Don’t overfill and leave a 2 cm border when spreading sauce. Drain cooked beef well and press the seam tightly when rolling to seal in the filling.
