 Save
Save Create delightful orange cream cheese mints that deliver a perfect balance of creamy richness and bright citrus flavor. These soft, melt-in-your-mouth confections come together quickly with just cream cheese, butter, orange extract, and powdered sugar. The dough is easy to work with—simply roll into balls, flatten gently, and chill until firm. Customizable with food coloring to match any event theme, these mints make stunning additions to dessert tables, wedding favors, or holiday gift boxes. They stay fresh for a week in the refrigerator or freeze beautifully for up to two months.
The first time I made these orange cream cheese mints was for my sister's baby shower, and I watched three generations of women crowd around the platter, each reaching for 'just one more' until they were gone. These little mints have that effect on people. They disappear faster than you can explain how simple they are to make.
I brought a batch to a book club meeting last December, set them on the coffee table as an afterthought, and found myself googling the recipe on my phone five times that evening. Something about that bright orange flavor cuts through whatever richness came before it, leaving your palate completely refreshed. They've become my go-to contribution to any gathering now.
Ingredients
- 4 oz (115 g) cream cheese, softened: Let this sit out for a full hour. Cold cream cheese creates tiny lumps that never quite disappear, no matter how much you beat it.
- 2 tbsp unsalted butter, softened: Salted butter works too, but these little mints are pure comfort food without competing flavors.
- 1/2 tsp orange extract: Pure extract makes all the difference here. I've tried imitation and it tastes like cleaning products instead of sunshine.
- 2 1/2–3 cups (300–375 g) powdered sugar, sifted: Sifting is annoying but necessary. One tiny lump of powdered sugar will mar the surface of your otherwise perfect mints.
- Orange food coloring, as desired: Gel coloring gives the most vibrant orange without adding extra liquid to your dough.
- Extra powdered sugar (for dusting): Keep a small bowl nearby for dusting your hands and work surface as you roll.
Instructions
- Beat the creamy base:
- Using a handheld mixer or stand mixer, beat the softened cream cheese and butter together until completely smooth. This takes about 2 to 3 minutes, and you'll feel the mixture transform from grainy to silky.
- Add flavor and color:
- Pour in the orange extract and add a few drops of orange food coloring. Mix until combined, then scrape down the bowl to ensure everything is evenly distributed.
- Build the dough:
- Gradually add the powdered sugar, half a cup at a time, beating well after each addition. The dough will start soft and sticky but eventually become smooth and pliable like playdough.
- Adjust to your taste:
- Taste the dough and add more orange extract if you want a brighter flavor. Add more food coloring if the orange isn't vibrant enough for your liking.
- Shape the mints:
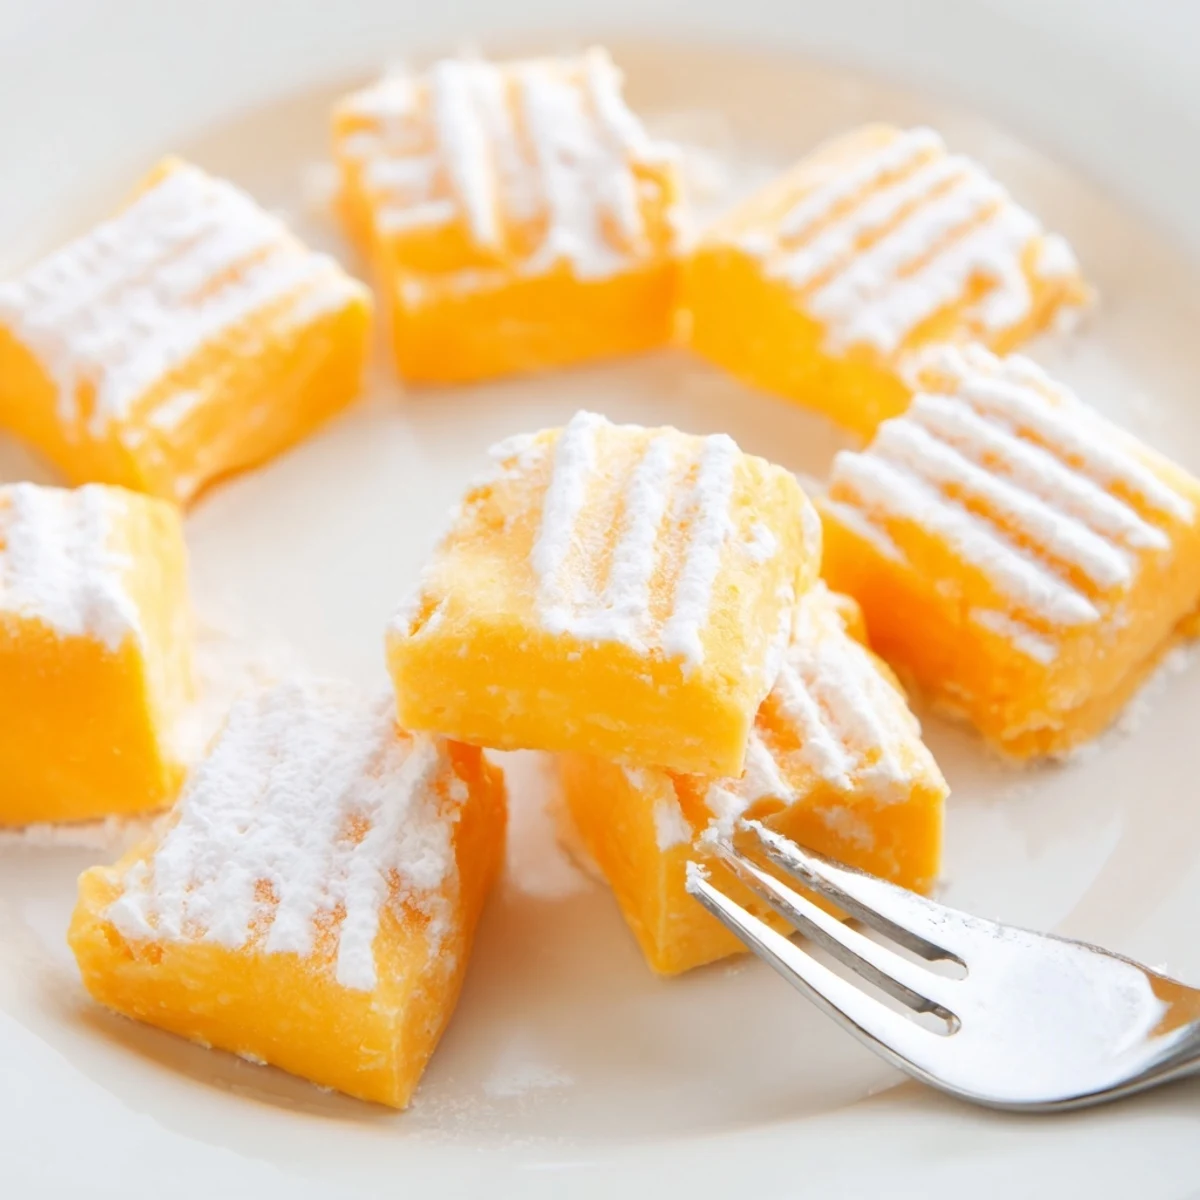
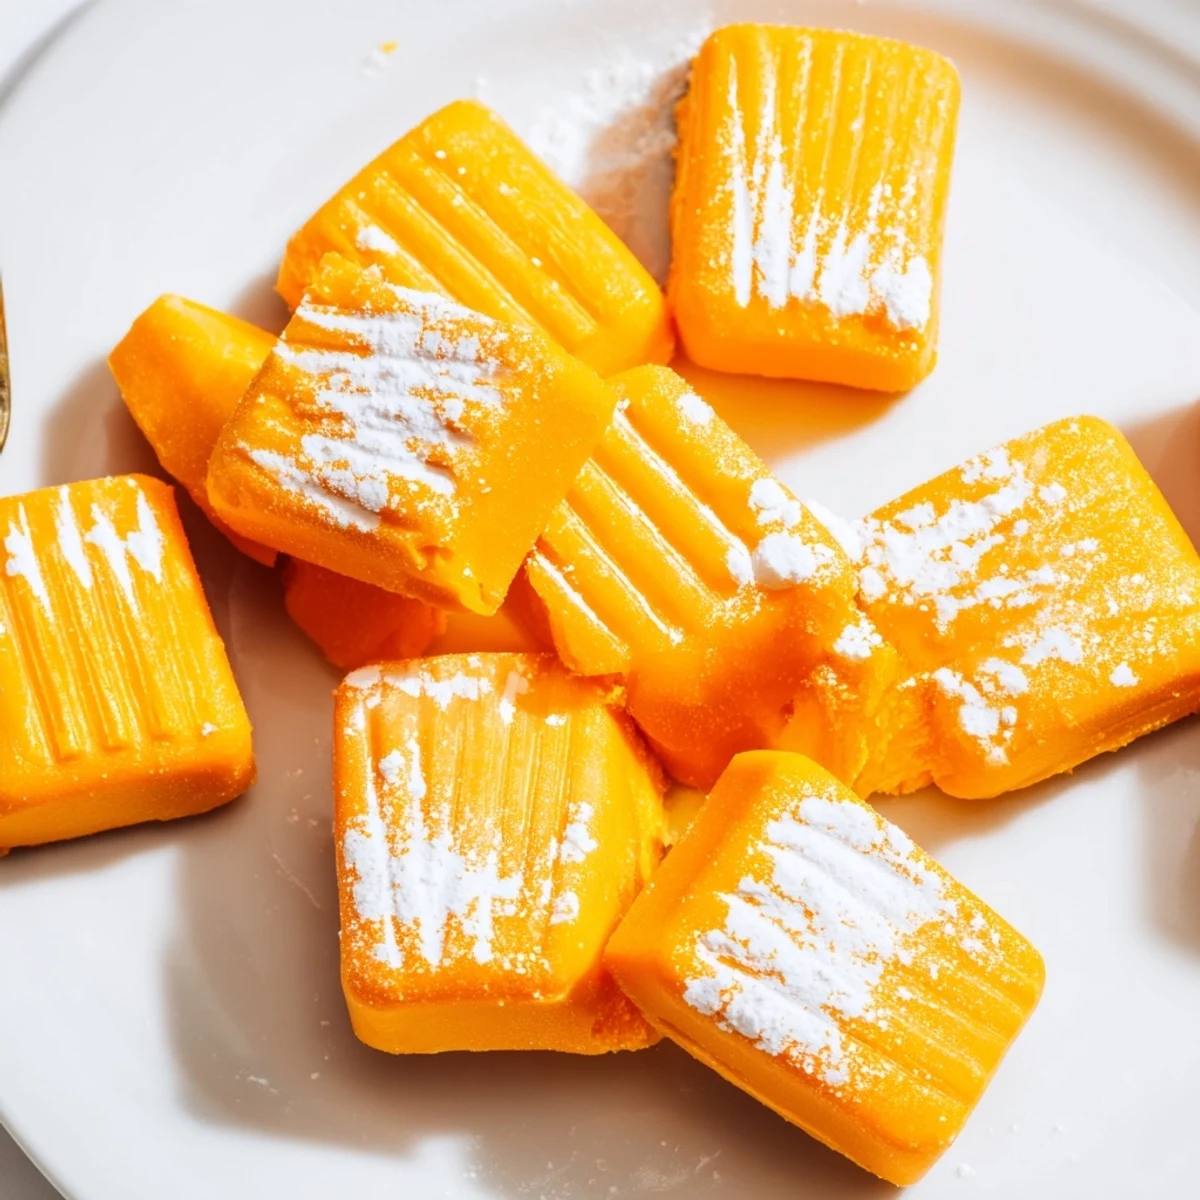
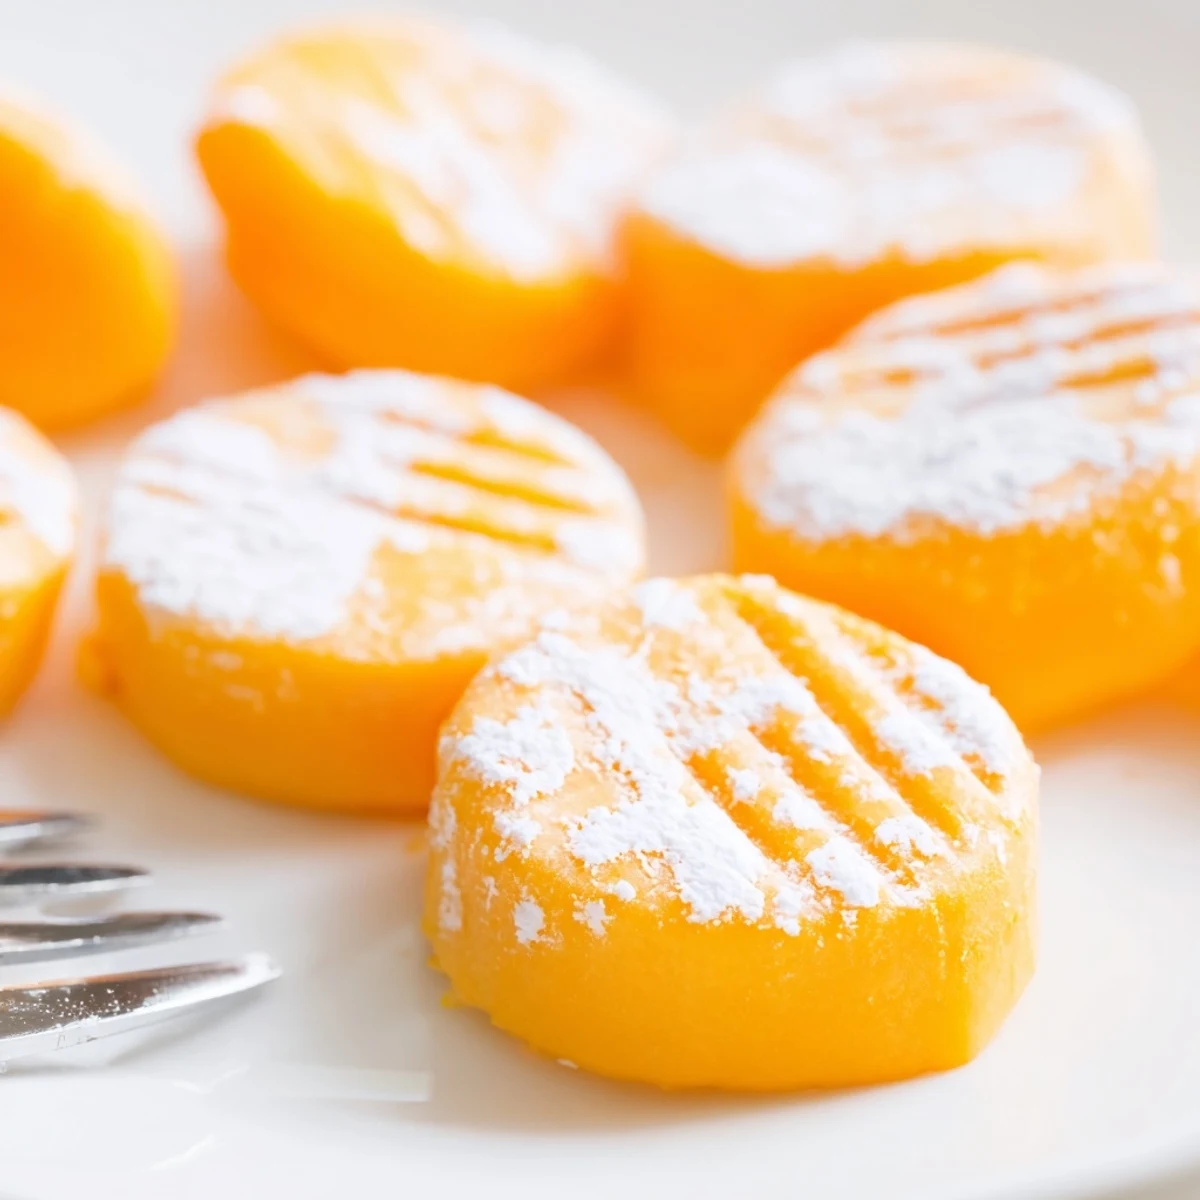
- Dust your work surface generously with powdered sugar. Roll the dough into 3/4-inch balls, then gently flatten each ball with a fork, creating that classic ridged pattern on top.
- Chill until firm:
- Arrange the mints on a parchment-lined tray. Cover with plastic wrap and refrigerate for at least 1 hour. They need this time to firm up completely.
- Store properly:
- Keep the mints in an airtight container in the refrigerator. Separate layers with wax paper so they don't stick together.
 Save
Save My grandmother kept a crystal dish of these by her front door, and every visitor left with orange-stained fingers and a smile. Making them now feels like pulling up a chair at her table, even though she's been gone for years. Some recipes are just that.
The Fork Technique
I've tried using fancy candy molds and decorative stamps, but nothing beats the humble fork. Dip the tines in powdered sugar between each mint to prevent sticking, and press down gently but firmly. The ridges catch the light beautifully and give each mint that homespun charm people seem to love.
Making Them Your Own
Last Christmas I made three batches side by side—orange, mint green, and a pale yellow using lemon extract instead. Seeing those three colors together on a white serving plate taught me something about presentation. Sometimes the simplest variations create the most impressive display. You could even do half-batches in different colors for special occasions.
Perfecting Your Technique
The first few mints you shape will look a little rough around the edges. That is completely normal. Your hands will learn the right amount of pressure, the dough will warm slightly from handling, and suddenly you will find a rhythm that produces perfectly uniform mints. I typically make a few test ones, pop them in my mouth, and adjust anything that needs tweaking before shaping the rest of the batch.
- Roll with your palms, not your fingers, to get the smoothest surface
- If the fork sticks to the dough, chill the mints for 15 minutes before pressing
- These mints freeze beautifully—layer them between wax paper in a freezer-safe container
 Save
Save There is something deeply satisfying about setting out a platter of these little orange mints and watching people's faces light up with that first bite. They are tiny bites of happiness, really.
Recipe FAQs
- → How long do orange cream cheese mints need to chill?
-
Chill the mints for at least one hour until firm. This step is essential for achieving the proper texture and making them easy to handle without sticking.
- → Can I make these mints ahead of time?
-
Absolutely! These mints store beautifully in an airtight container in the refrigerator for up to one week. You can also freeze them for up to two months, making them perfect for advance preparation.
- → What's the best way to prevent sticking when rolling?
-
Dust your work surface and hands generously with powdered sugar. This creates a non-stick surface and prevents the dough from clinging while you shape the mints.
- → Can I use different flavors instead of orange?
-
Yes! Swap orange extract for lemon, peppermint, almond, or raspberry extract. Adjust the food coloring accordingly to match your chosen flavor.
- → Why is my dough too sticky or too dry?
-
If sticky, add more powdered sugar 1/4 cup at a time. If dry, the dough may have absorbed too much sugar—try adding a tiny amount of cream cheese or butter to soften it slightly.
- → Are these mints suitable for special diets?
-
These mints are naturally gluten-free and vegetarian. They do contain dairy from cream cheese and butter. Always check ingredient labels to ensure no cross-contamination for allergen concerns.
