 Save
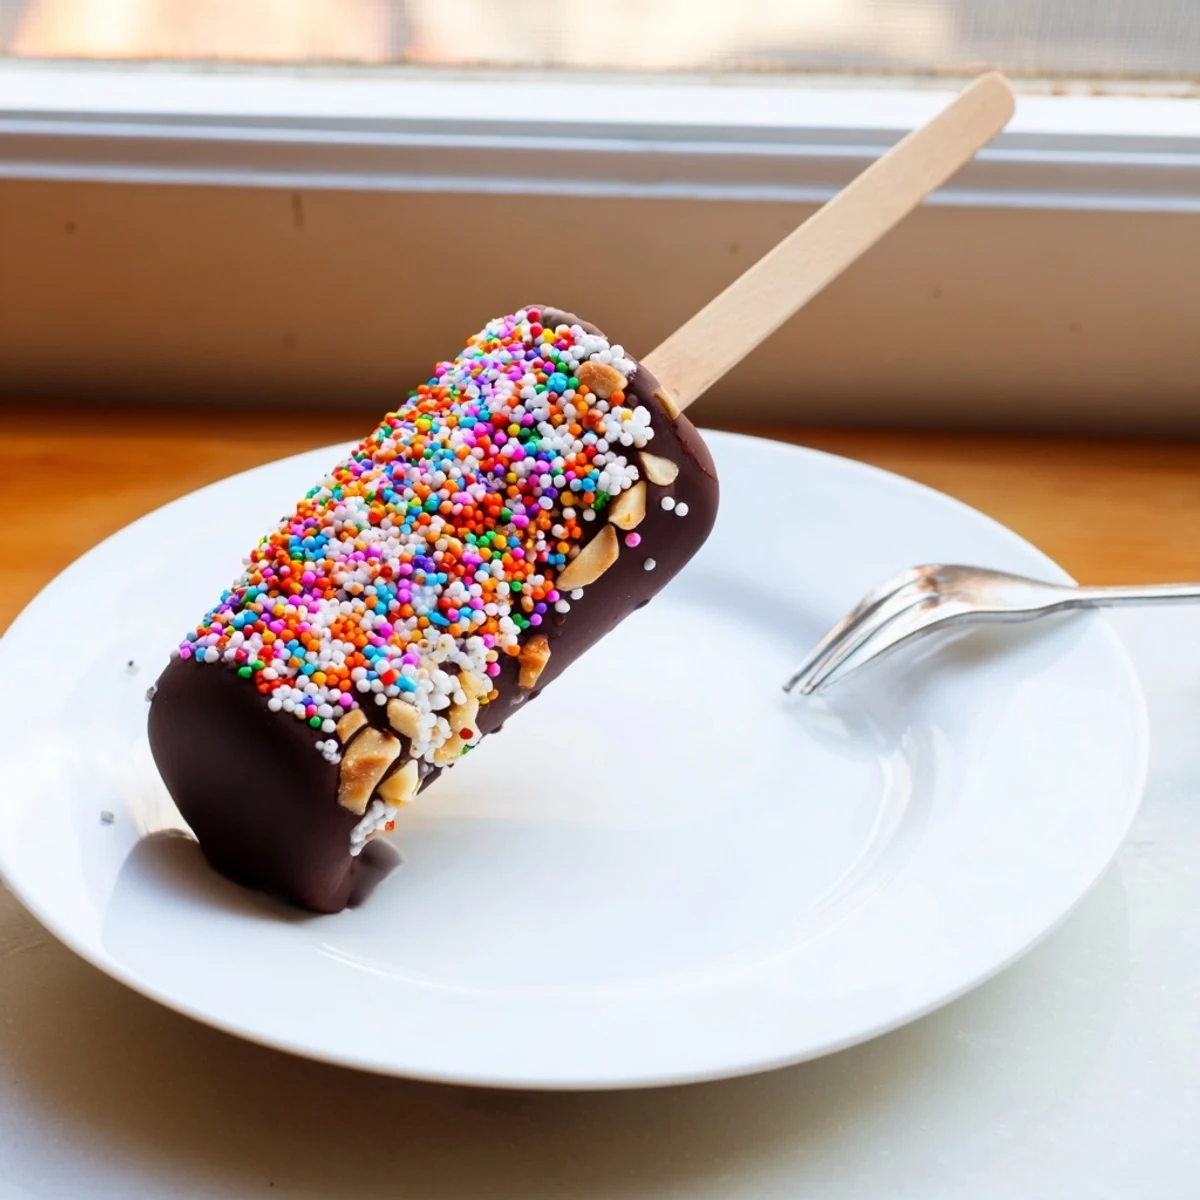
Save Transform simple marshmallows into an impressive handheld treat by dipping them in melted chocolate and coating with your favorite toppings. This straightforward dessert combines crispy chocolate shells with soft, pillowy centers for delightful textural contrast.
Perfect for entertaining or creating edible gifts, these chocolate-covered sticks require just 30 minutes of hands-on time plus a quick chill in the refrigerator. Customize with rainbow sprinkles, chopped nuts, or coconut shavings for endless flavor combinations and visual appeal.
I discovered chocolate marshmallows on a stick during my son's fifth birthday party when I was desperately searching for treats that wouldn't require plates or utensils. The joy on the children's faces as they clutched their sticks and circled their chocolatey treasures with sticky fingers was absolutely priceless. Something about the combination of pillowy marshmallow and snap of chocolate coating creates such a satisfying contrast that I've been making these ever since.
Last winter, when a snowstorm canceled school, my daughter and I made these in our pajamas while watching the snow pile up outside. We ran out of sprinkles halfway through and improvised with crushed candy canes we found in the back of the cupboard. Those improvised peppermint ones ended up being our favorites, and now we make them every December as our little tradition.
Ingredients
- Marshmallows: Regular store-bought ones work perfectly, but I once splurged on some fancy vanilla bean marshmallows from a local confectioner and the difference was mind-blowing.
- Chocolate: Semi-sweet provides the perfect balance, but milk chocolate makes these more kid-friendly and dark chocolate gives them a sophisticated edge for grown-up gatherings.
- Toppings: Rainbow sprinkles are always a hit, but crushed freeze-dried strawberries create a tangy-sweet contrast that completely transforms these simple treats.
- Lollipop Sticks: Paper ones actually work better than wooden in my experience, as they don't splinter the marshmallows as easily.
Instructions
- Prep Your Marshmallows:
- Insert a lollipop stick into each marshmallow, pushing about halfway through to ensure they won't slide off later. I find twisting gently as you insert helps create the cleanest entry.
- Set Up Your Station:
- Line a baking sheet with parchment paper and arrange your toppings in small bowls for easy access. This prep step saves so much stress once the chocolate is melted and time becomes precious.
- Melt Your Chocolate:
- In a heatproof bowl over simmering water, melt the chocolate while stirring occasionally until perfectly smooth. The double-boiler method prevents that dreaded seized chocolate disaster that happens in the microwave.
- Dip and Decorate:
- Dip each marshmallow into the chocolate with a slight twirling motion to ensure even coverage, letting excess drip back into the bowl. While the chocolate is still wet, sprinkle with your chosen toppings, turning to coat all sides.
- Set and Chill:
- Stand your decorated marshmallows upright on the prepared baking sheet, using the sticks as handles. Pop the entire tray in the refrigerator for 20-30 minutes until the chocolate sets with a satisfying snap.
 Save
Save When my neighbor was going through chemotherapy, these little treats became the only sweet she could actually taste and enjoy. I started bringing her a fresh batch every week, experimenting with different flavor combinations. Her oncologist once joked that my chocolate marshmallows were doing as much good as his treatments, and though that was certainly an exaggeration, seeing her smile as she unwrapped each little package meant everything.
Make-Ahead Options
These treats actually hold up surprisingly well when made in advance, though the marshmallow does gradually soften the chocolate coating. I found the sweet spot is making them about 8 hours before serving, which gives the chocolate time to fully set but doesn't leave enough time for significant texture changes. For best results, store them standing upright in a cool, dry place rather than stacked on top of each other.
Flavor Variations
After making these dozens of times, I've discovered some unexpected combinations that work beautifully. Adding a pinch of chili powder to the chocolate creates a subtle warmth that cuts through the sweetness. Dipping the marshmallows in melted peanut butter before the chocolate adds an incredible depth. My personal favorite is sprinkling them with flaky sea salt, which sounds strange but creates this addictive sweet-salty balance that has converted even the most skeptical adults.
Serving Suggestions
Finding the right way to display these treats elevates them from simple sweets to something that looks professionally done. I once pushed a block of floral foam into a decorative pot, covered it with tissue paper, and stuck the marshmallow pops in like a bouquet of flowers for a baby shower, and people still talk about that presentation years later.
- For parties, stand them in a tall glass jar filled with colorful candy that coordinates with your theme colors.
- Individual cellophane bags tied with ribbons make these perfect take-home favors for birthdays or holidays.
- Arrange them in height order on a cake stand for an impressive dessert table centerpiece that requires zero baking skills.
 Save
Save These chocolate marshmallow pops might seem simple, but they've become one of my most requested treats whenever friends gather. There's something wonderfully nostalgic and comforting about them that brings out the child in everyone who picks one up.
Recipe FAQs
- → How do I prevent the chocolate from cracking when it hardens?
-
Ensure the chocolate is melted to a smooth consistency and maintained at a warm temperature. Chill the finished marshmallows slowly in the refrigerator rather than the freezer to allow even setting without thermal shock to the coating.
- → Can I make these ahead of time?
-
Yes, these marshmallows store well in an airtight container at room temperature for up to 2 days. You can also refrigerate them for up to 5 days for extended freshness. Avoid humid environments as moisture can soften the chocolate coating.
- → What's the best way to melt chocolate for dipping?
-
A double boiler method works best as it provides gentle, even heat. Alternatively, microwave chocolate in 30-second intervals, stirring between each burst to prevent scorching. The chocolate should be smooth and fluid for clean dipping.
- → How can I make these suitable for dietary restrictions?
-
Use dairy-free chocolate for vegan versions, and select toppings accordingly. For nut allergies, replace chopped nuts with seeds or additional sprinkles. Always verify that all ingredients and chocolate used are free from gluten if needed.
- → Why do my marshmallows slip off the stick during dipping?
-
Push the stick at least halfway through the marshmallow for stability. Allow excess chocolate to drip off completely before placing on the baking sheet. For extra security, chill marshmallows on sticks before dipping.
- → Can I use different types of chocolate?
-
Absolutely. Dark chocolate provides a richer, more sophisticated flavor, while white chocolate offers a creamy sweetness. Milk chocolate delivers classic appeal. Experiment with combinations or drizzle contrasting chocolates for visual interest.
